
Most people think choosing a kitchen backsplash is about picking a pretty tile. Design blogs and TV shows treat it like an accessory you can swap out with the latest trend. But that’s a dangerously simplistic view. In my work transforming raw industrial shells—old warehouses, forgotten factories—into homes, I’ve learned the hard truth: the backsplash isn’t decoration. It’s a piece of functional architecture. It’s a critical decision that impacts the longevity, hygiene, and soul of the most demanding room in your home.
The reality, after architecting hundreds of these conversions, is that your choice must stand up to the rigors of city life—heat, moisture, constant use—while speaking the same language as the rest of the structure. Ignoring the material science or the structural context doesn’t just lead to a design that falls flat; it leads to a design that fails. This guide is built on that experience. It’s not a list of trends. It’s a strategic framework for making an architectural decision. We’ll move from core principles and materials to advanced integrations like custom metalwork and lighting, finally mastering how a simple wall covering can unify an entire space. These aren’t just kitchen backsplash ideas; they’re a new way to think about building a kitchen.
Essential Kitchen Backsplash Fundamentals for Durability and Style (Part 1)
Before you can make an architectural statement, you must get the fundamentals right. The modern urban kitchen is a high-performance zone, and the backsplash is its first line of defense. This isn’t about fleeting style; it’s about specifying materials and methods that ensure your design endures. Here’s how we establish a robust and sophisticated foundation.
1. Demystifying Material Choices: Selecting Durable Finishes for Longevity
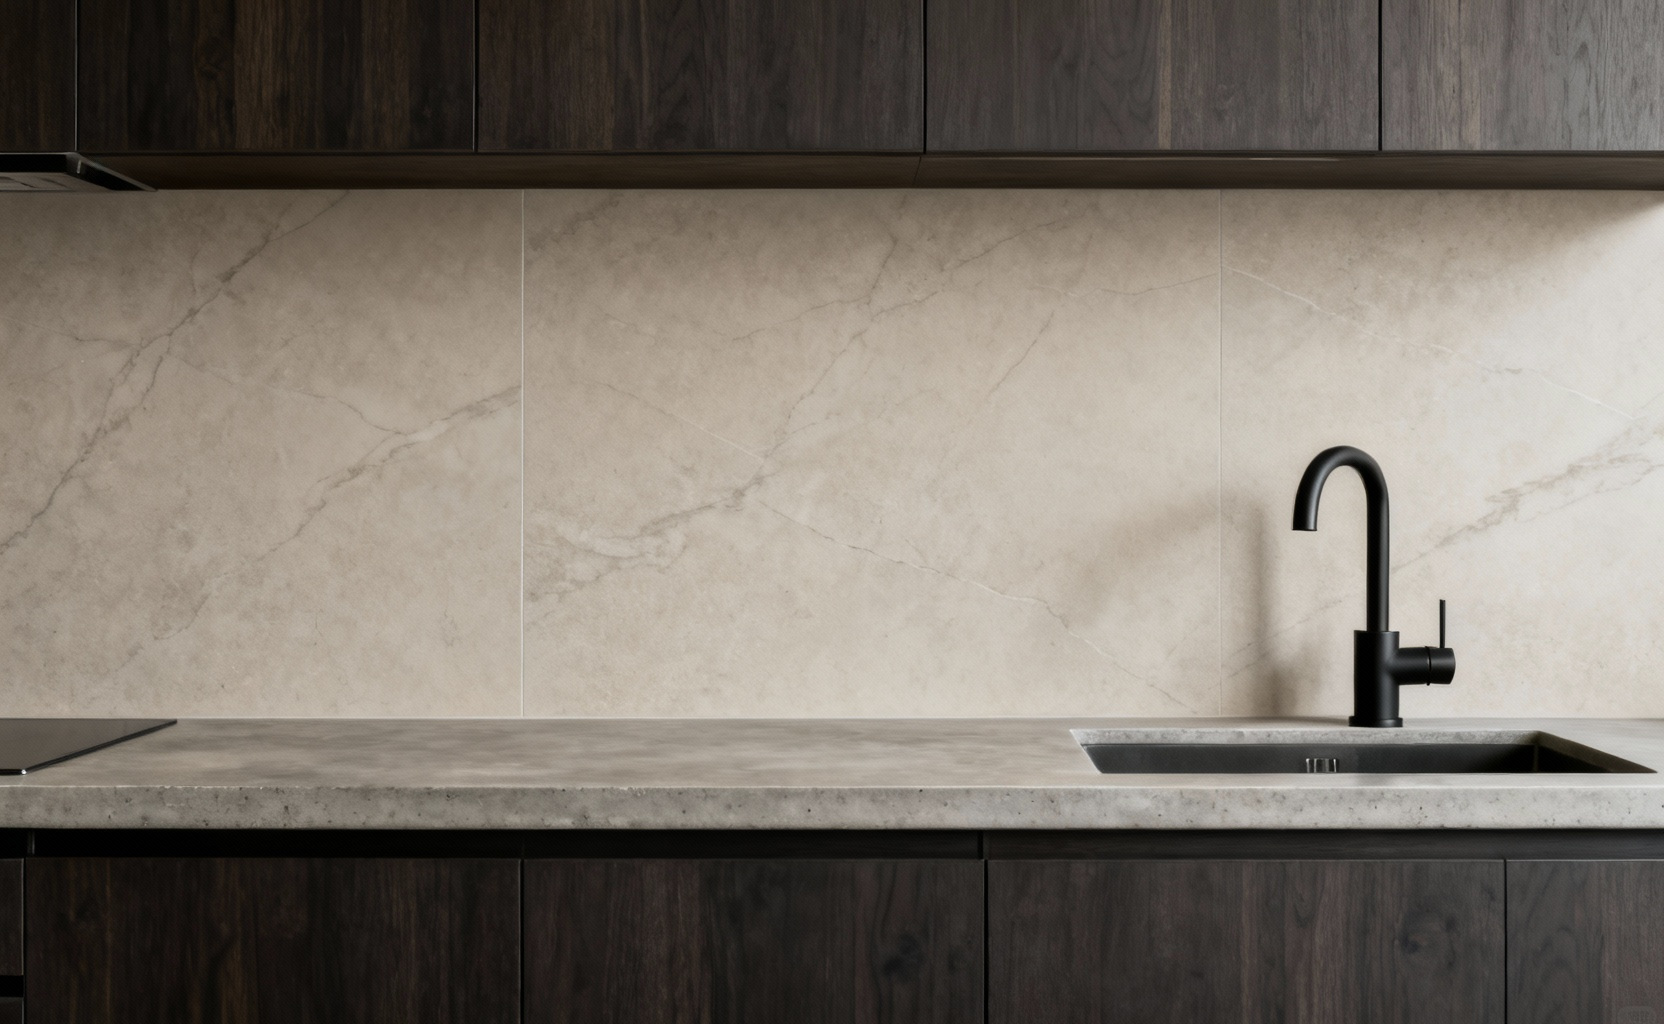
The first, and most critical, decision is the material itself. You need to think past the showroom sample and consider how a surface will perform over a decade. Ceramics and porcelains are the universal workhorses—their high-fired density provides excellent water resistance and makes them simple to maintain, a solid entry point. Natural stone like marble or travertine brings a raw, geological beauty, but this comes with a caveat. These materials are porous. They demand diligent sealing and a certain mindfulness in the kitchen to prevent a stray splash of red wine from becoming a permanent feature.
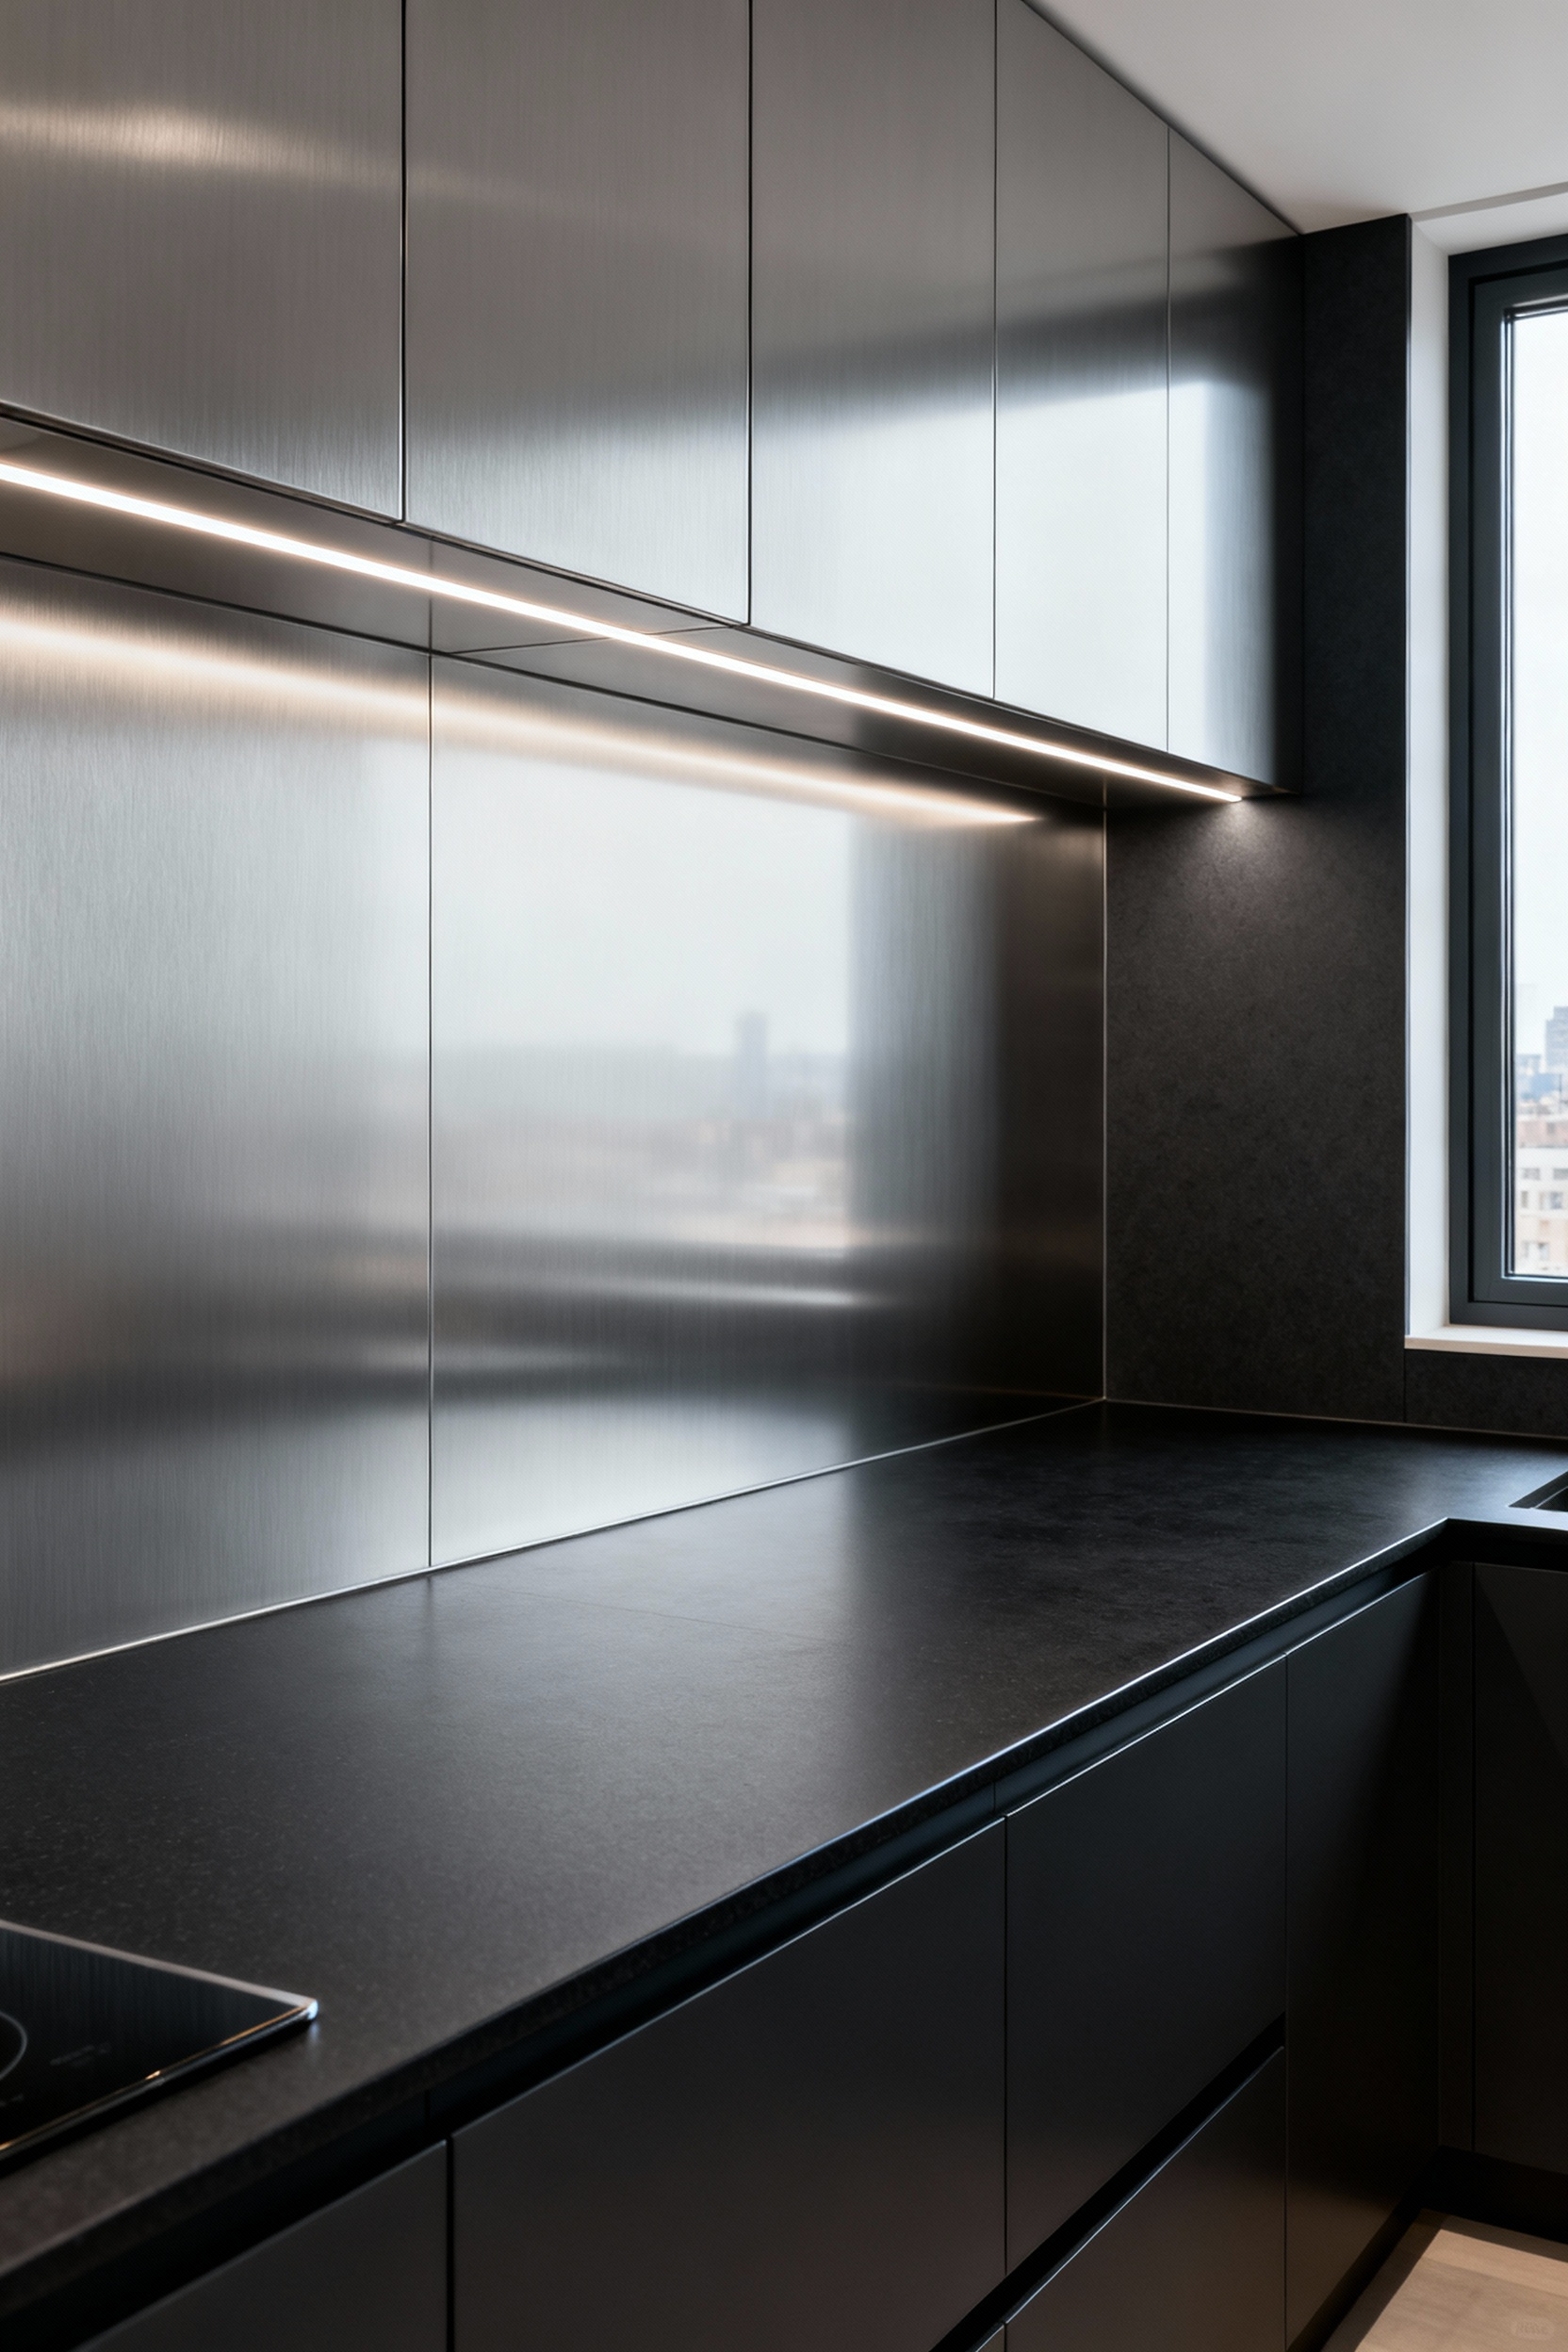
Glass tile offers a sleek, non-porous alternative that reflects light beautifully, which can be a huge asset in a deep loft space. But what’s often overlooked is the quality of the glass and its backing, which dictates the depth and permanence of its color. For an authentic industrial aesthetic, nothing beats stainless steel for its sheer resilience and professional feel, especially behind a high-output range. For the ultimate fusion of form and function, engineered materials like quartz composites provide the beauty of stone in a seamless, non-porous, and practically indestructible format. Each choice is a trade-off between aesthetic, maintenance, and budget. Your job is to make that trade-off consciously.
2. Precision Planning: Accurately Measuring Your Backsplash Zone for Flawless Execution
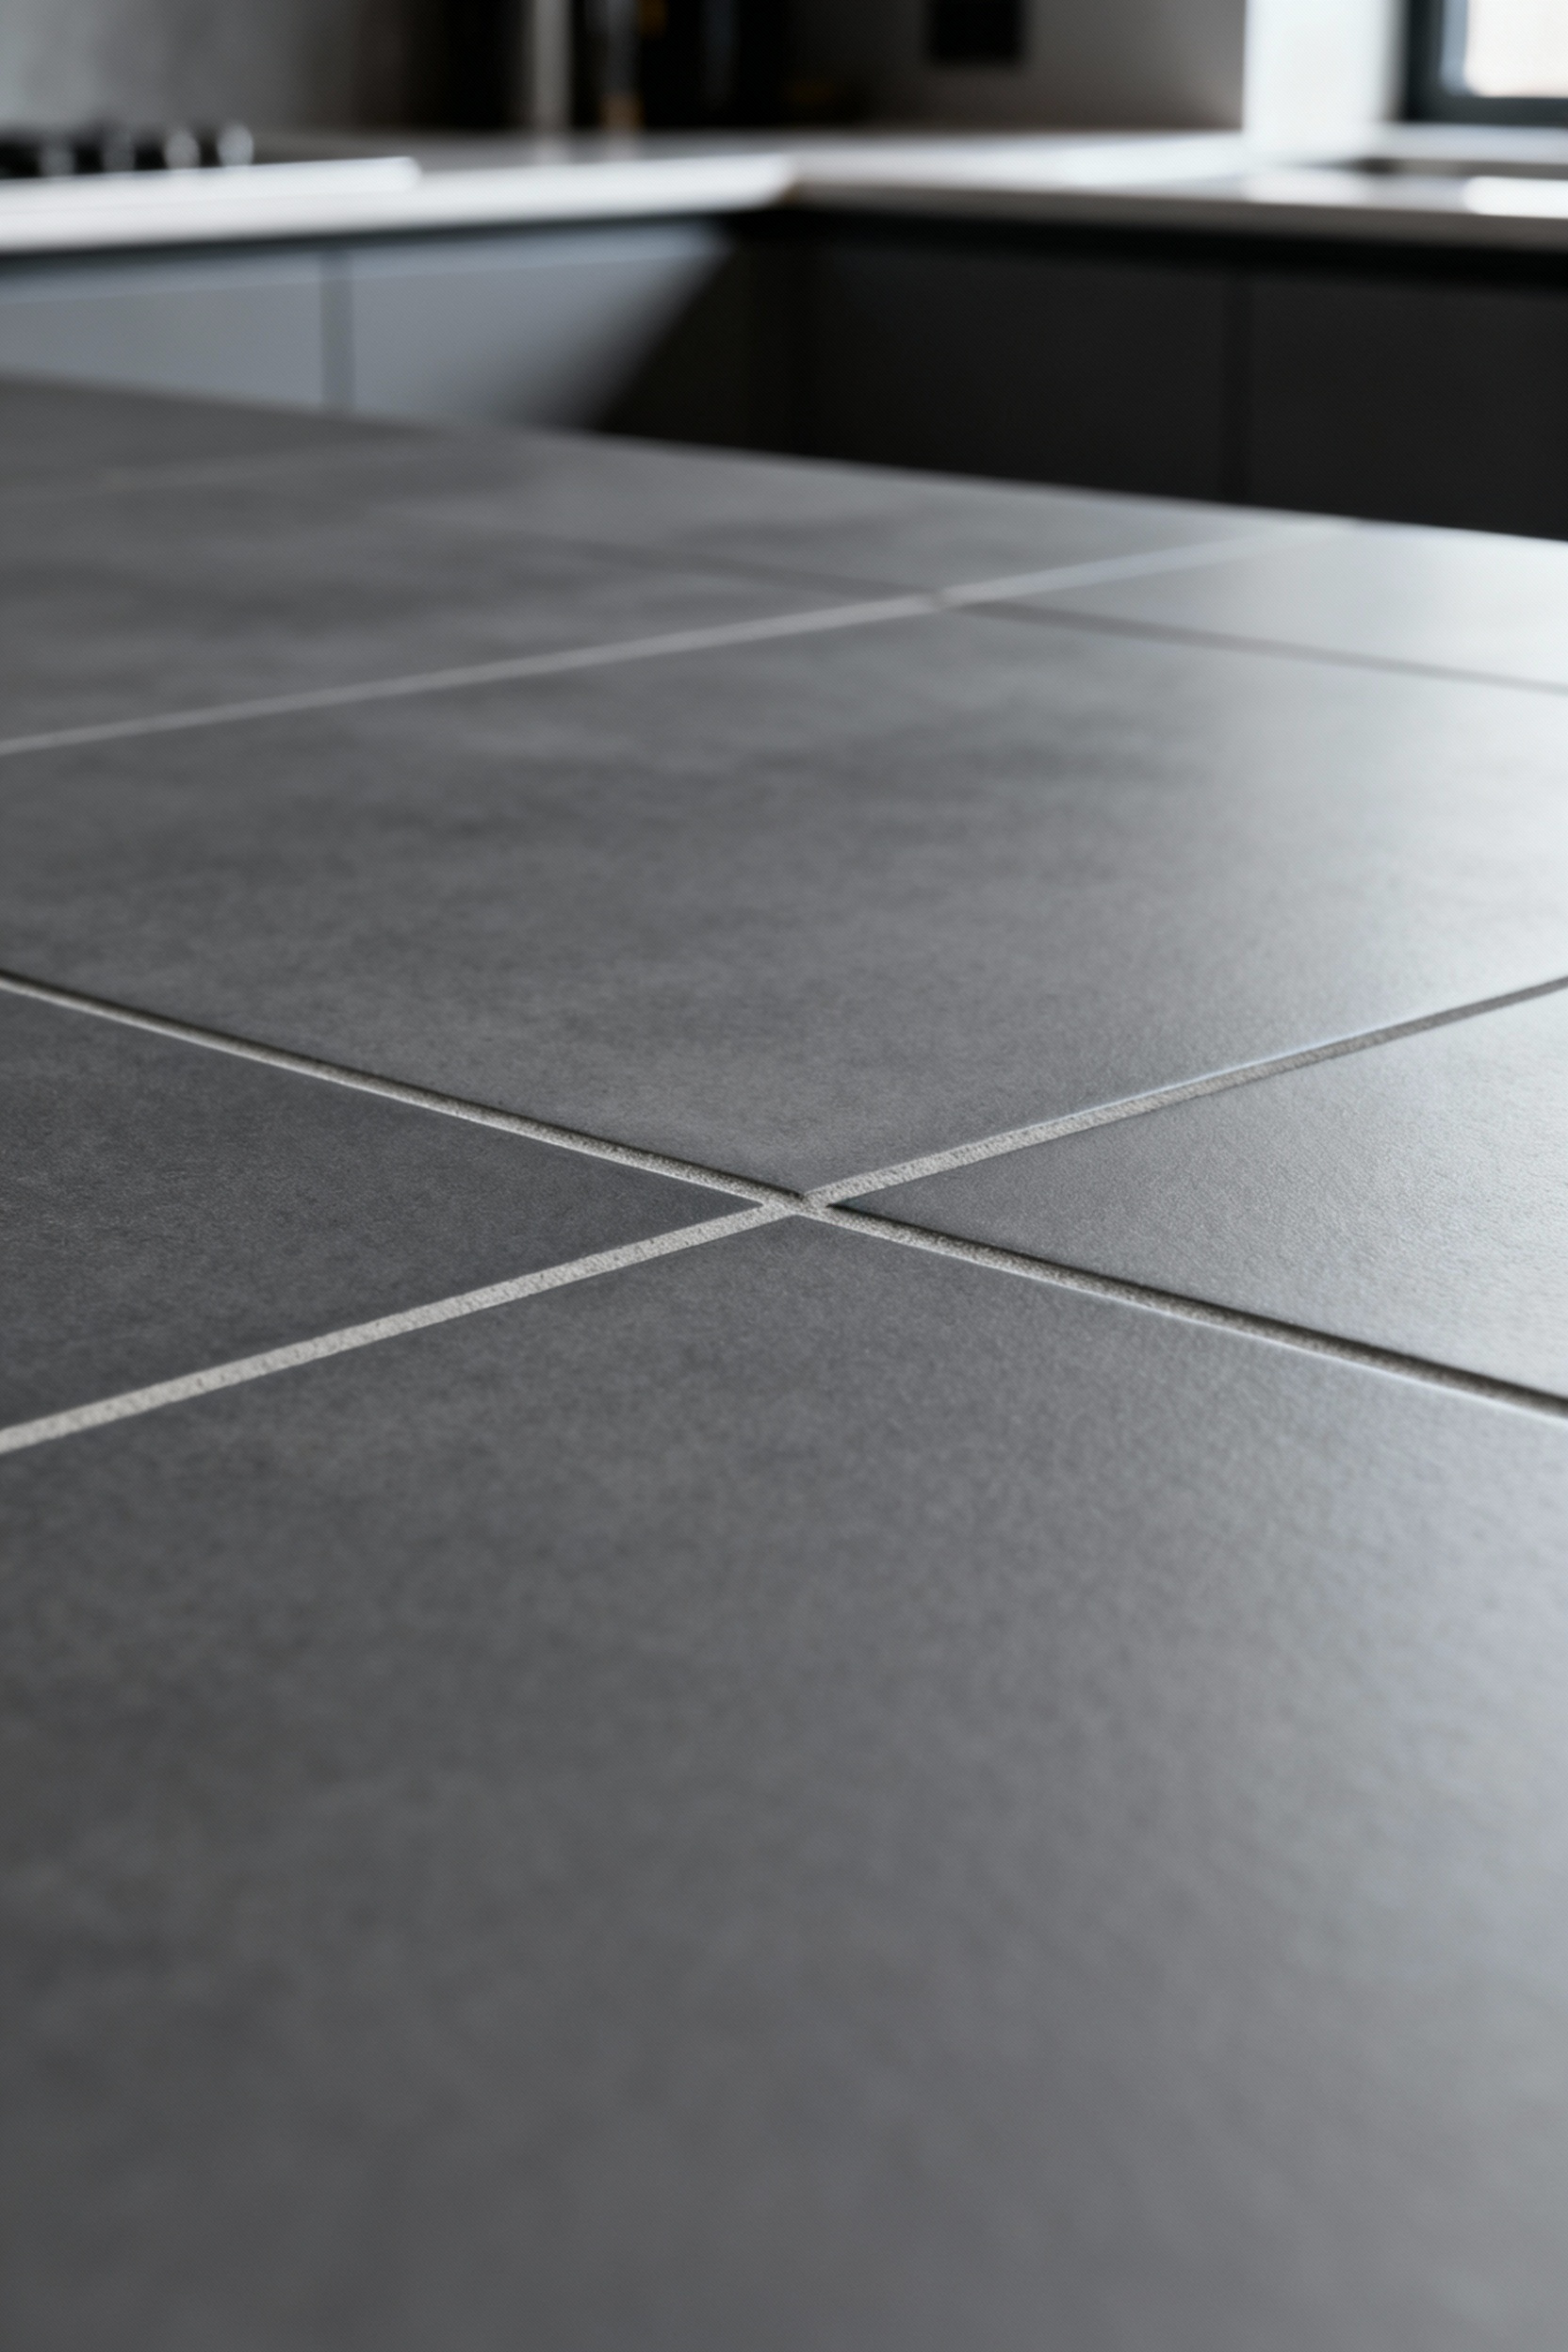
A design concept is only as good as its execution, and flawless execution begins with uncompromising measurement. This isn’t just about length and height. It’s about creating a precise topographical map of your wall. Get a quality steel tape measure and check dimensions at multiple points—walls in old buildings are rarely perfectly plumb or square. You need to account for those irregularities. Map out the exact boundaries: from countertop to the underside of the cabinets, wall to wall, or around the flank of an appliance.
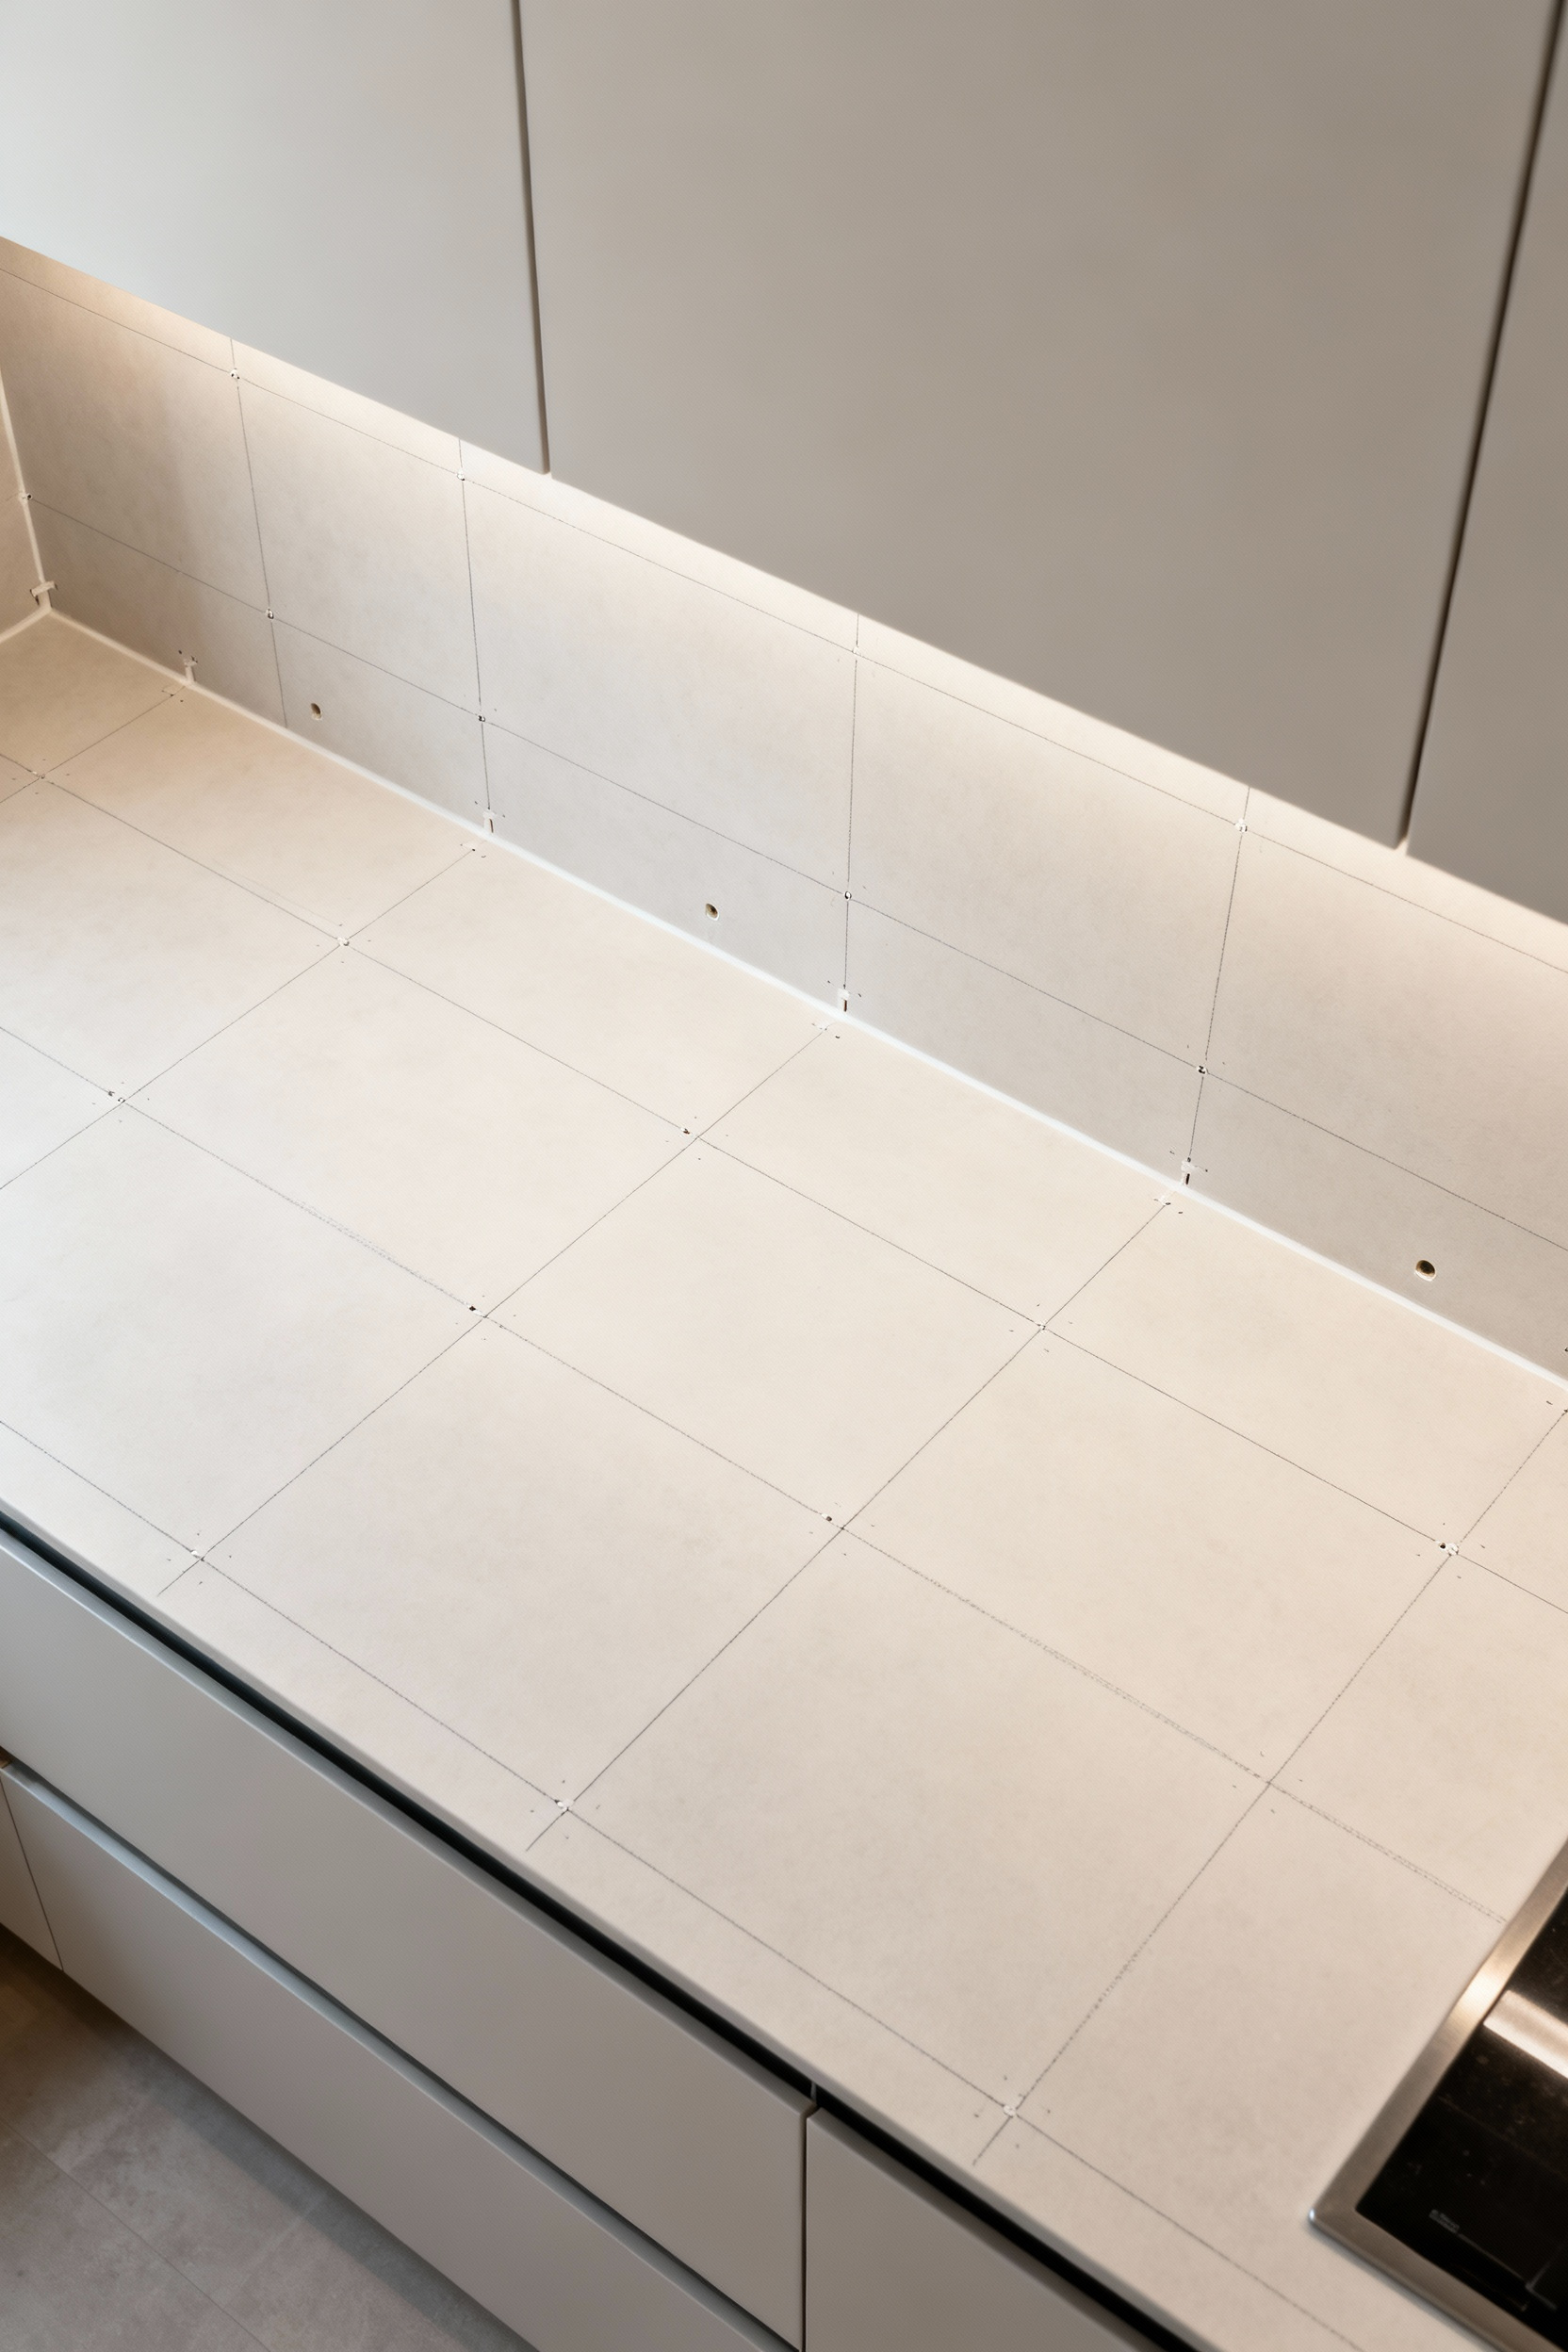
Then, you must account for interruptions. I learned this the hard way on an early factory conversion where we failed to precisely template the outlets on a reclaimed brick wall. The resulting cuts were messy and compromised the entire effect. You must create a detailed template, especially for complex areas around range hoods, window sills, and every single electrical box. Mark their positions with zero tolerance for error. This planning phase is also where you strategize your layout—deciding where a pattern will start and end to avoid awkward slivers of tile in highly visible areas. This isn’t just measuring; it’s a dry run of the entire installation on paper, and it’s the single best way to prevent costly mistakes.
3. Mastering Simple Adhesives: Secure Tile Installation for Enduring Adherence
The integrity of your backsplash relies entirely on the bond between the tile and the wall. Your material is only as good as the adhesive holding it in place. The common starting point is a pre-mixed mastic adhesive. It’s easy to use and perfectly adequate for lightweight ceramic tiles in areas with low moisture. Think of it as the entry-level solution.
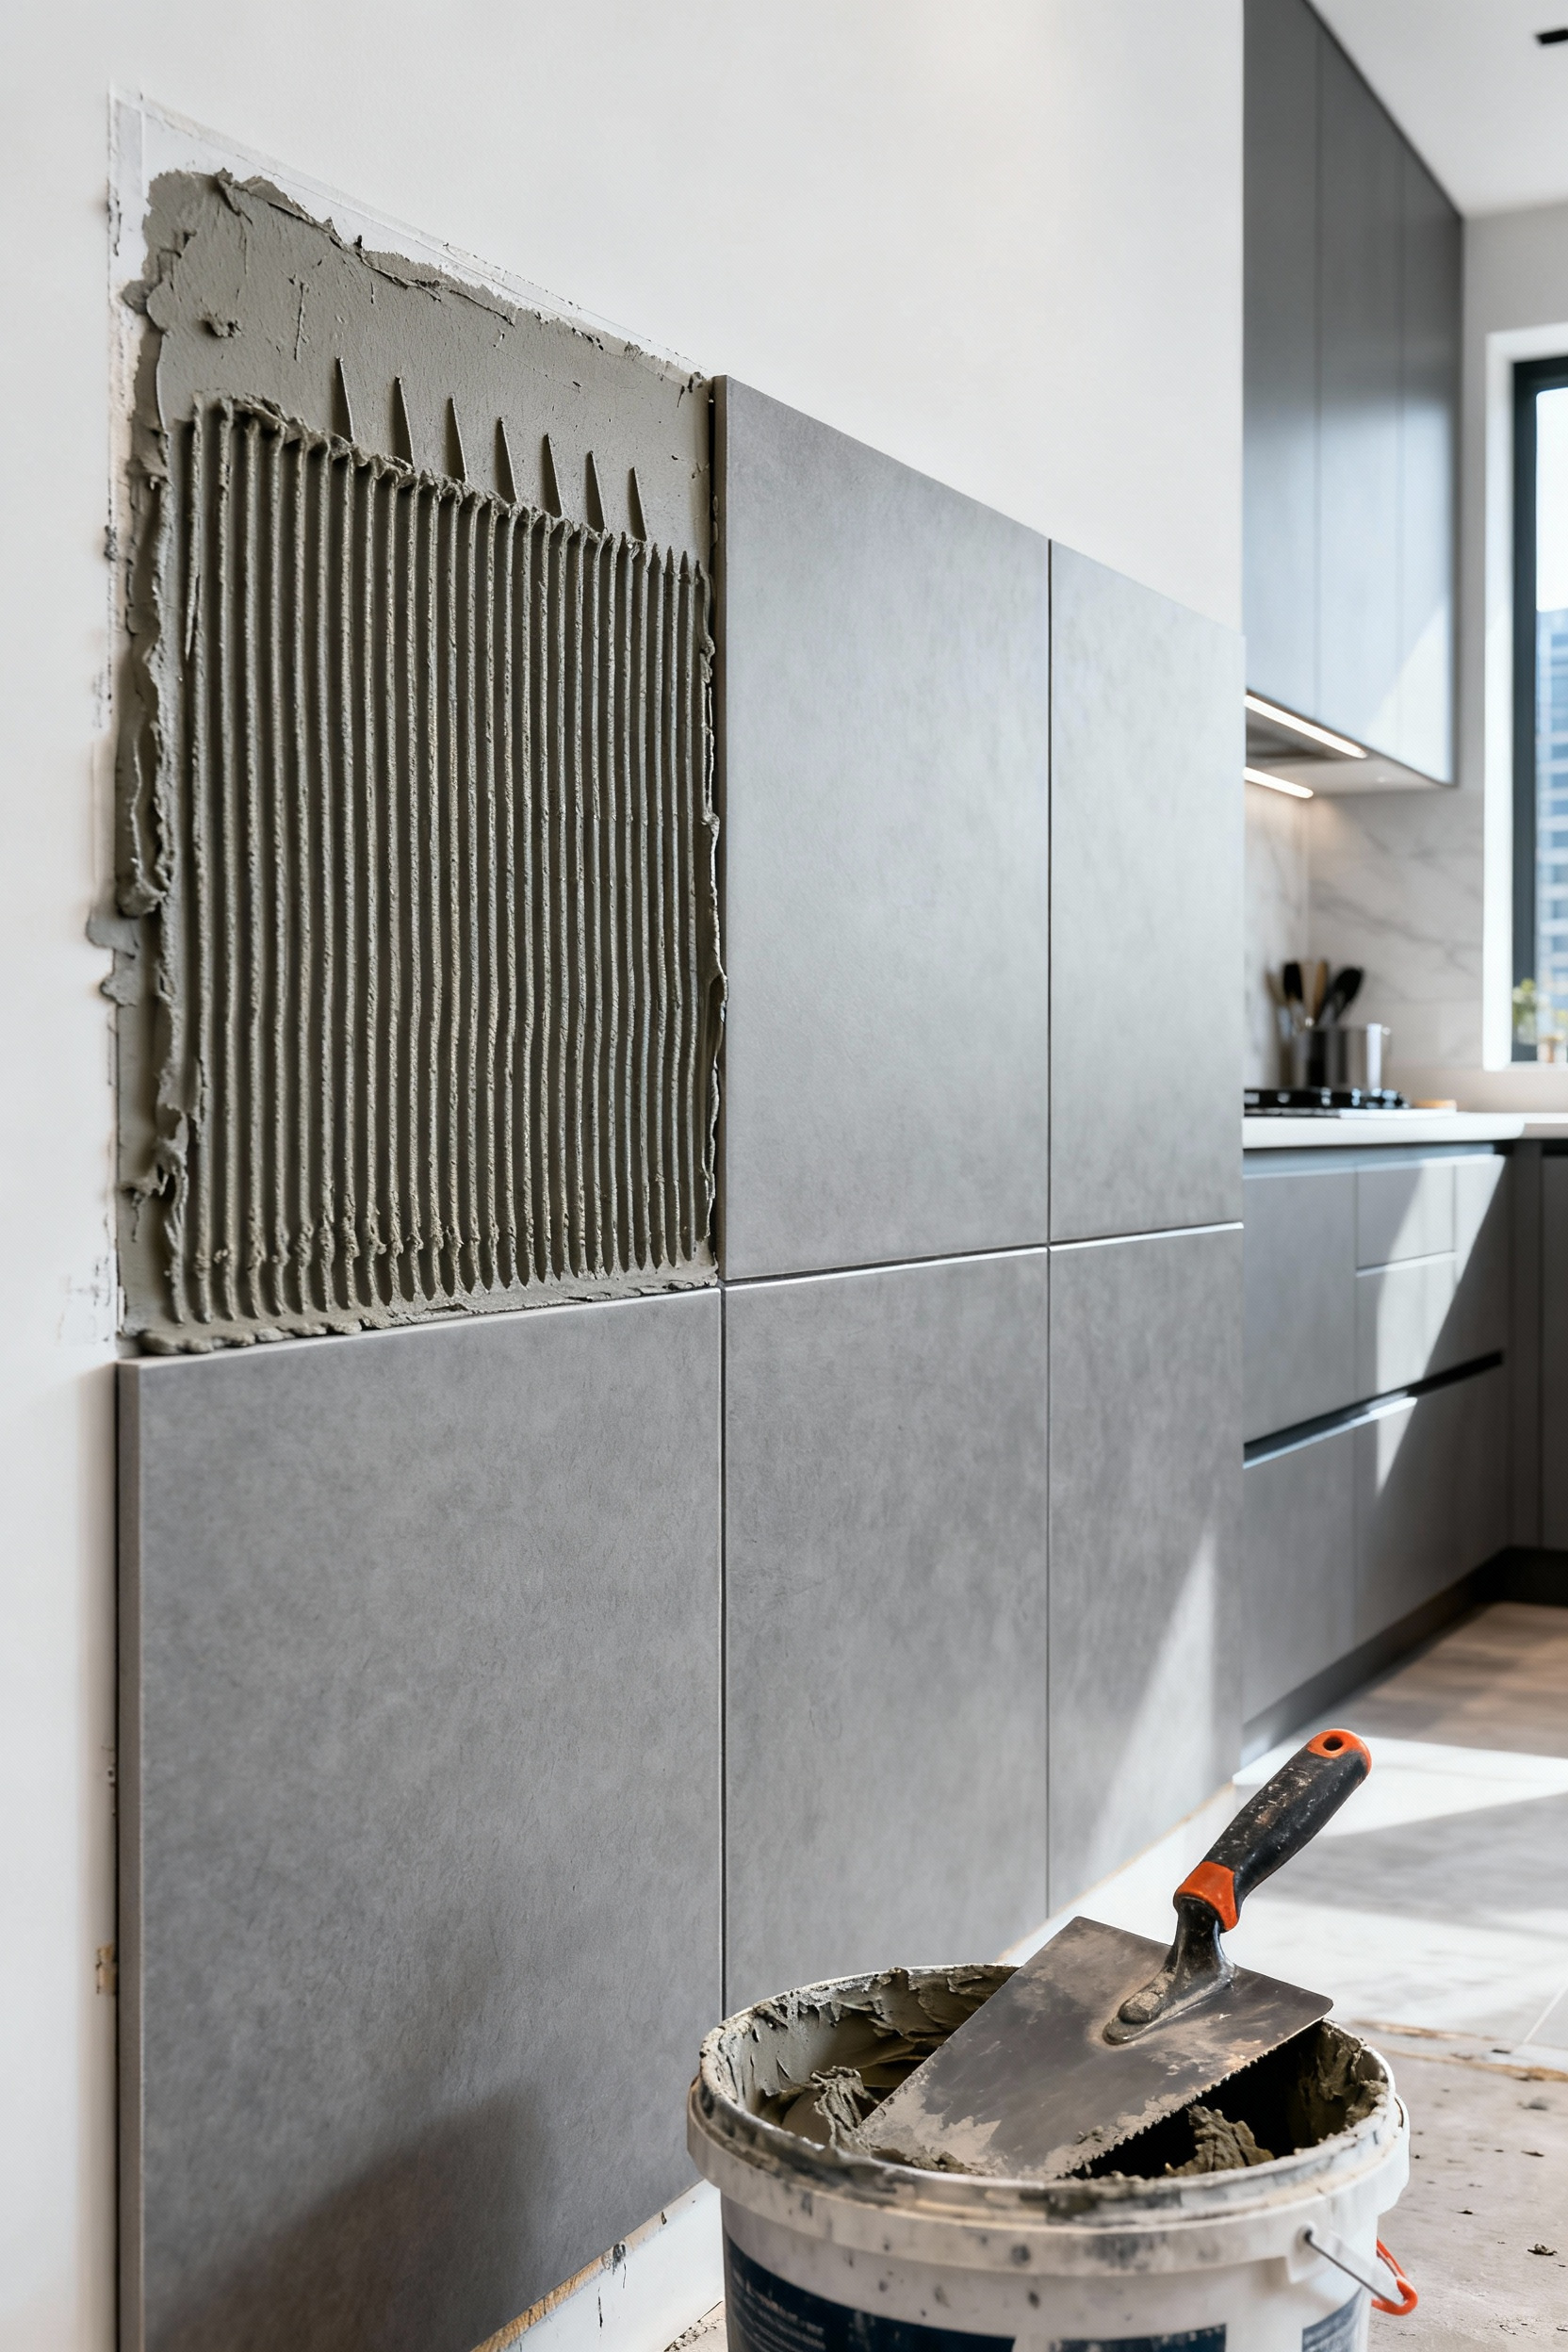
But for heavier materials like natural stone, large-format porcelain, or in any area that gets significant moisture—which is most of the kitchen—you must upgrade to thin-set mortar. This is a cement-based product you mix yourself. Getting the consistency right is crucial; too watery and it loses strength, too thick and it’s unworkable. In my industrial loft conversion expert practice, this is a non-negotiable shift. An industrial space demands industrial-strength solutions. For the ultimate bond, especially with non-porous materials or in commercial-grade kitchens, epoxy adhesive is the professional standard. It’s unforgiving to work with due to a short set time, but it creates a bond that is essentially waterproof and permanent. Whatever you choose, proper application is key: use a notched trowel to create ridges, ensuring full coverage on the wall, and always “back-butter” the tile itself to eliminate air pockets that lead to failure.
4. The Art of Grouting: Achieving Impervious Seals and Polished Aesthetics
Grouting is the final step, but it’s far more than just filling gaps. It is the component that locks the entire system together, providing a critical barrier against moisture and debris. The common choice is cement-based grout, which comes sanded for wider joints (1/8″ or more) and unsanded for thinner lines. The choice is dictated by your tile spacing. But like adhesives, the standard option has its limits.
In a high-use urban kitchen, I strongly advocate for epoxy grout. Cementitious grout is porous and will stain over time, no matter how well it’s sealed. Epoxy grout, on the other hand, is a two-part system that cures into a non-porous, plastic-like consistency. It’s chemically inert, stain-proof, and completely waterproof. Frankly, it’s the only choice for an industrial-style kitchen that’s actually meant to be used. Applying it is a race against the clock, demanding skill to work it into the joints and clean the excess before it cures. The color choice is also a significant design decision. A contrasting grout will create a graphic grid that highlights the pattern, while a matching grout creates a more monolithic, seamless surface. Grouting isn’t just cleanup; it’s a design discipline in its own right.
Essential Kitchen Backsplash Fundamentals for Durability and Style (Part 2)
Here we move into the details that separate a standard job from a true architectural installation. It’s about managing the transitions, edges, and connections that create a truly cohesive and durable finish. Get these wrong, and the entire effect is undermined.
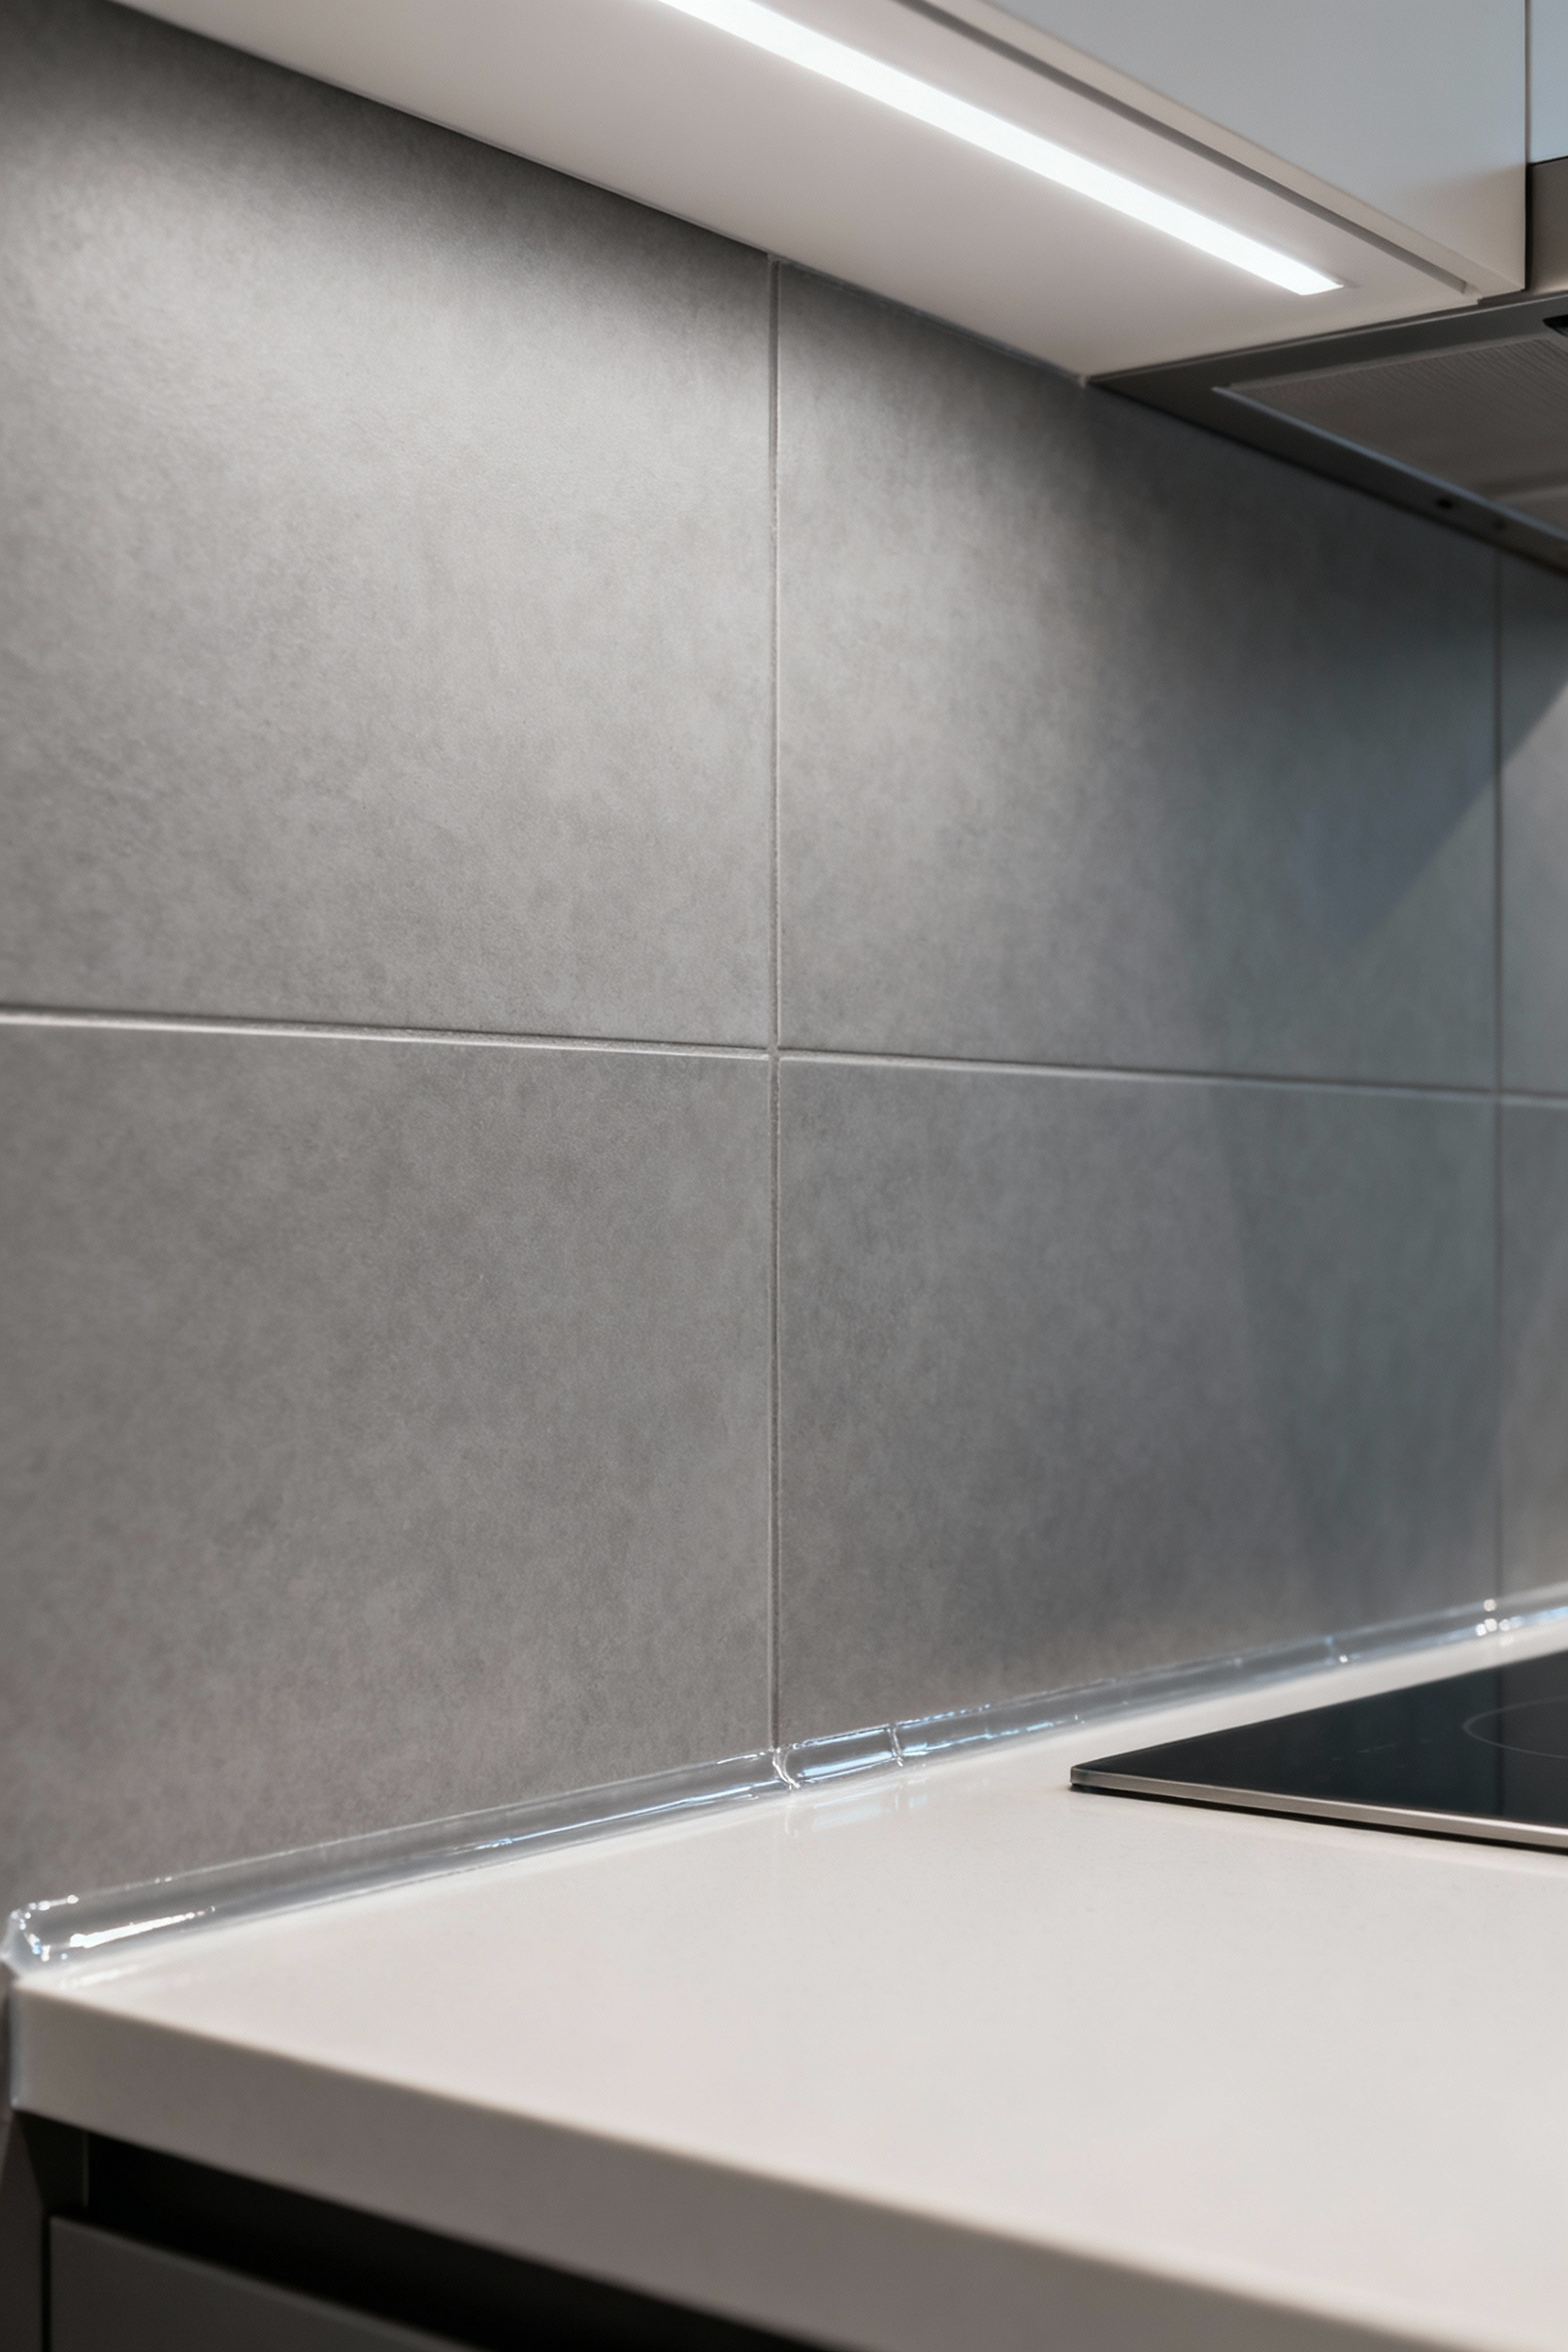
5. Smart Edging Solutions: Professional Finishes for Seamless Backsplash Transitions
The way a backsplash terminates is a detail that speaks volumes about the quality of the work. Just letting the tile end and caulking the edge is an amateur move. A poorly finished edge isn’t just a visual flaw; it’s a weak point, vulnerable to chipping and moisture intrusion. It signals a lack of foresight.
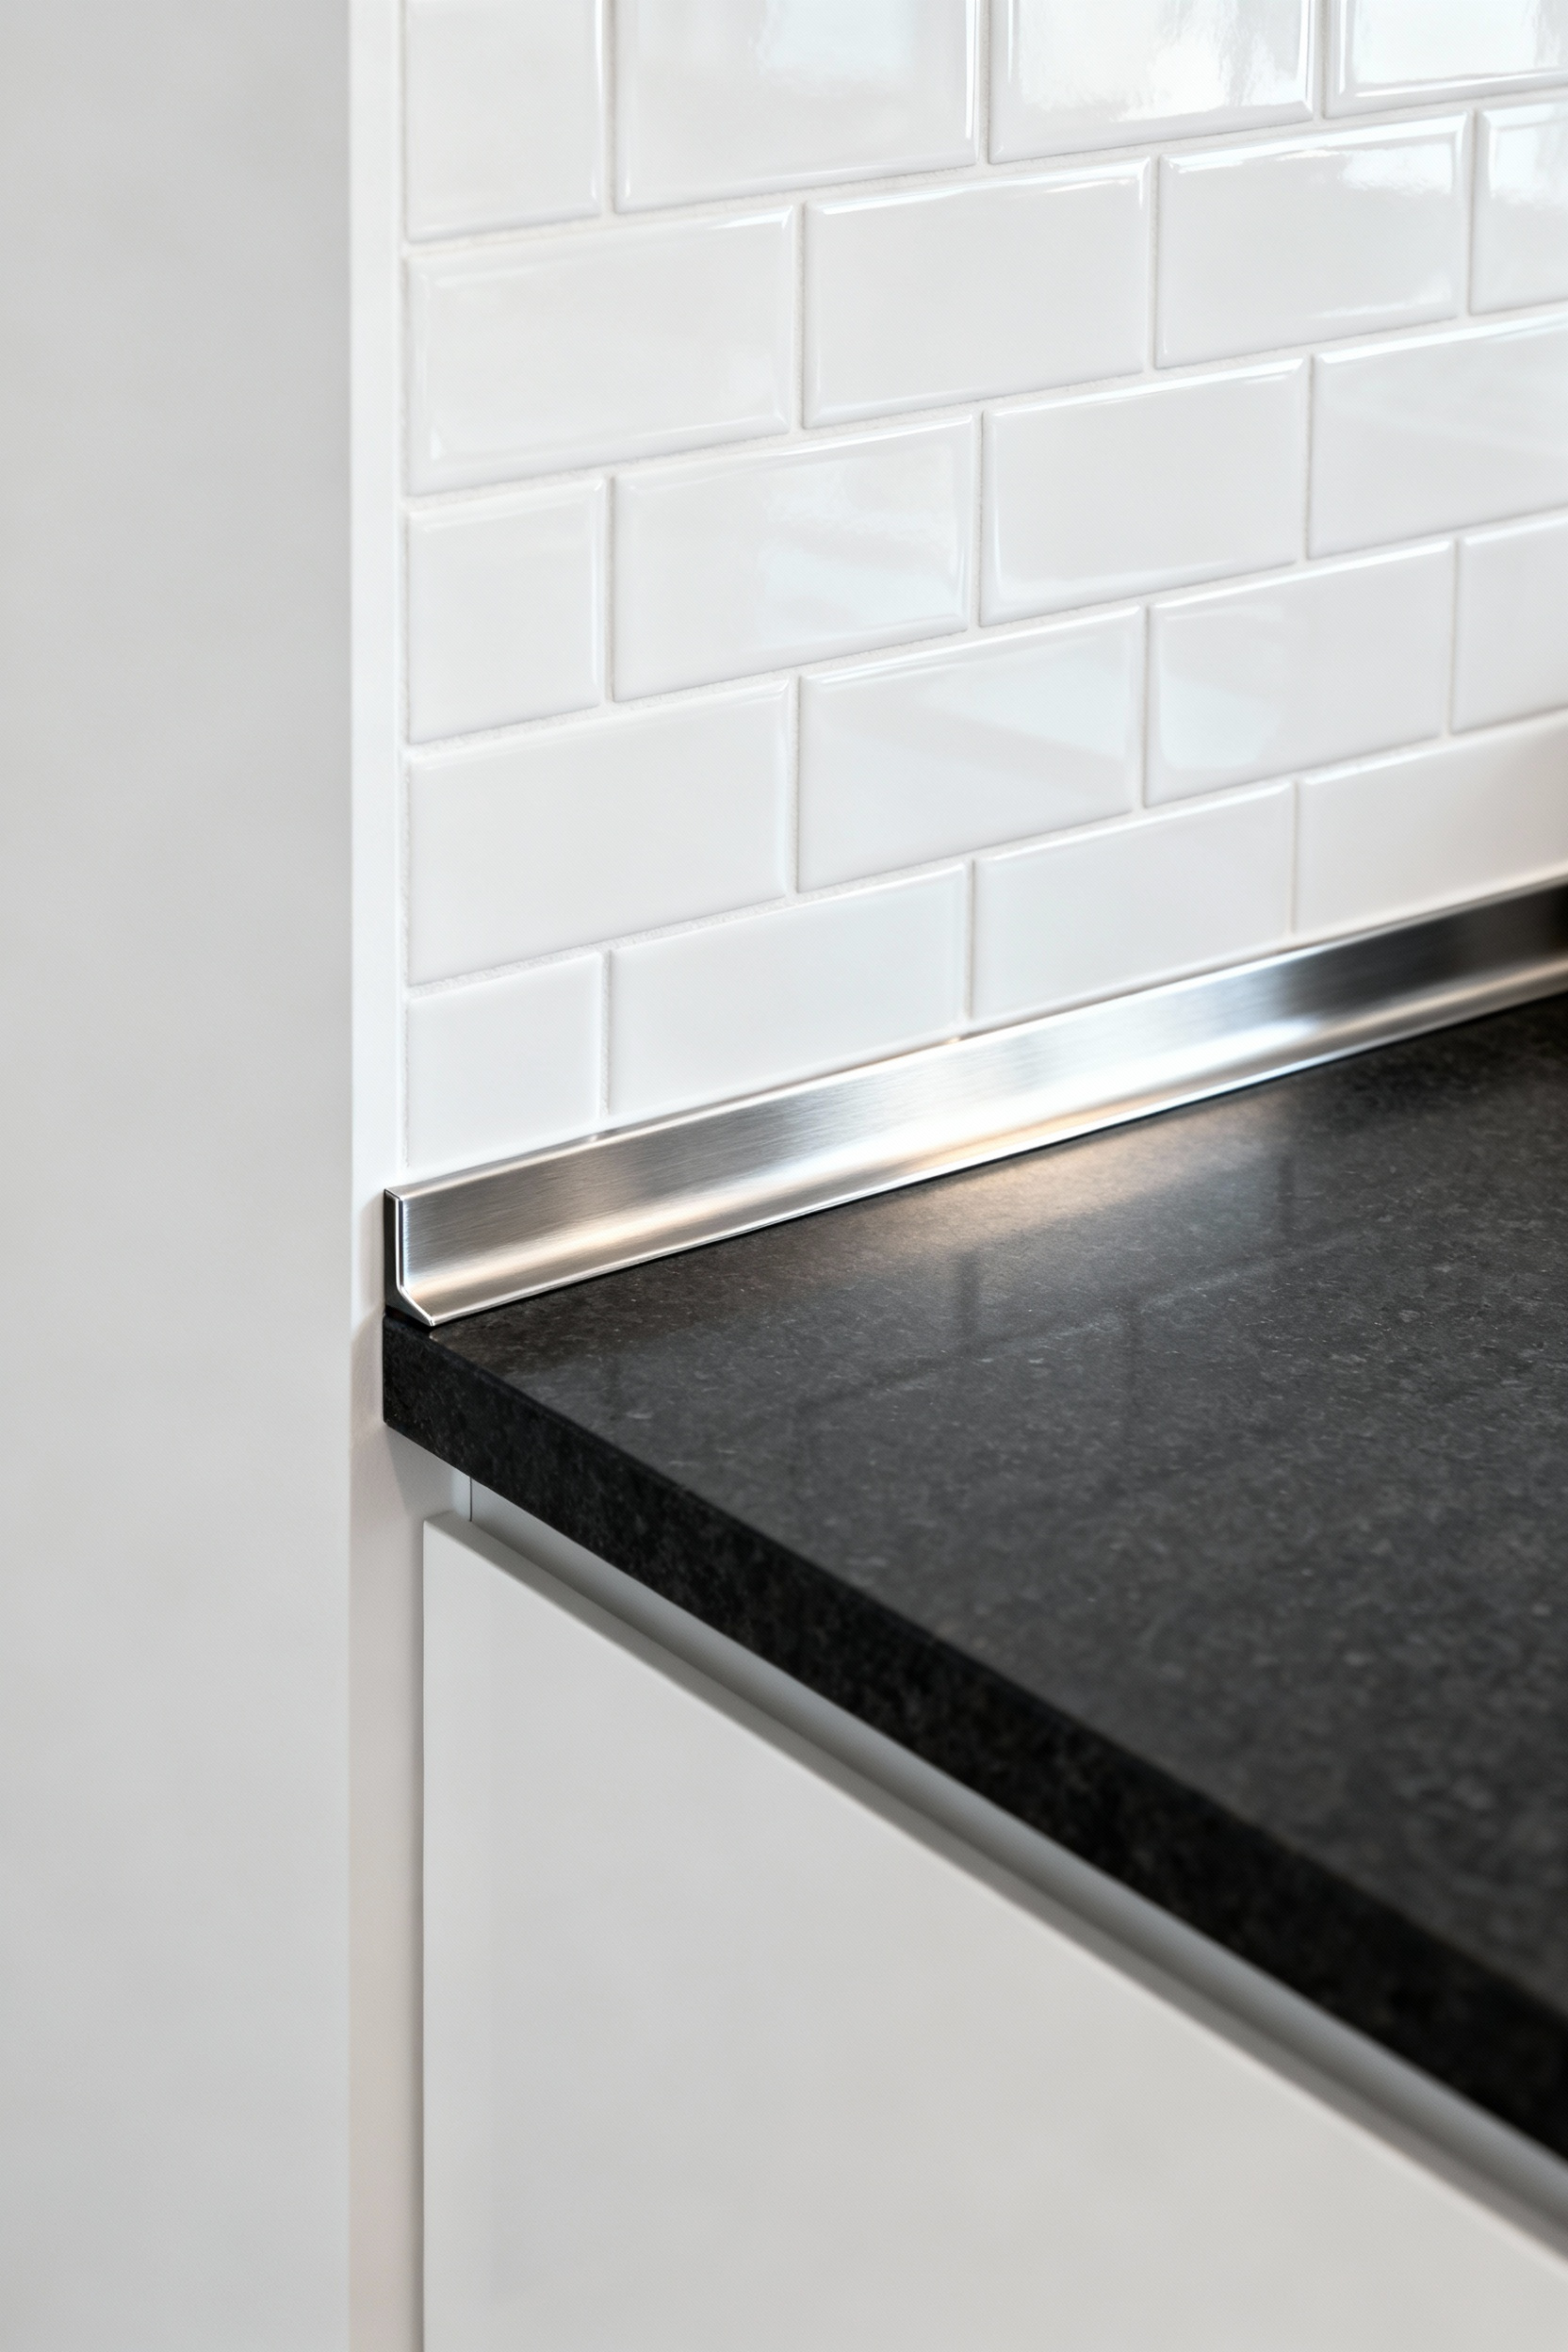
A more professional approach involves using manufactured trim pieces, like the profiles made famous by Schluter. These thin strips of metal or PVC cap the raw edge of the tile, providing a clean, protective line. They come in finishes from brushed steel to matte black, allowing you to either blend them in or use them as a deliberate graphic accent. What I tell my clients is to think of these edges like the frame of a painting. A sleek black profile against white subway tile, for example, can echo the black steel of original factory windows in a loft, creating a subtle but powerful connection. For natural stone or large-format slabs, the pinnacle of finishing is the mitered edge. By cutting two tiles at 45-degree angles, they meet to form a seamless corner that looks like a solid, continuous block of stone. It’s technically demanding, but the result is pure architectural elegance. How your backsplash meets the wall, the window, or another material isn’t a footnote; it’s a critical part of the design story.
Elevating Your Backsplash Design with Intermediate Material Integration (Part 1)
Now that the fundamentals are established, we can begin to layer in complexity. This is about moving beyond a single material and exploring how composition, scale, and pattern can create a more dynamic and sophisticated kitchen.
6. Integrating Multiple Material Tones: Harmonizing Contrast for Visual Depth and Sophistication
True design sophistication often emerges from the dialogue between different tones and textures. Instead of a single, monolithic choice, consider a more curated composition. The simplest version of this is using grout as a design tool—a dark grout with light tile creates a bold, graphic look, while a matched grout creates subtlety. But we can push this much further.
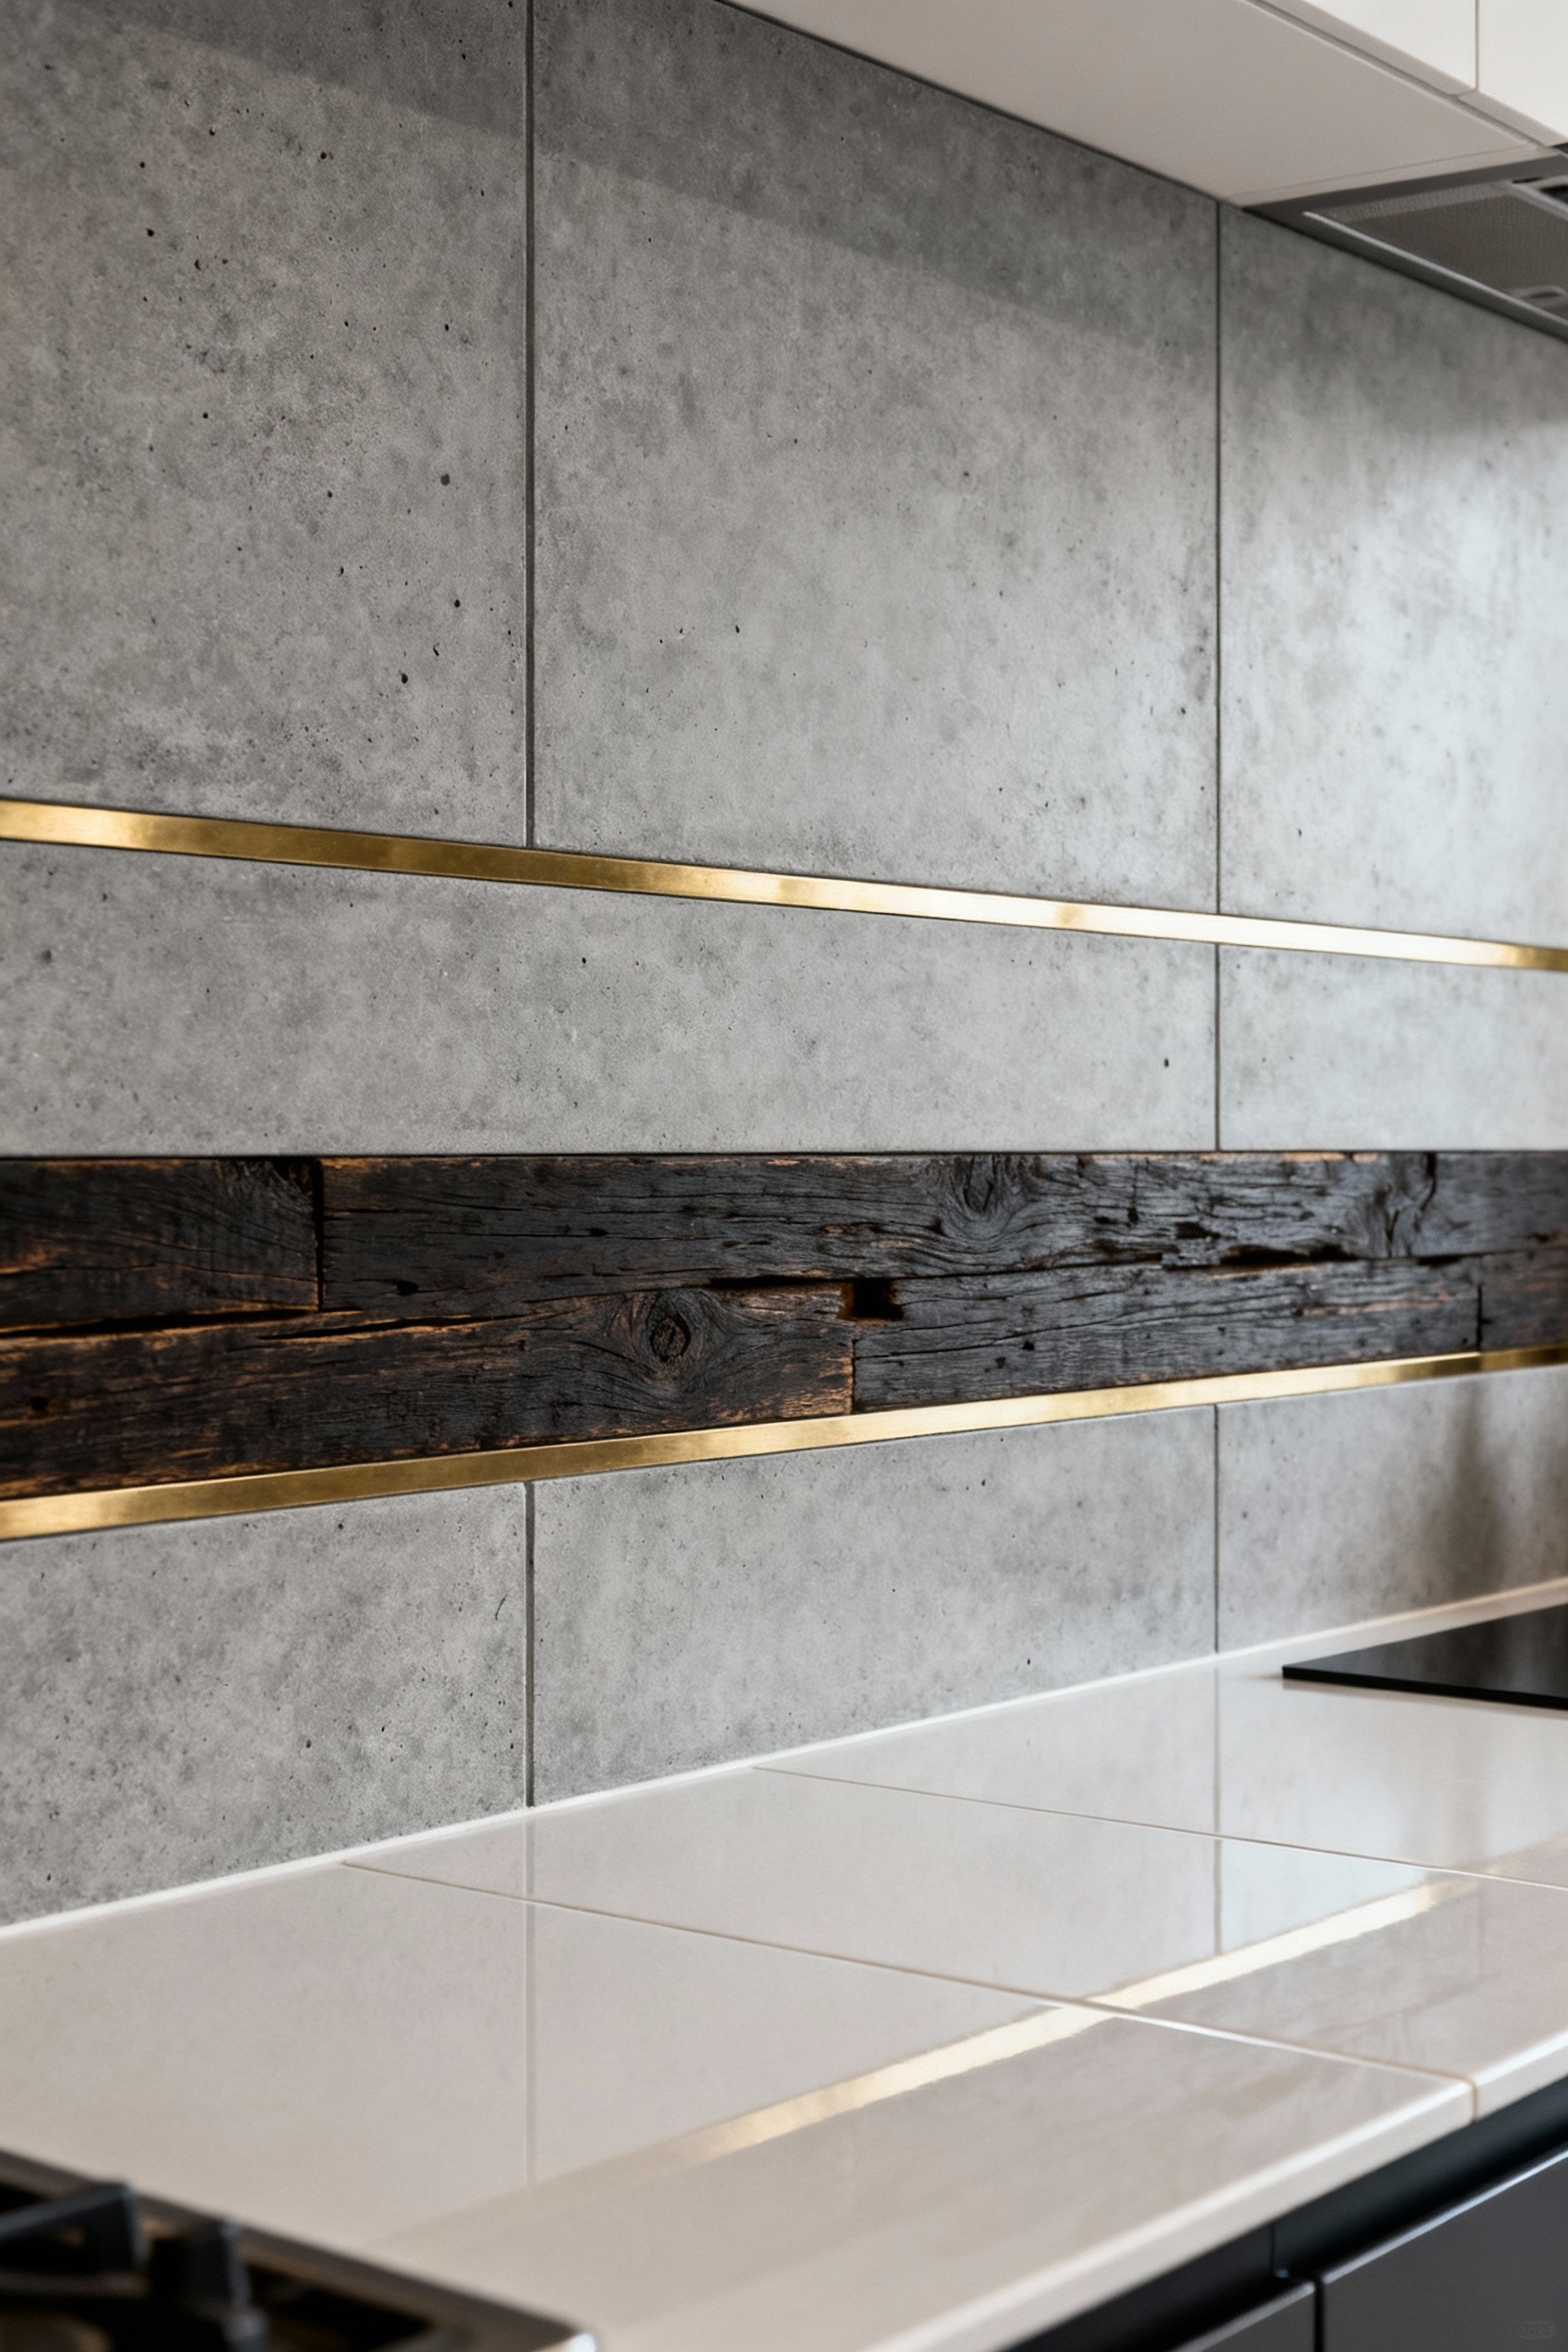
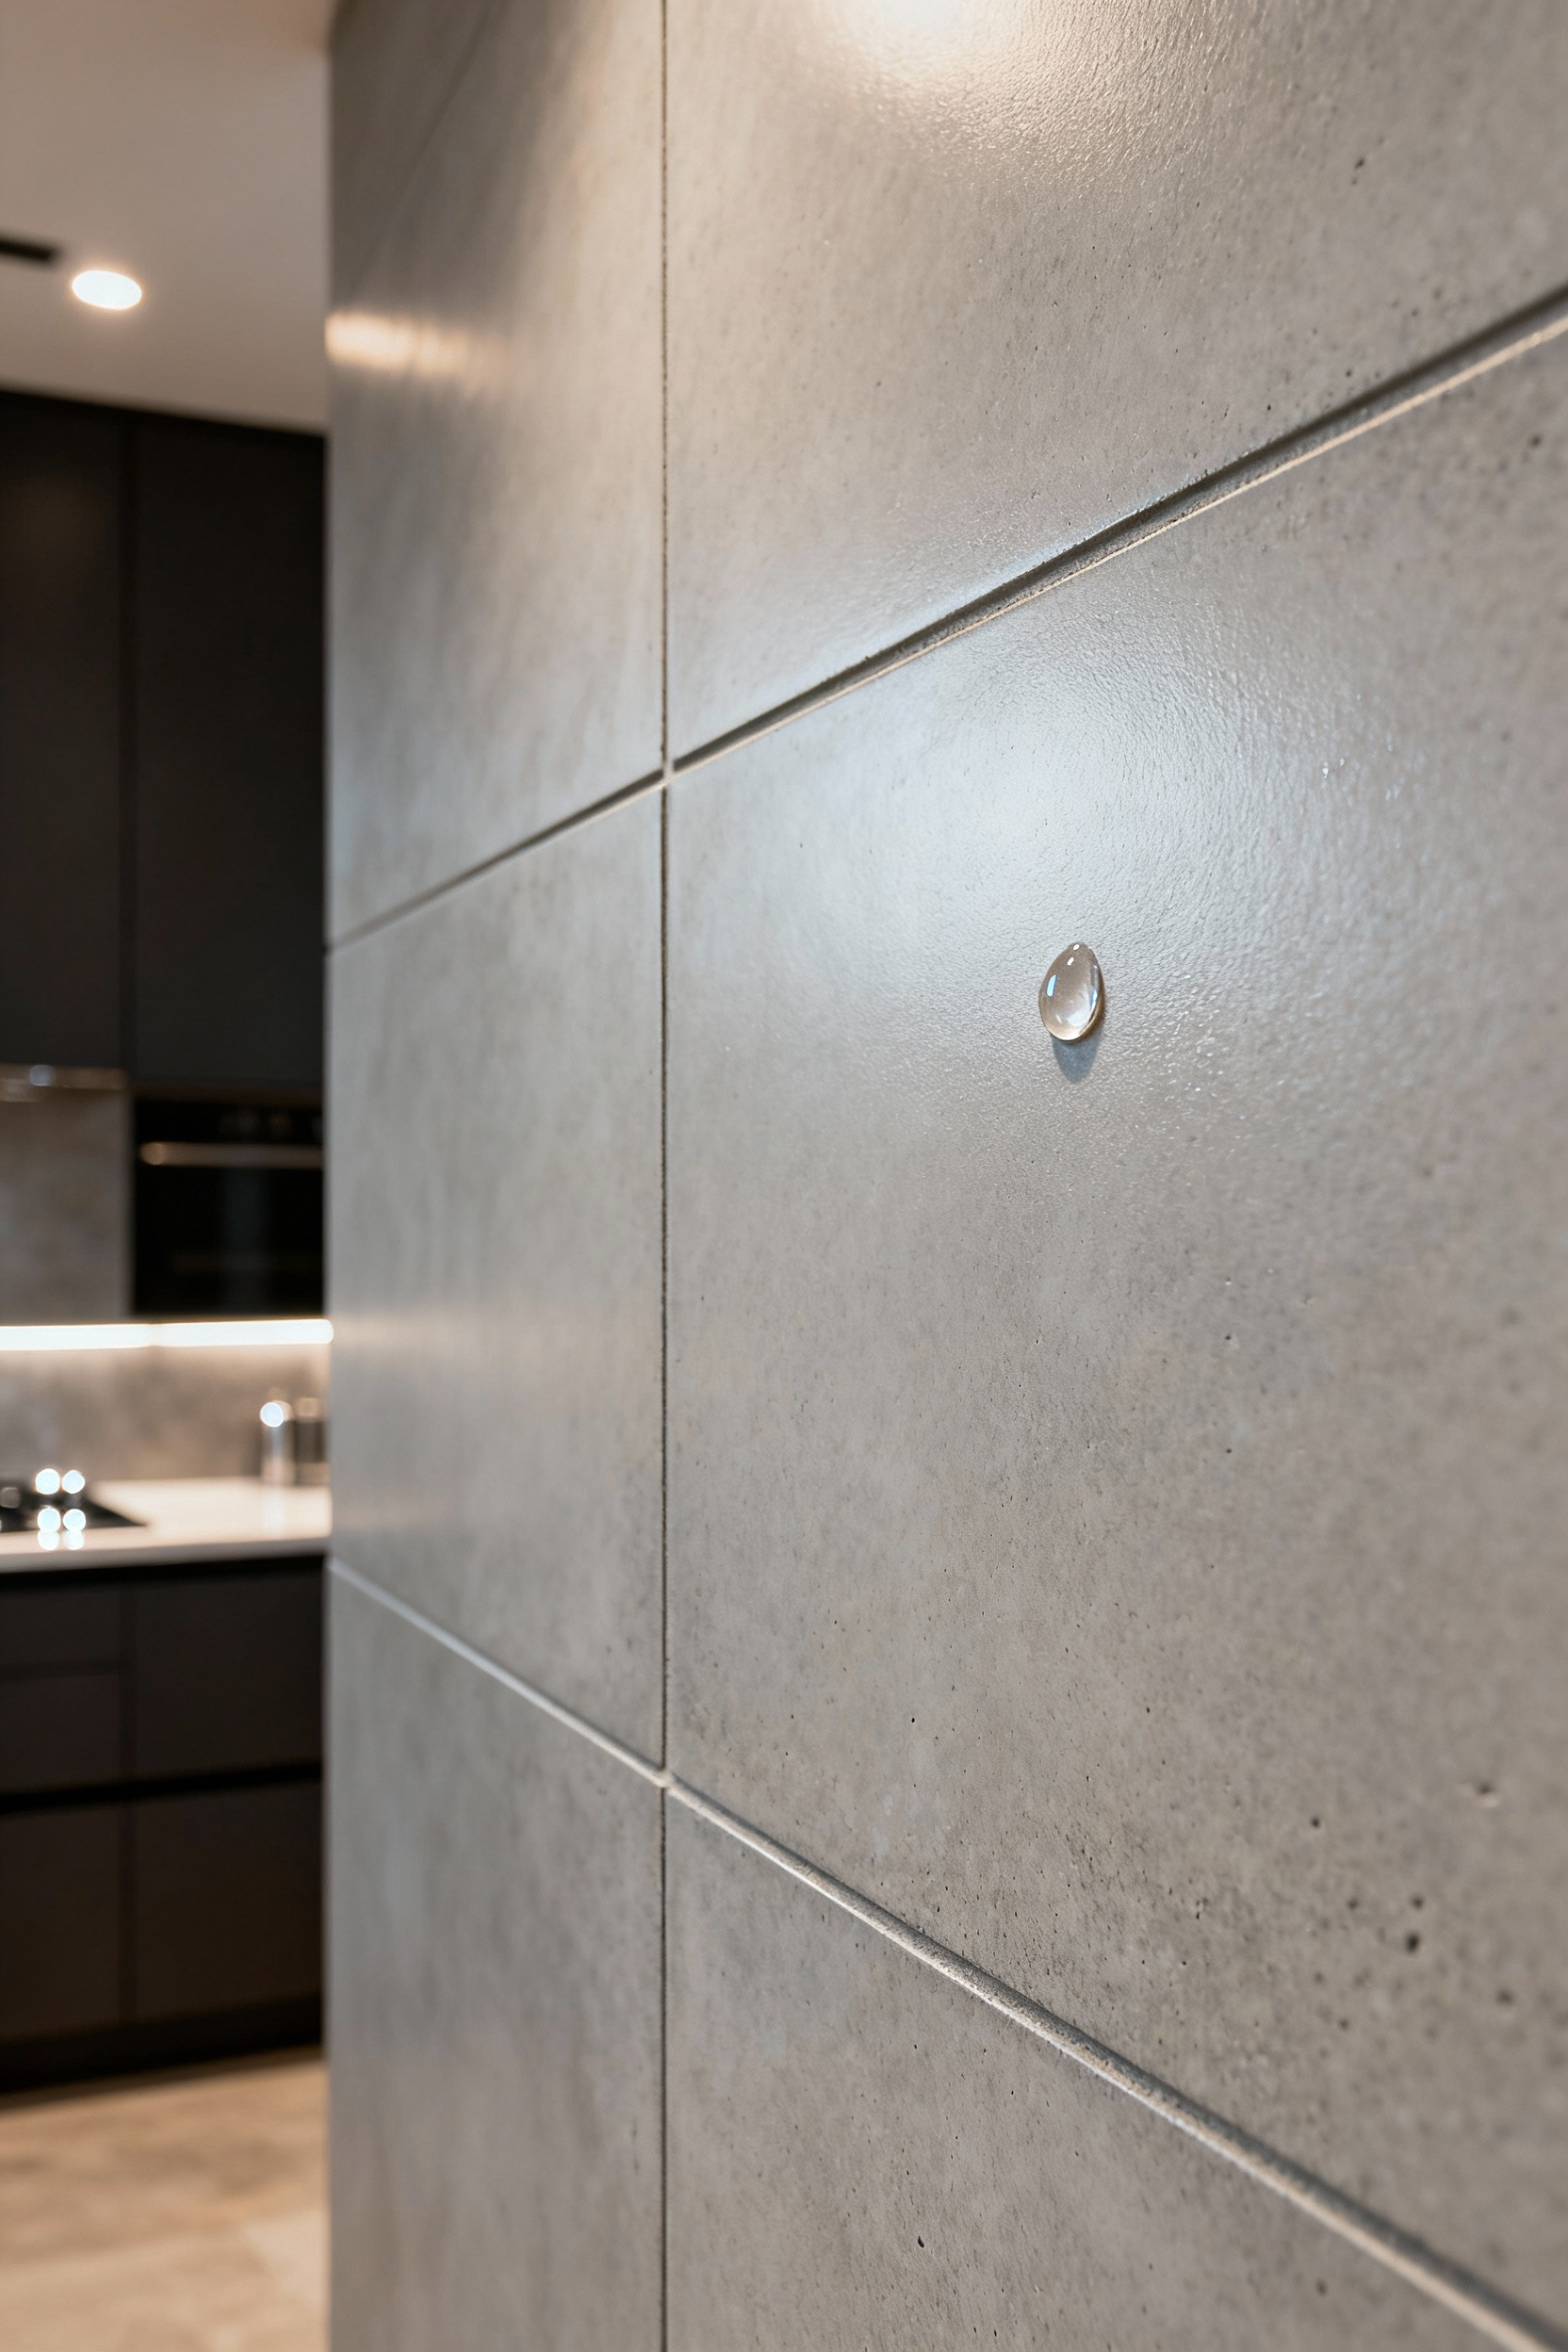
The next step is to combine materials. Imagine a field of muted, honed concrete tiles providing the primary backsplash, with a band of polished stainless steel running behind the range. The contrast in sheen and temperature—the warmth of the concrete against the cool precision of the steel—creates a focal point that is both functional and visually compelling. I’ve seen this play out when a client wanted to honor the original brick of their warehouse conversion but needed a cleanable surface behind the sink. We inset a large pane of back-painted glass into the brick, framing it with steel. It created a modern “window” within the historic wall, respecting both elements while solving a practical problem. The goal isn’t just random contrast, but a deliberate harmony where each material amplifies the qualities of the other.
7. Strategic Backsplash Zones: Prioritizing High-Impact Areas for Enhanced Resilience and Practicality
Not every inch of your backsplash faces the same level of abuse. The wall behind your cooktop is a war zone of heat and grease, while the area under a cabinet used for storage sees almost no action. A strategic approach acknowledges this reality by zoning the backsplash with different materials or heights based on function.

Behind a high-output range, it makes sense to run a highly durable, seamless material like a slab of quartz or a single piece of stainless steel from the counter to the ventilation hood. This creates an easy-to-clean “work zone” with zero grout lines. In less demanding areas, you can then transition to a more decorative or textured material, like handmade Zellige tile or even exposed, sealed brick. This zoning strategy is not only practical but also creates visual hierarchy. It allows you to invest in a stunning, high-performance material where it matters most, using it as a feature, while saving on less critical surrounding areas. It’s an intelligent allocation of both budget and design focus.
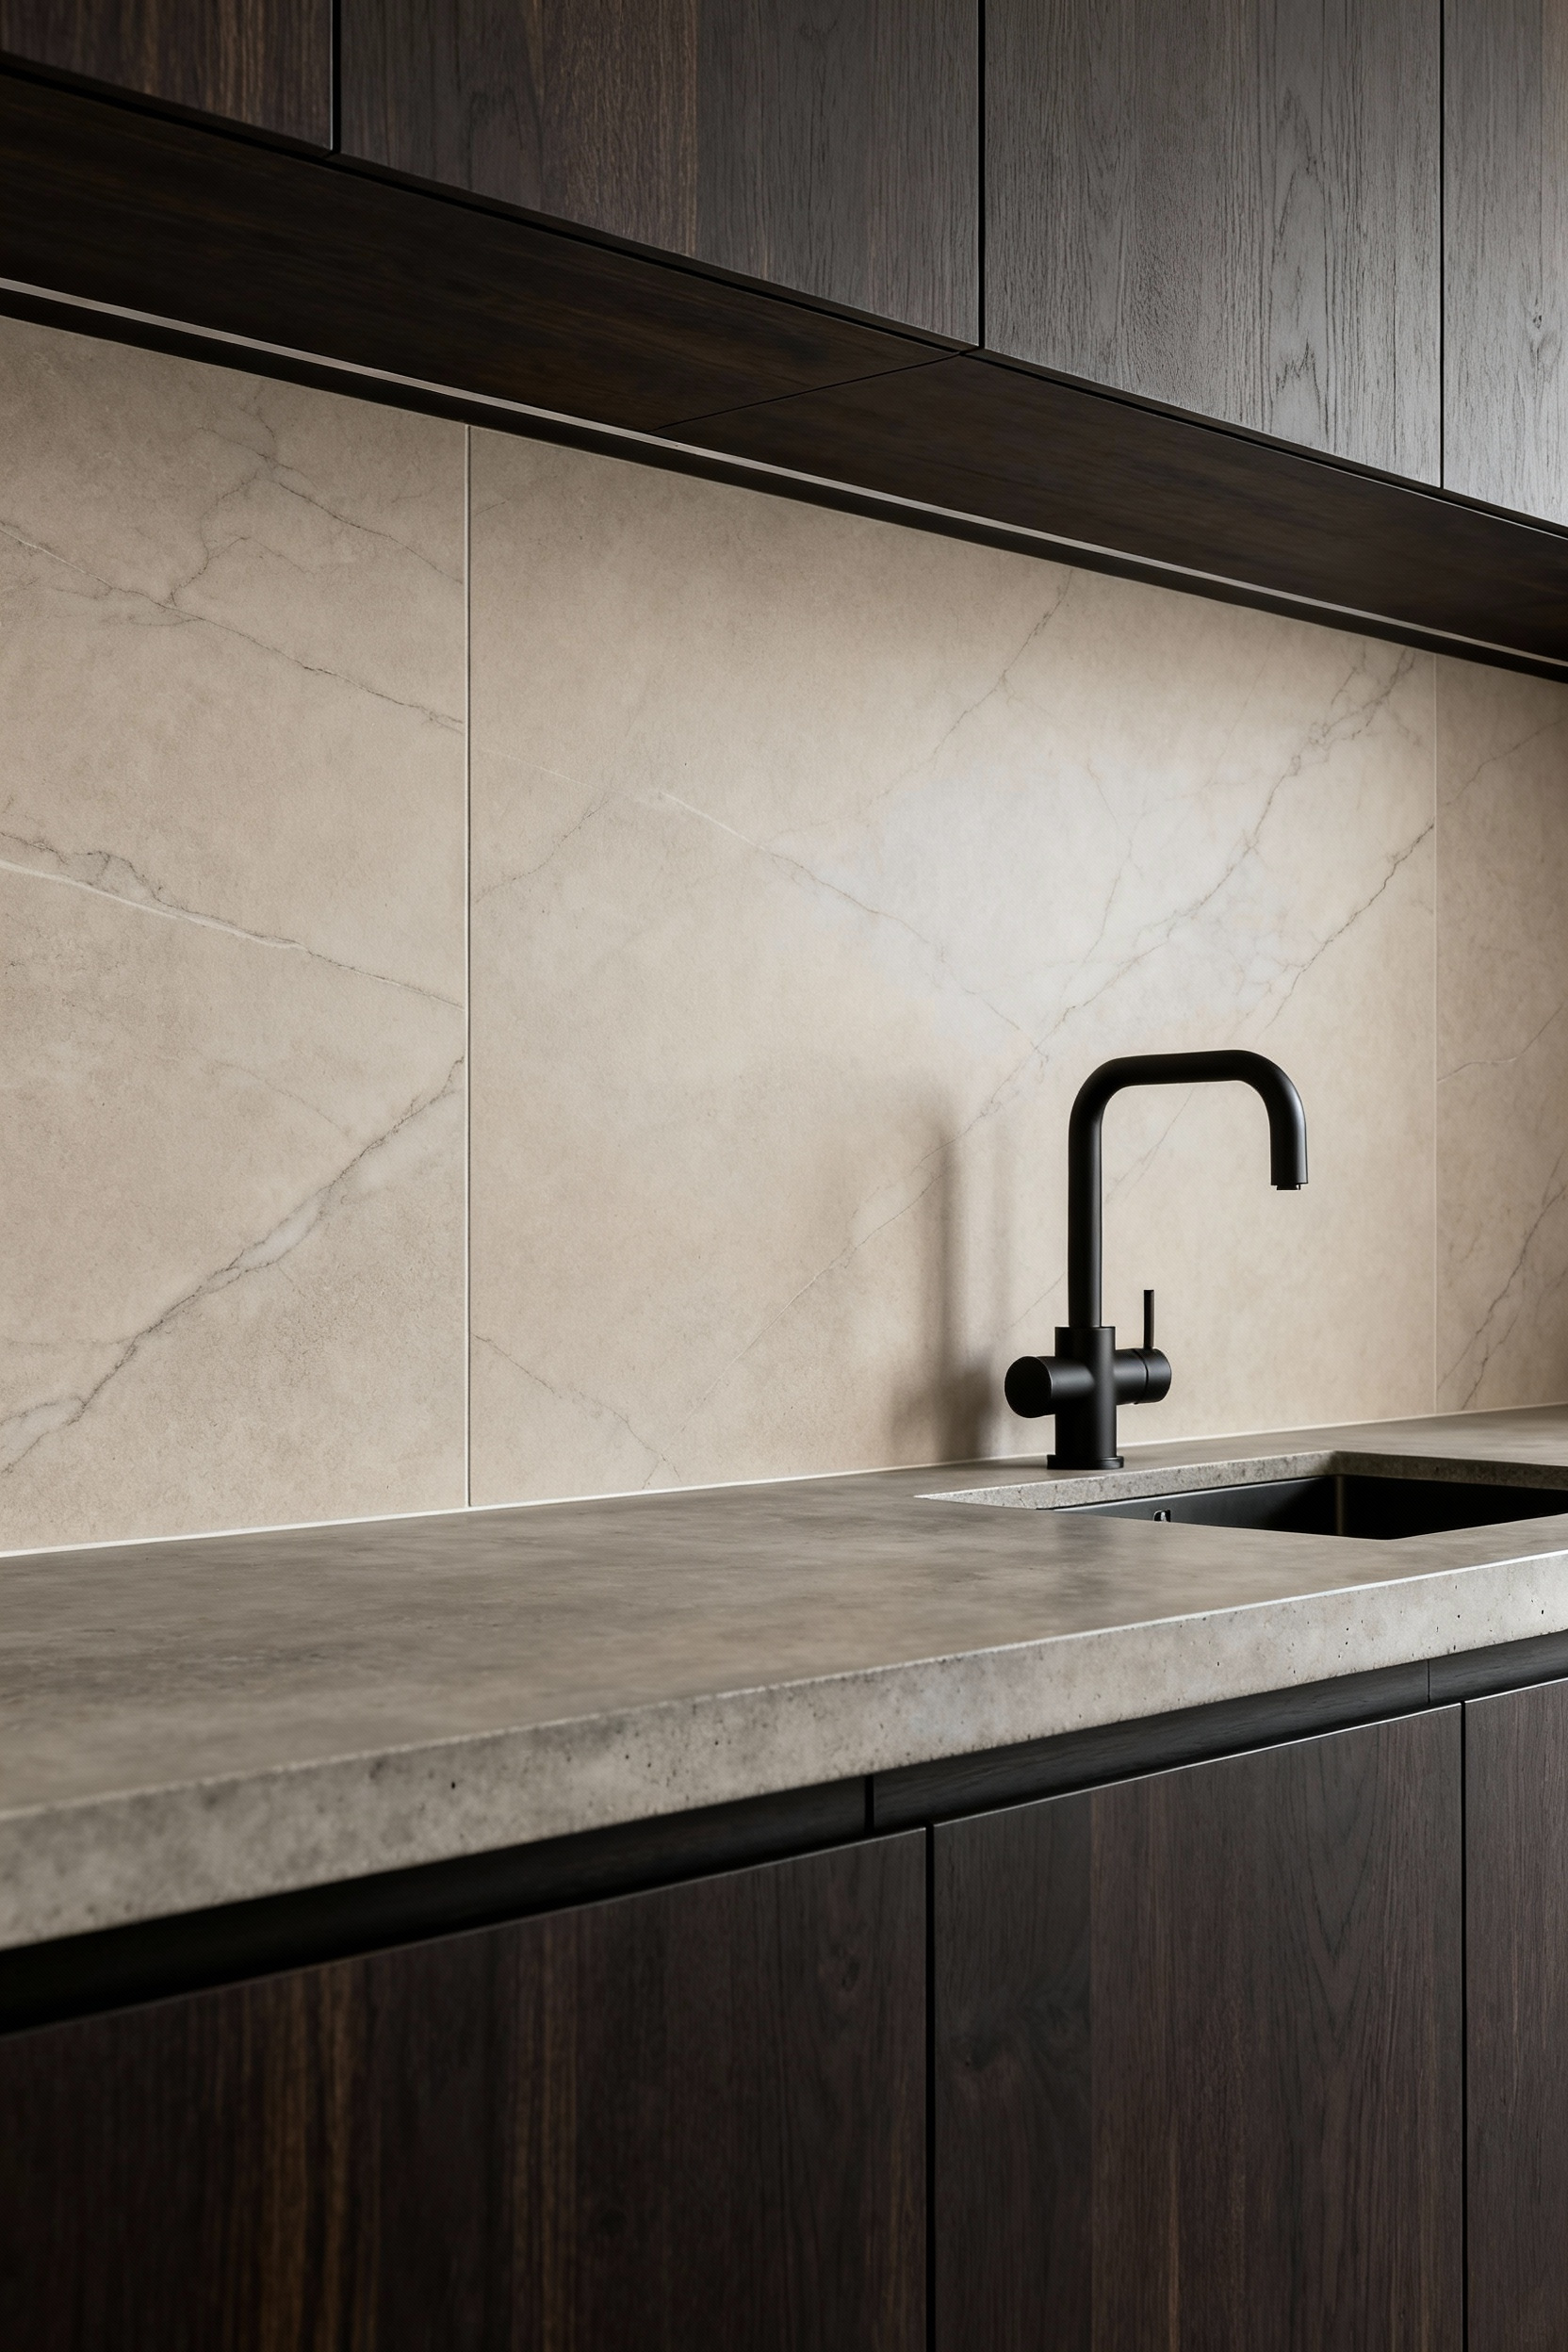
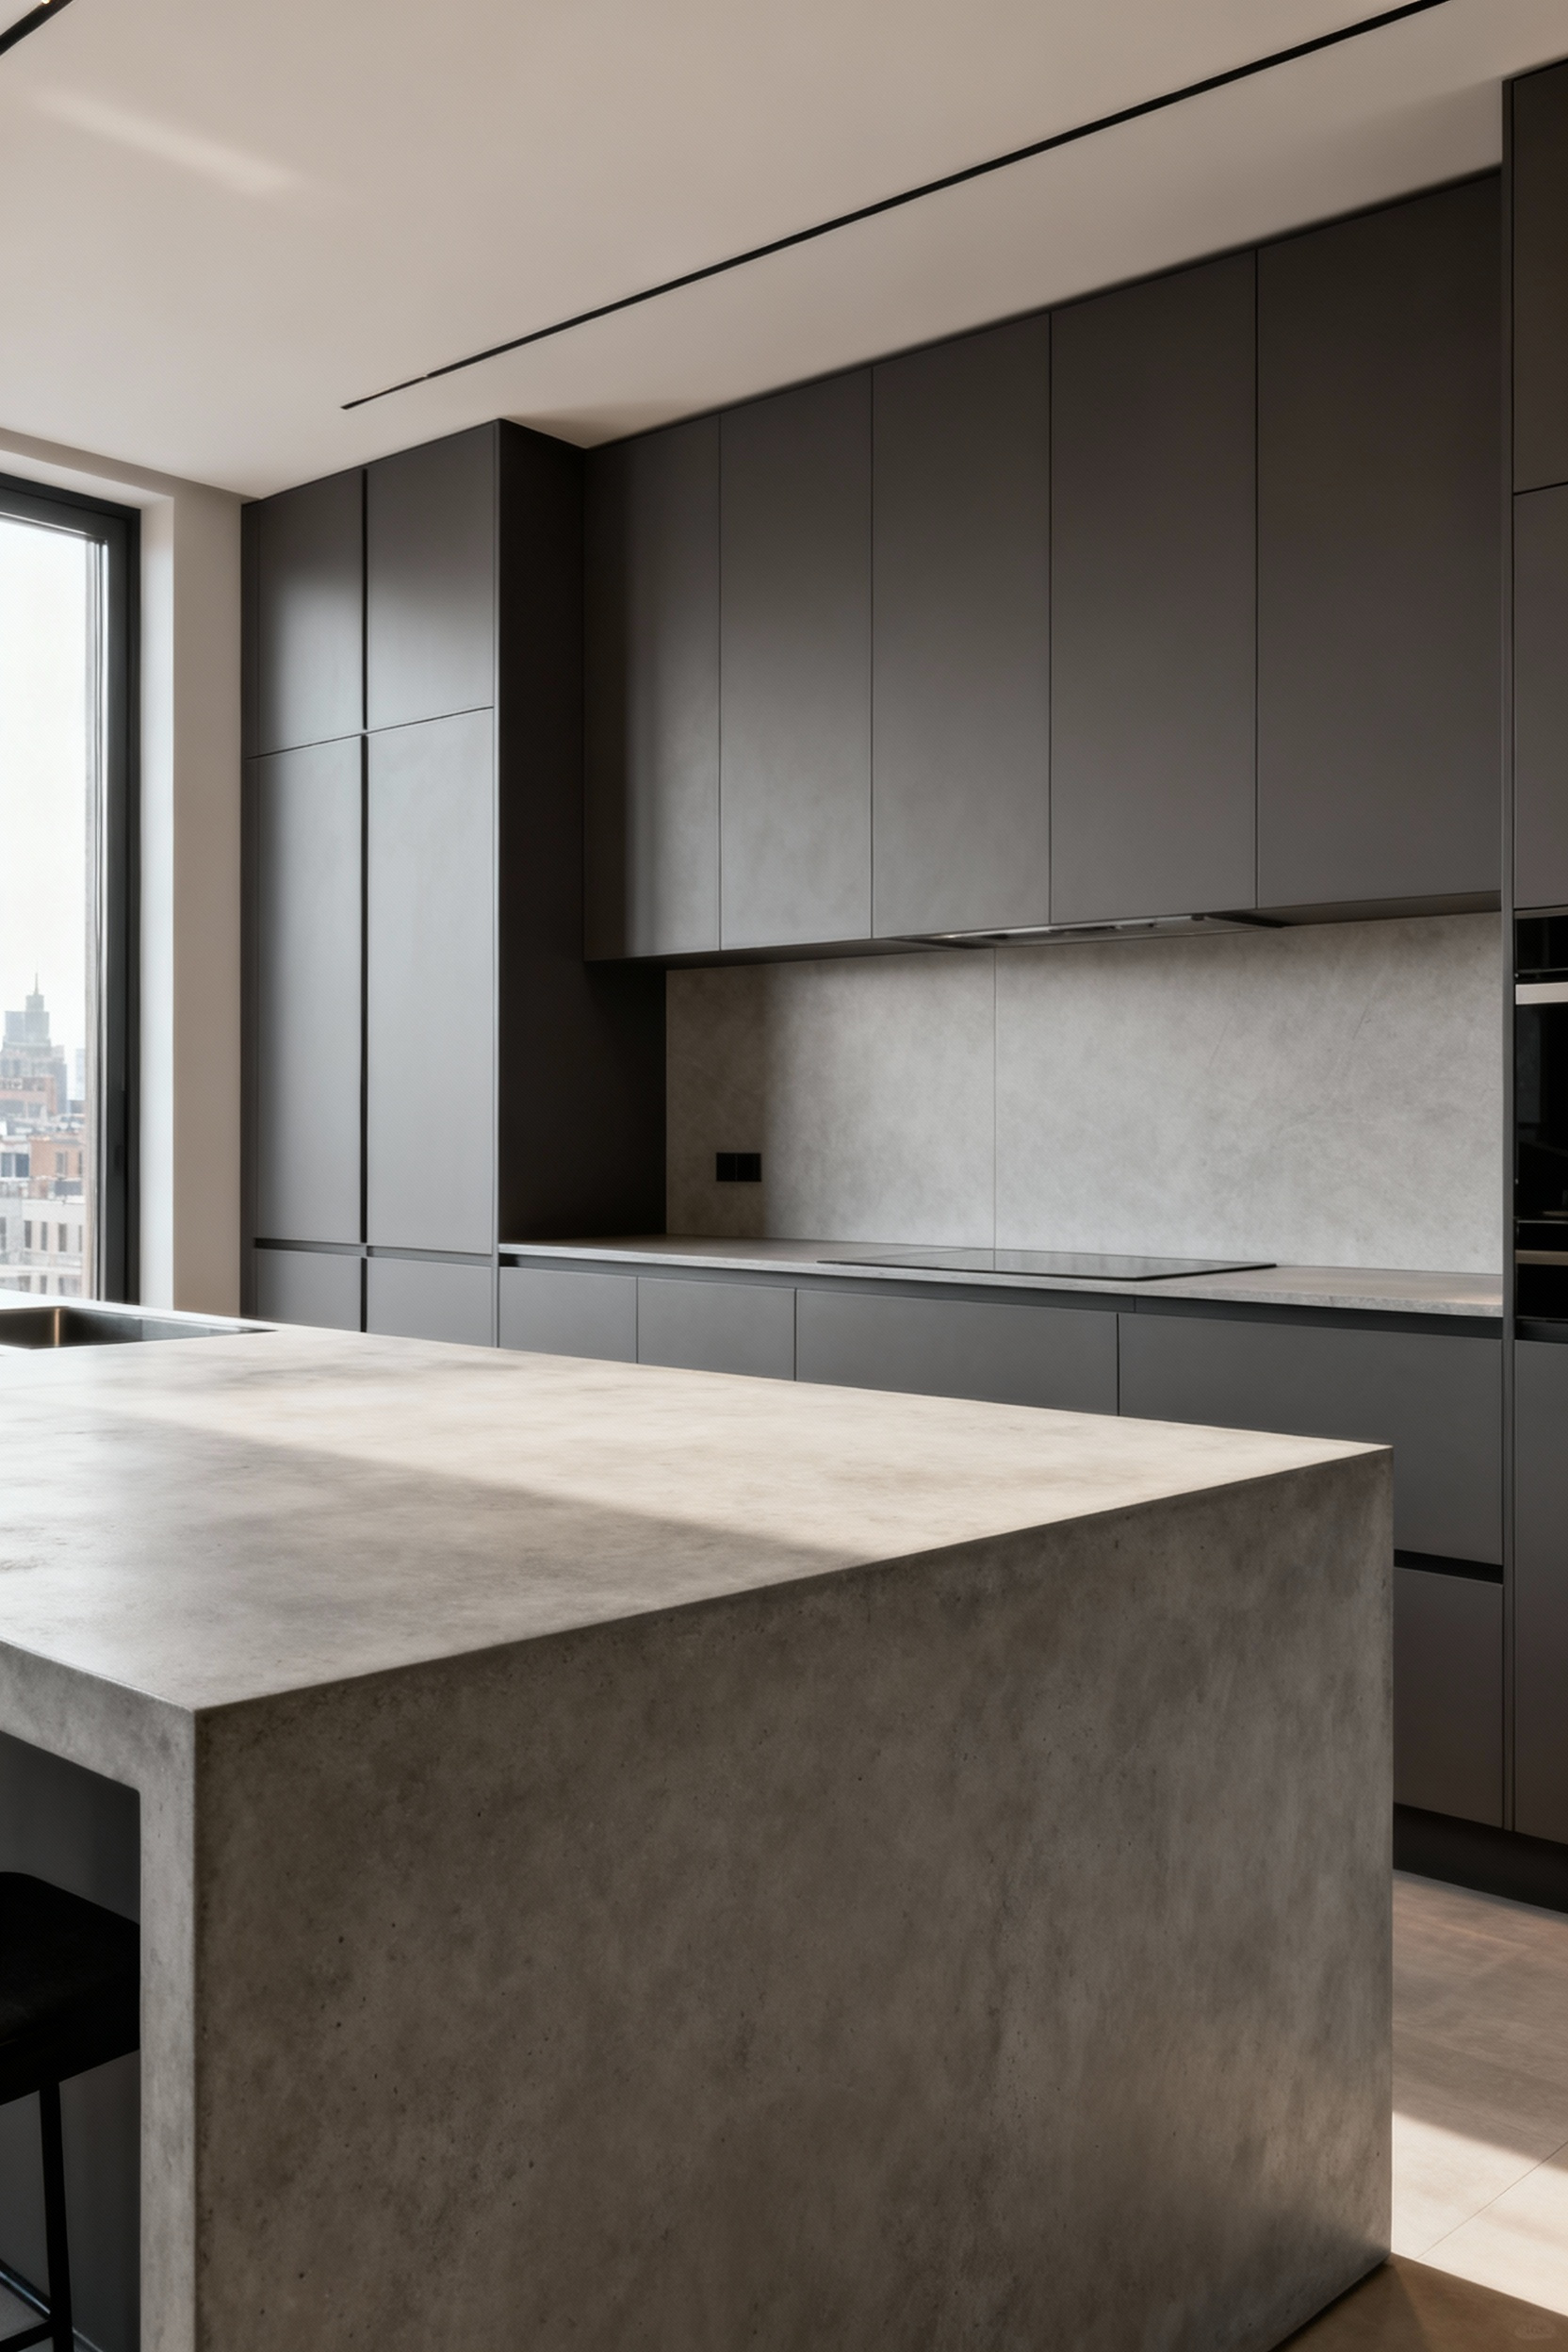
8. Unlocking the Potential of Large-Format Slabs: Seamless Surfaces for Contemporary Minimalism
The visual static created by grout lines is a real thing. For a clean, minimalist, or grandly scaled space—like a double-height loft—reducing that visual noise can be transformative. This is the power of large-format slabs. Using a single piece of porcelain, quartz, or natural stone for the backsplash eliminates the grid of grout lines almost entirely.
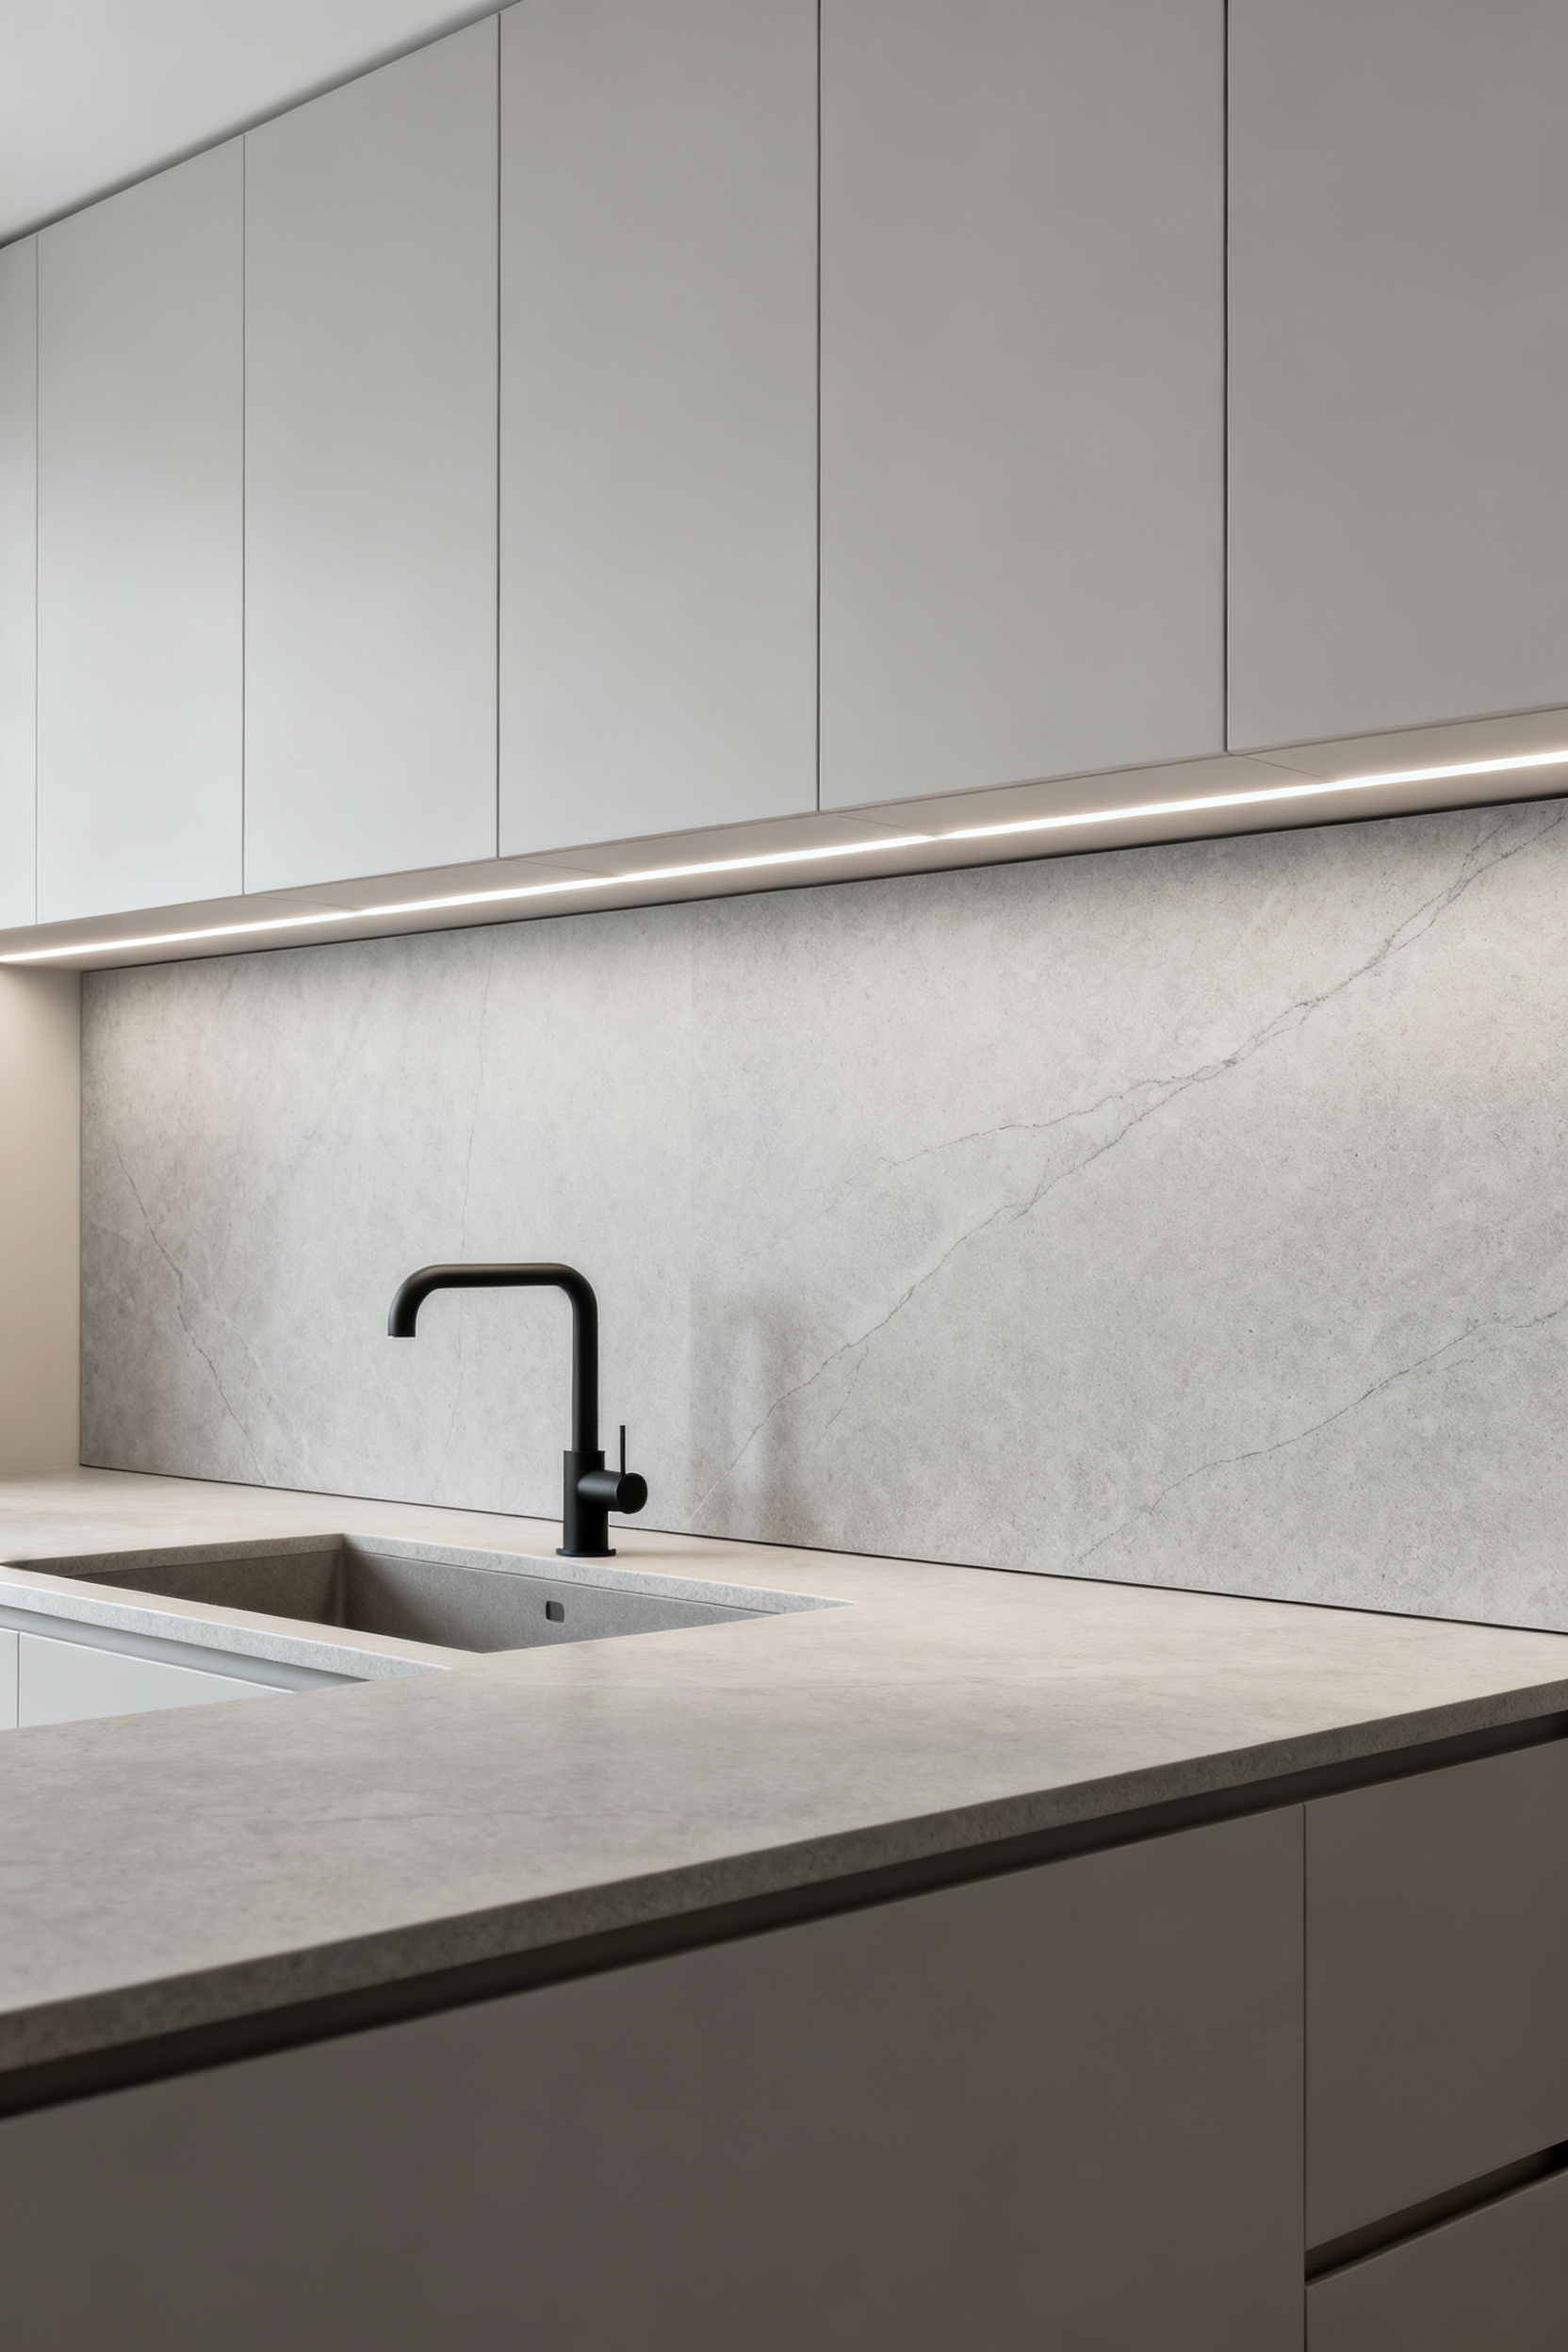
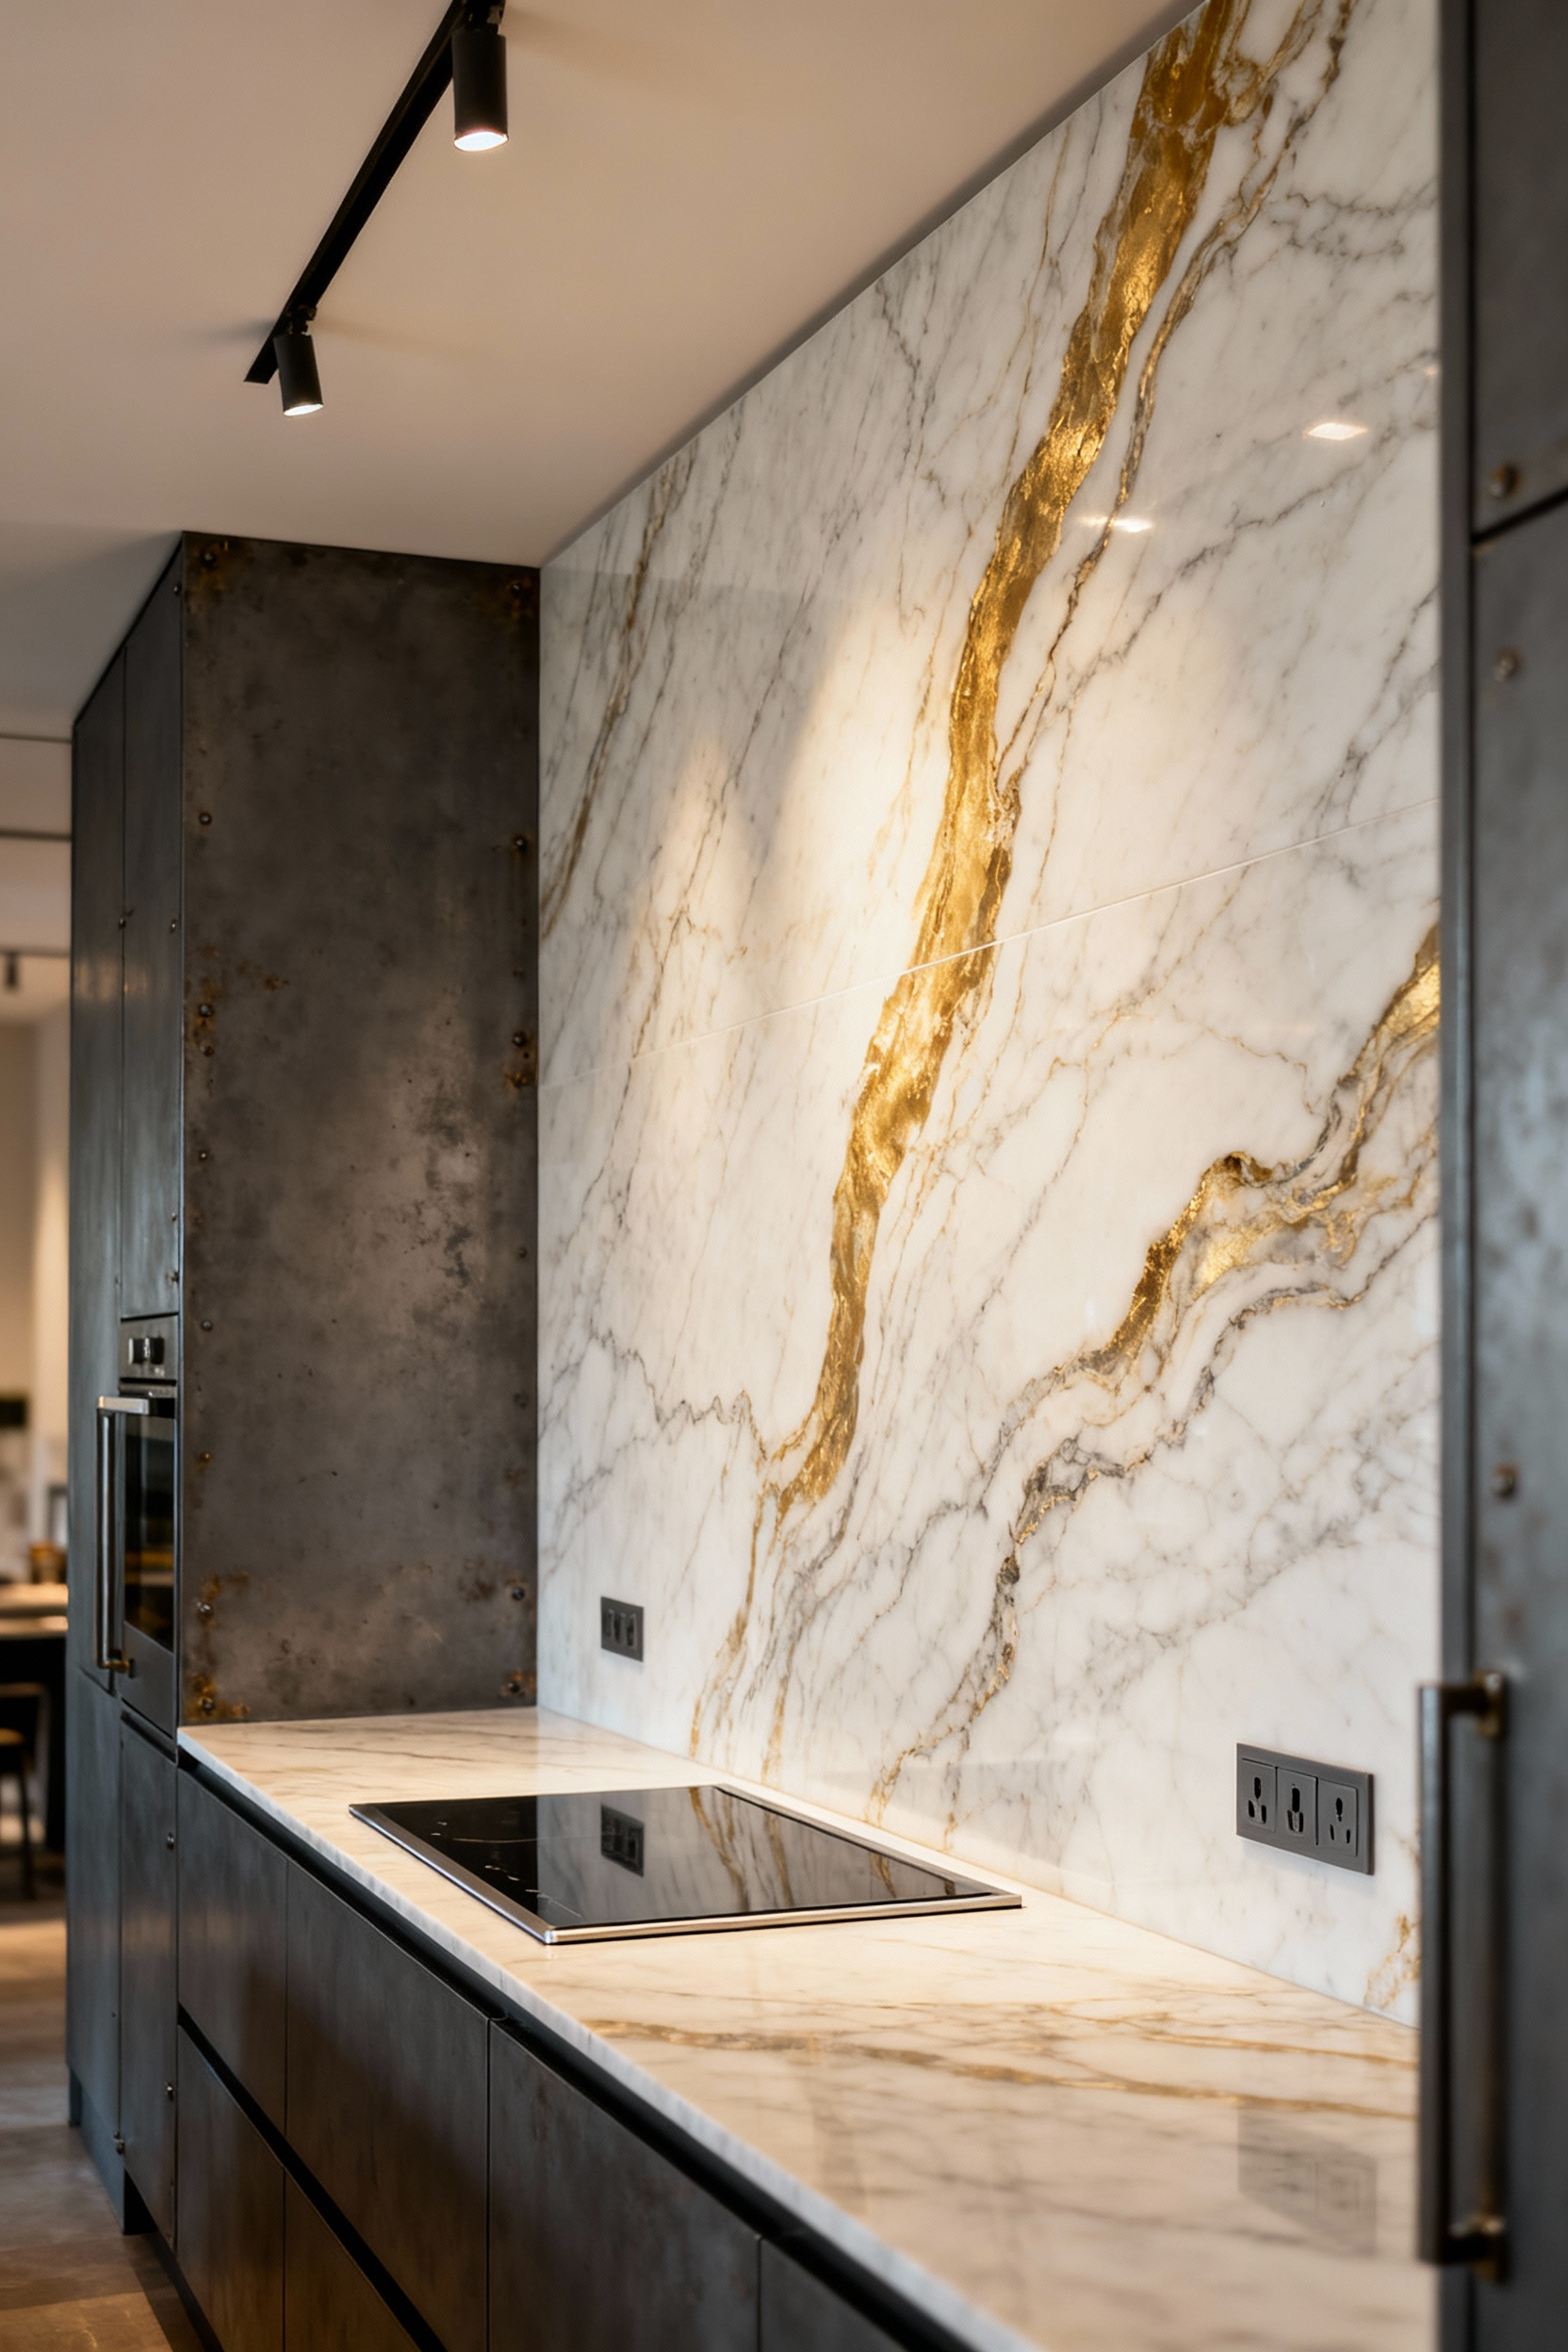
The effect is immediate architectural clarity. The inherent beauty of the material—the sweeping veins of a Calacatta slab or the subtle aggregate in a quartz composite—is presented as an uninterrupted canvas. The practical benefits are just as profound. With no grout to scrub or stain, the surface is exceptionally hygienic and effortless to maintain. I often specify bookmatched stone slabs for a backsplash, where two adjoining pieces mirror each other, creating a symmetrical, Rorschach-like pattern. The result is pure drama. It turns the wall into a piece of natural art and communicates a level of precision and intent that smaller tiles simply cannot match.
9. The Craft of Patterned Laying: Introducing Dynamic Visual Interest Through Thoughtful Repetition
Even with a simple tile like a standard subway, the layout—the pattern in which it’s laid—can completely change its character. A classic offset or brick pattern is familiar and timeless. Stacking the tiles in a clean grid (a stack bond) creates a crisp, modern look. These are the foundational patterns.
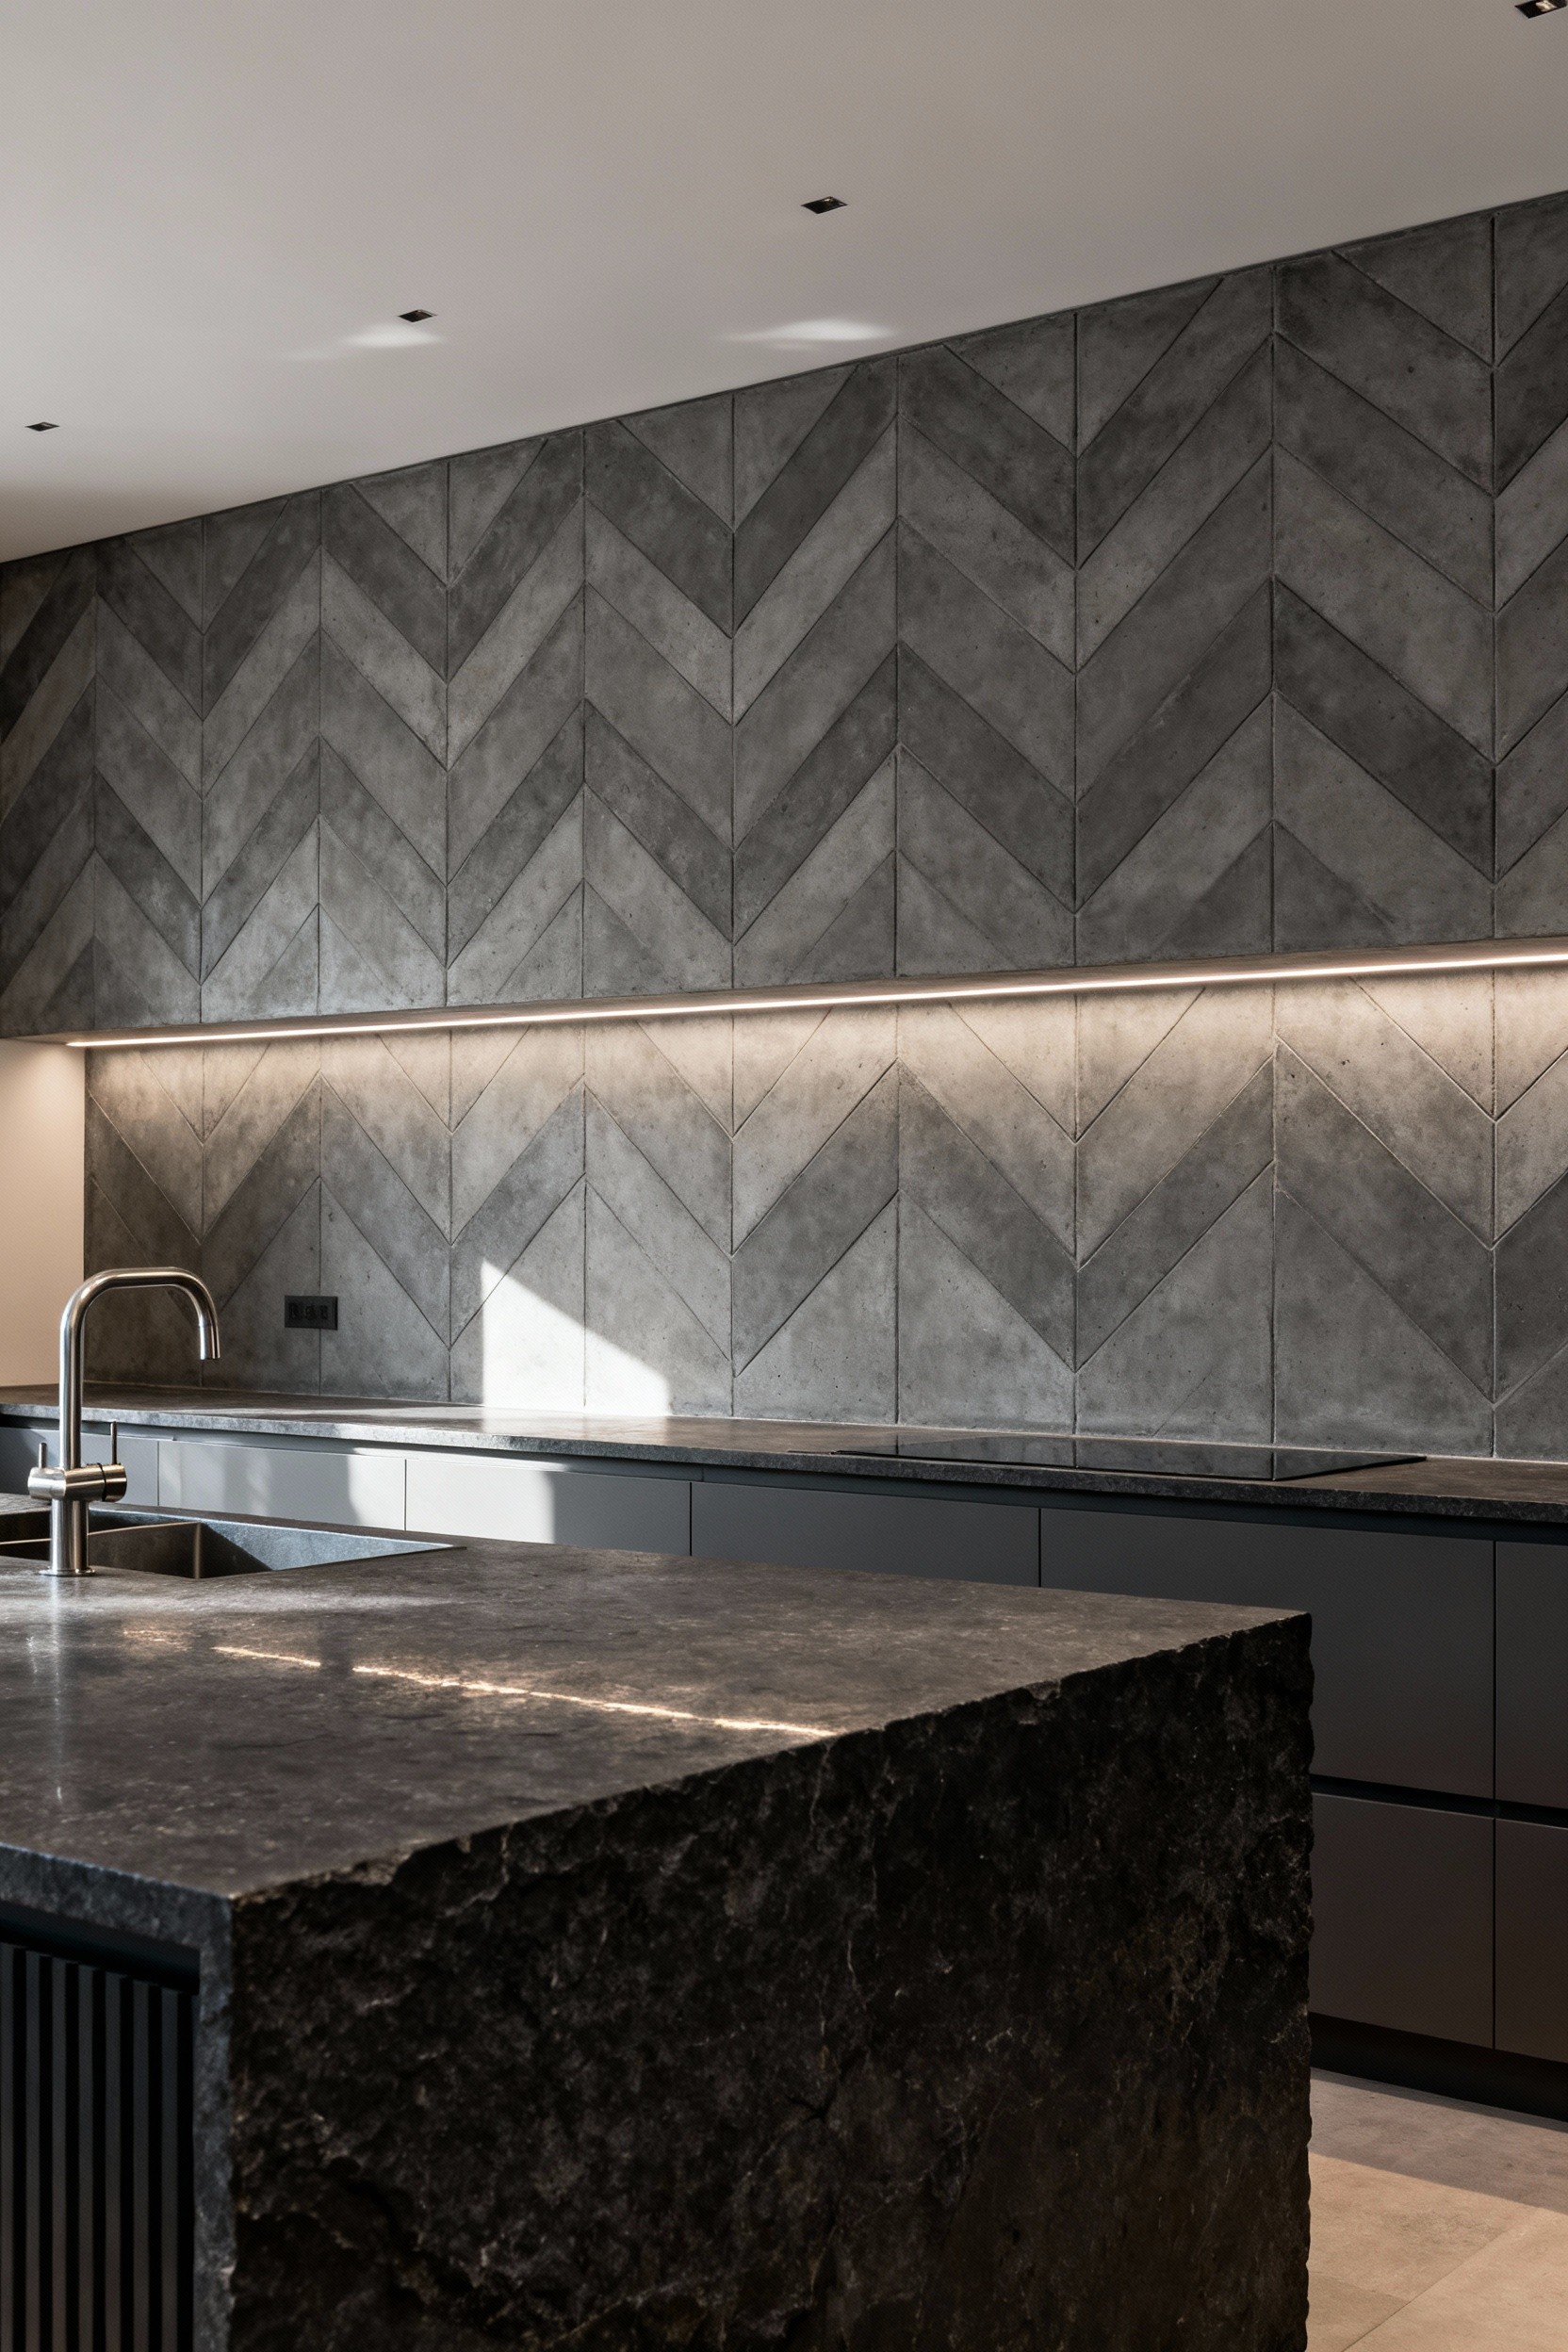
But to add real dynamism, you can introduce diagonals. A herringbone or chevron pattern immediately injects energy and movement, leading the eye and adding a layer of texture. A herringbone can make a short wall feel wider, while a vertical stack bond can emphasize height. In my professional experience, the pattern is just as important as the tile itself. We once used a dark, slender tile laid in a vertical stack bond pattern on a backsplash that ran all the way to a 16-foot ceiling in a converted printing press. It dramatically exaggerated the loft’s verticality, drawing the eye upward and making the space feel even grander. Pattern is a powerful tool for manipulating the perception of space.
Elevating Your Backsplash Design with Intermediate Material Integration (Part 2)
Building upon material choice and layout, we now refine the details that ensure both aesthetic finesse and long-term performance. A sophisticated design is only as strong as its weakest component, and often that component is the unseen substrate or the overlooked grout.
10. Exploring Grout Alternatives: Enhanced Performance and Subtle Color Coordination for a Refined Look
As I mentioned before, I have a strong bias against traditional cement-based grout in any hard-working kitchen. But beyond the clear superiority of epoxy, there are other alternatives to consider for specific applications. Urethane grout, for instance, offers a compelling middle ground. It’s pre-mixed, stain-resistant, and more flexible than cement grout, which helps it resist cracking from minor structural movements—a common issue in old building conversions.
The design possibilities also expand with these advanced materials. Epoxy and urethane grouts offer exceptionally stable and consistent color. This allows you to make a precise color choice that won’t fade, blotch, or yellow over time. Here’s what’s interesting: the subtle shift from a standard cement grout to a high-performance one elevates the entire installation. It’s like the difference between a cheap print and an archival photograph; the color integrity is on another level. This means you can confidently select a grout color as a key design element, knowing it will maintain its intended hue for years, ensuring the crisp lines of your design remain exactly as you envisioned.
11. Understanding Substrate Preparation: Ensuring Flawless Adhesion and Long-Term Durability
Your tile is only as good as the wall it’s stuck to. Substrate preparation is the unglamorous but absolutely essential foundation of a lasting backsplash. Tiling directly onto standard drywall is fine for a powder room, but in a kitchen, it’s asking for trouble. Drywall is vulnerable to moisture, which can turn it into a soft, crumbling mess over time, leading to tile failure.
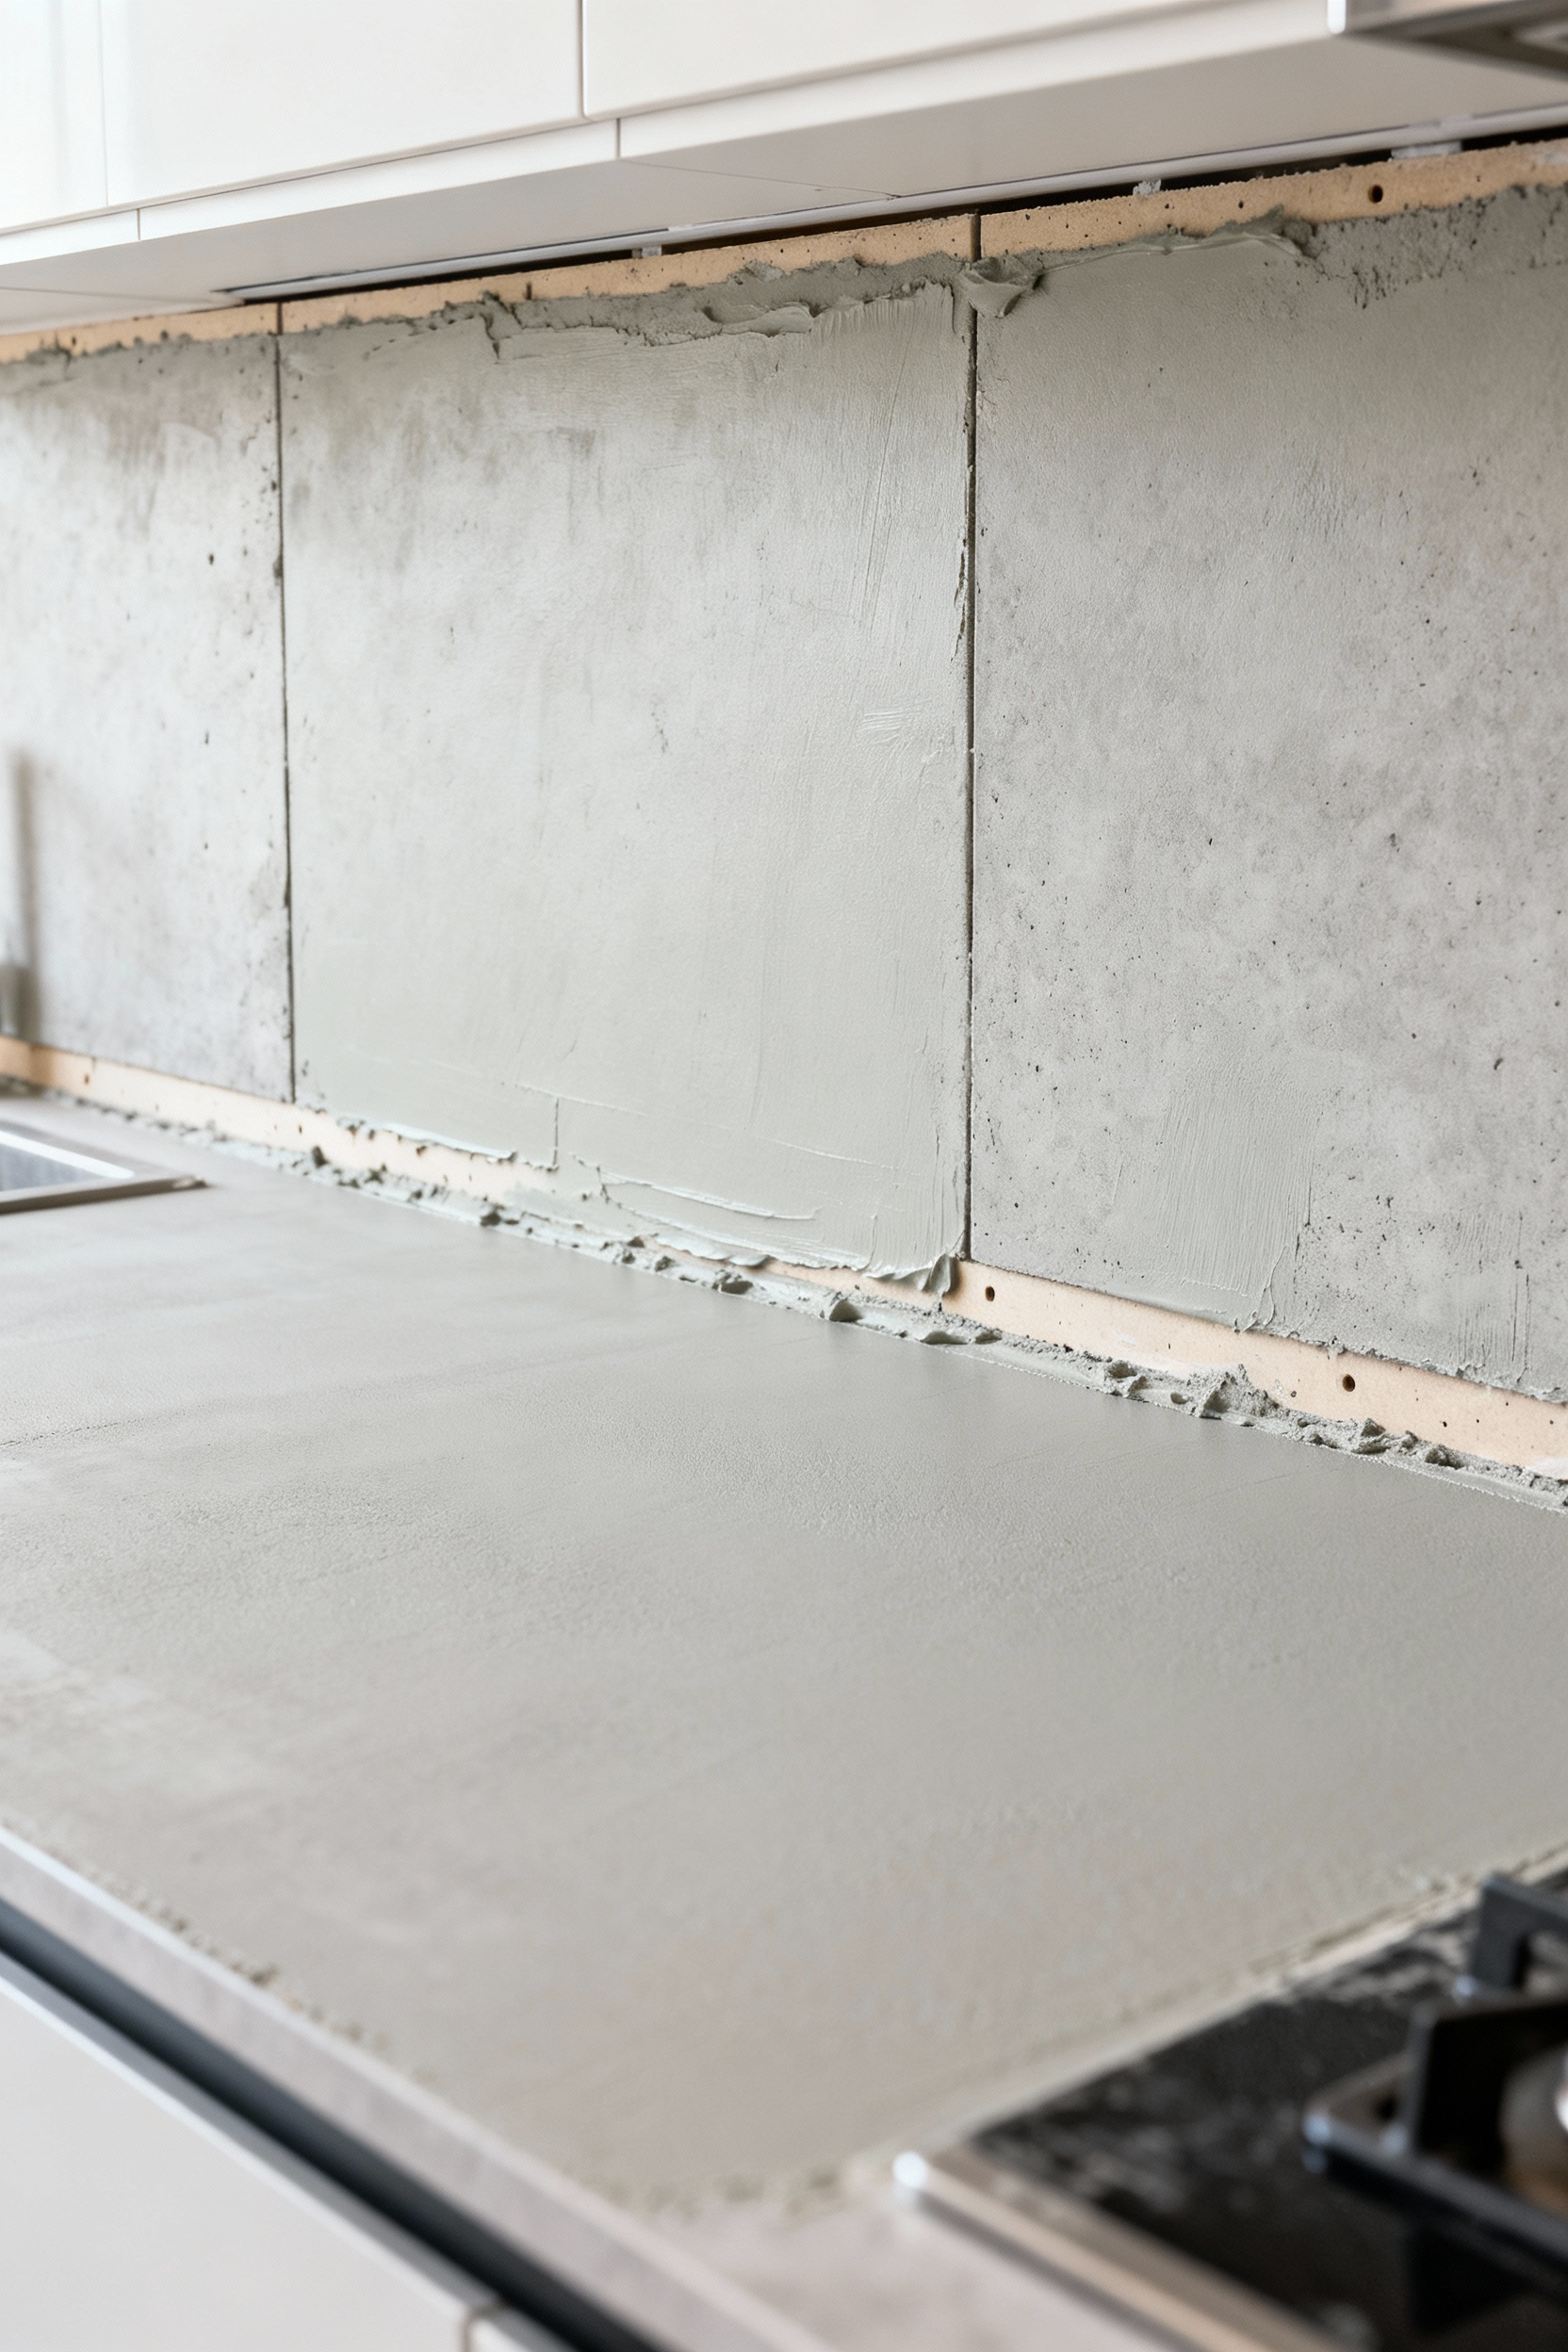
In any area near a sink or cooktop, I mandate the use of a cementitious backer board. This is a stable, water-resistant panel that won’t break down when exposed to moisture. It needs to be installed meticulously—screwed properly to the studs, with the seams taped and filled with thin-set mortar. This creates a monolithic, bulletproof surface for tiling. For the ultimate protection, especially behind a busy sink, we apply a liquid waterproofing membrane over the backer board. It’s a roll-on product that creates a seamless, rubber-like barrier. It might seem like overkill, but it ensures that zero moisture can ever reach the wall structure, preventing a catastrophic failure down the road. This isn’t just about building something beautiful; it’s about building something that lasts.
Advanced Backsplash Strategies: Professional Techniques for Bespoke Kitchens (Part 1)
Now we move beyond standard applications into the realm of custom, bespoke solutions. This is where the backsplash stops being a surface treatment and becomes a defining piece of the kitchen’s architecture, involving custom fabrication and integrated technology.
12. Custom Fabrications: Architecting Unique Focal Points with Stone, Metal, and Bespoke Finishes
This is where we leave off-the-shelf solutions behind. A custom fabrication turns the backsplash into the undisputed focal point of the kitchen. This can be as direct as a single, monumental slab of stone with dramatic veining, running from counter to ceiling. The sheer scale and raw beauty of the material becomes the art.
But for a truly unique statement, we orchestrate a composition of materials. This might involve laser-cutting a sheet of blackened steel with a custom pattern and setting it within a field of minimalist porcelain tiles. Or commissioning a series of custom-glazed ceramic tiles from an artist to create a one-of-a-kind mural. I recently designed a kitchen for a loft in a former metalworking factory where we commissioned a fabricator to create a backsplash from patinated zinc panels, joined with expressed bronze rivets. The design directly referenced the building’s industrial past, transforming the backsplash into a piece of site-specific sculpture. These are not just kitchen backsplash ideas; they are architectural interventions that require collaboration with skilled artisans and a vision that goes far beyond the tile store.
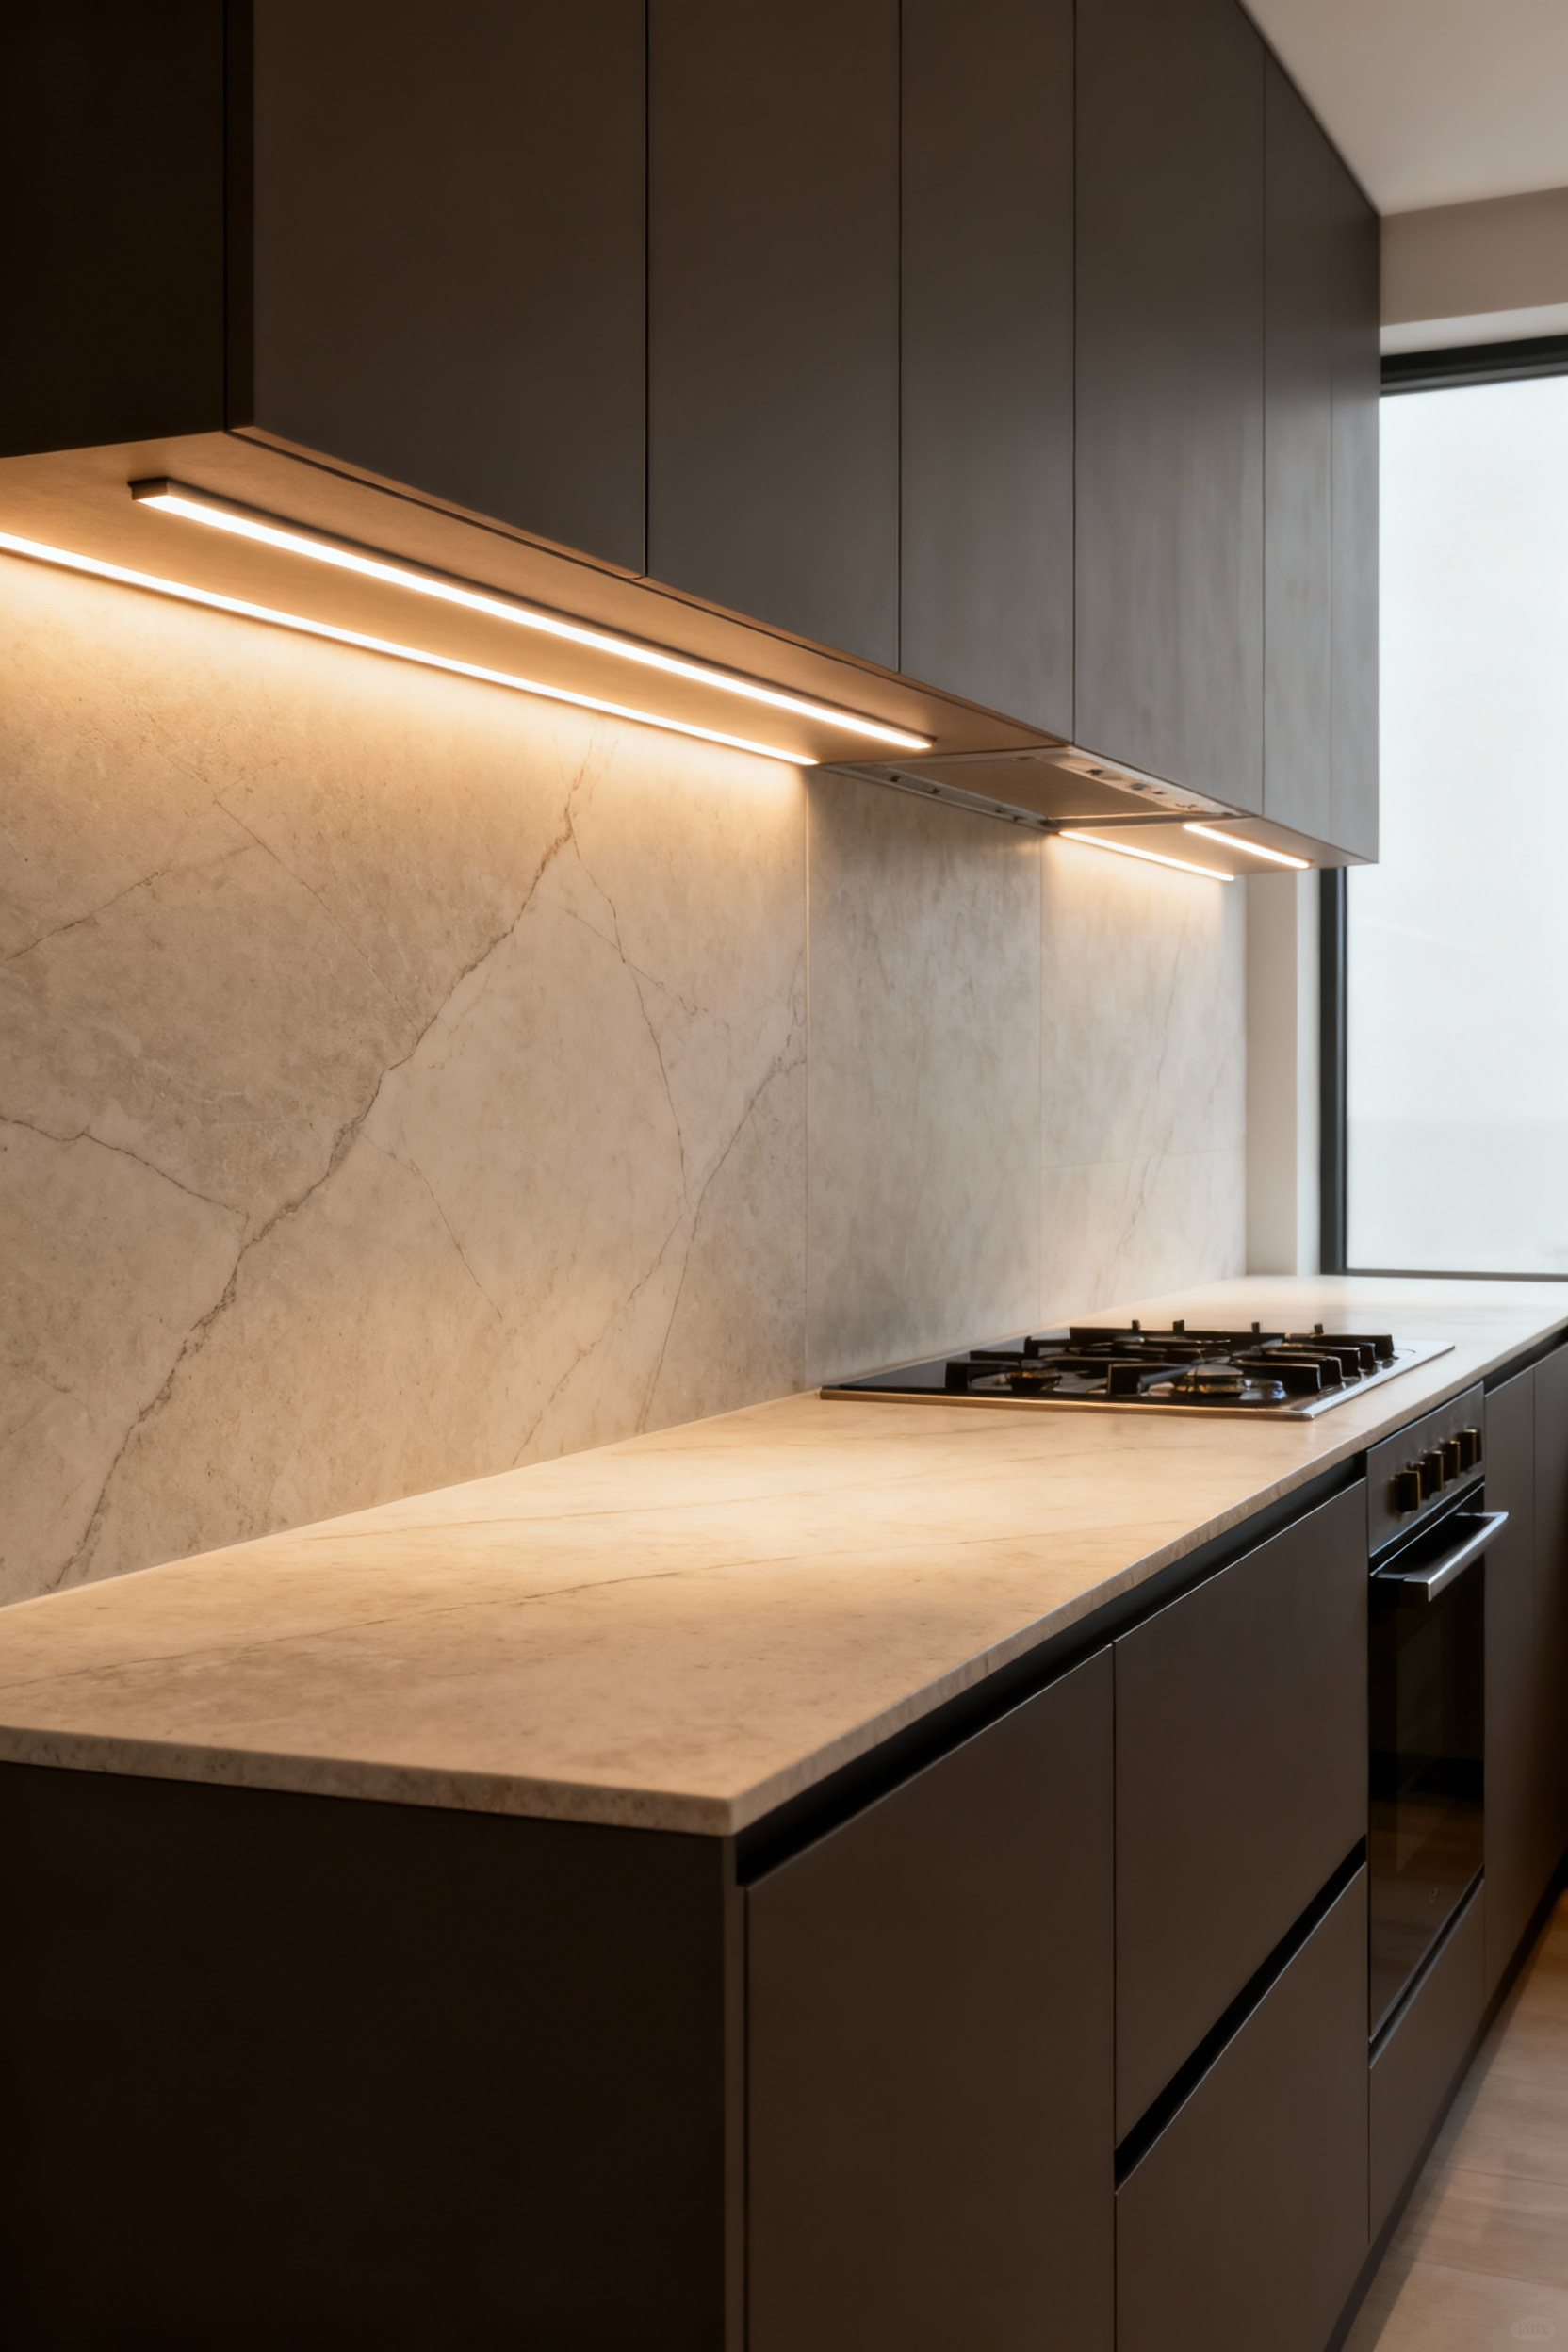
13. Integrated Lighting Solutions: Enhancing Ambiance and Task Functionality Within the Backsplash
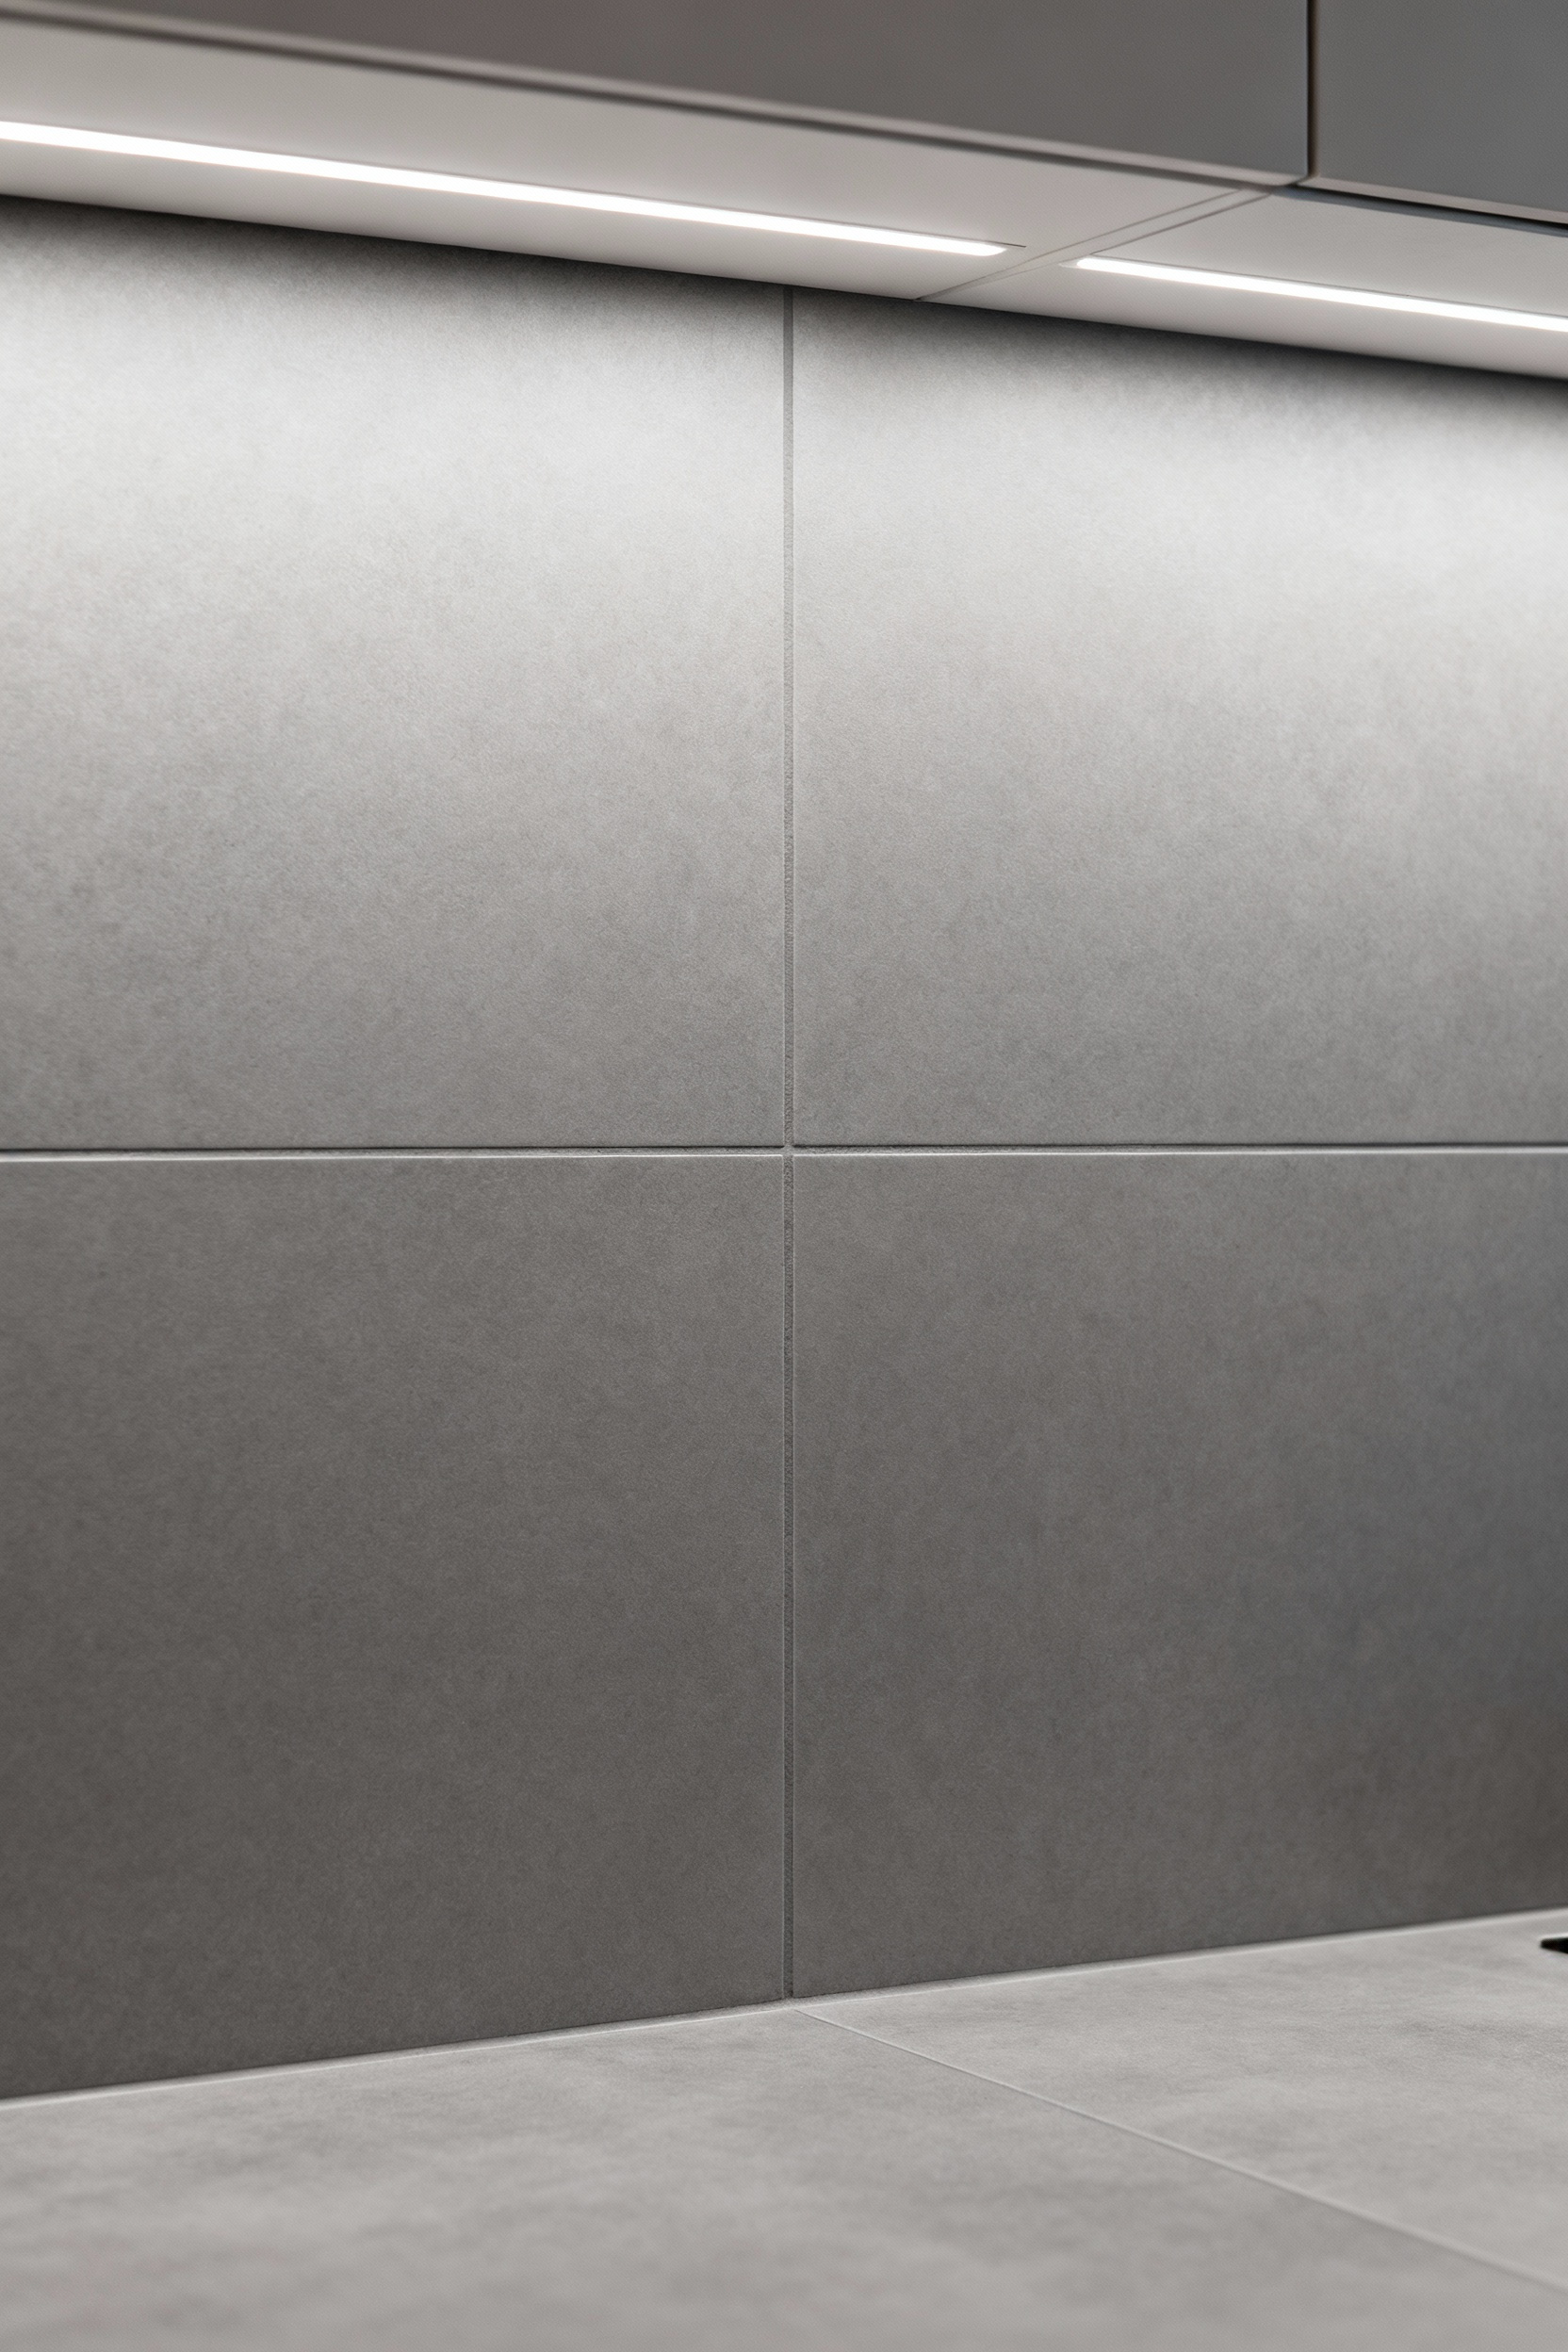
Lighting can completely transform the perception of a material. Standard under-cabinet lighting is a functional starting point, but true integration goes deeper. By recessing a linear LED channel into the cabinetry, you can create a seamless wash of light that grazes the surface of the backsplash, highlighting its texture and depth without any visible fixture.
The next step is to integrate the light into the backsplash itself. Certain materials, like onyx or alabaster, are translucent. By backlighting a slab of this stone with an LED panel, the entire wall begins to glow, creating a dramatic and ethereal effect. You can also build custom niches into the backsplash, lined with a different material and lit from within, to create display areas for art or functional storage. In the most advanced applications, this lighting is tied into a smart home system, allowing you to change the color temperature and intensity from a bright, cool light for task-oriented prep work to a warm, dim glow for entertaining. Light becomes an active and responsive element of the kitchen’s architecture.
14. Mitigating Moisture Intrusion: Professional Sealing and Waterproofing Methodologies for Longevity
As we’ve discussed, a kitchen is a wet environment. Professional-grade moisture mitigation is about creating redundant systems of protection. While a waterproofing membrane behind the tile is the first line of defense, the surface itself needs to be considered. Sealing grout is a given, but for porous materials like natural stone or unglazed terracotta, you need to apply a high-quality impregnating sealer to the entire surface. This sealer penetrates deep into the material’s pores, creating a barrier from within that repels water and oil without changing the stone’s natural look.
What really gets me is when a beautiful, expensive marble backsplash is ruined within a year because this step was skipped. Proactive maintenance is also part of the design. A professional methodology includes creating a maintenance schedule for the homeowner—specifying how often to reseal the surface (typically every 1-5 years) and what pH-neutral cleaners to use. The perimeter joints where the backsplash meets the countertop are also critical weak points. They must be sealed with a high-quality, 100% silicone caulk, not painter’s caulk, to create a flexible, waterproof seal. True longevity is an engineered outcome, not a matter of chance.
15. Harmonizing Backsplash with Countertops: Crafting Seamless Material Dialogues for Cohesive Design
The relationship between the countertop and the backsplash is fundamental. The simplest approach is high contrast or a perfect match. Both can be effective. But a more nuanced and sophisticated design creates a dialogue between the two surfaces. This means thinking about texture, sheen, and veining. A honed, matte countertop might be paired with a polished, reflective backsplash in a similar tone, creating a subtle play of light.
For ultimate cohesion, I often advocate for using the same slab material for both the countertop and the backsplash. This creates a powerful, monolithic look, as if the entire workstation was carved from a single block of stone. This is especially impactful in a minimalist design, where the continuous flow of material from horizontal to vertical plane creates a serene and powerful architectural statement. When executing this, the details are everything. The seam between the two planes must be perfect, almost invisible. The veining must be carefully planned so that it flows logically up the wall. This is how you create a kitchen that feels intentional and fully resolved.
Advanced Backsplash Strategies: Professional Techniques for Bespoke Kitchens (Part 2)
This final set of strategies moves past execution and into philosophy. It’s about how to use the backsplash to manipulate scale and push the boundaries of conventional kitchen design, transforming a functional requirement into a powerful statement of purpose.
16. The Full-Height Backsplash Mandate: Maximizing Impact and Protecting Vertical Surfaces
The standard 18-inch backsplash is a remnant of a bygone era of kitchen design. It visually truncates the wall and creates an awkward, unresolved space above it. In any modern, sophisticated interior—especially in loft spaces with generous ceiling heights—I consider a full-height backsplash to be a mandate, not an option. Extending the backsplash material from the countertop all the way to the underside of the upper cabinets, or even to the ceiling, has a profound impact.
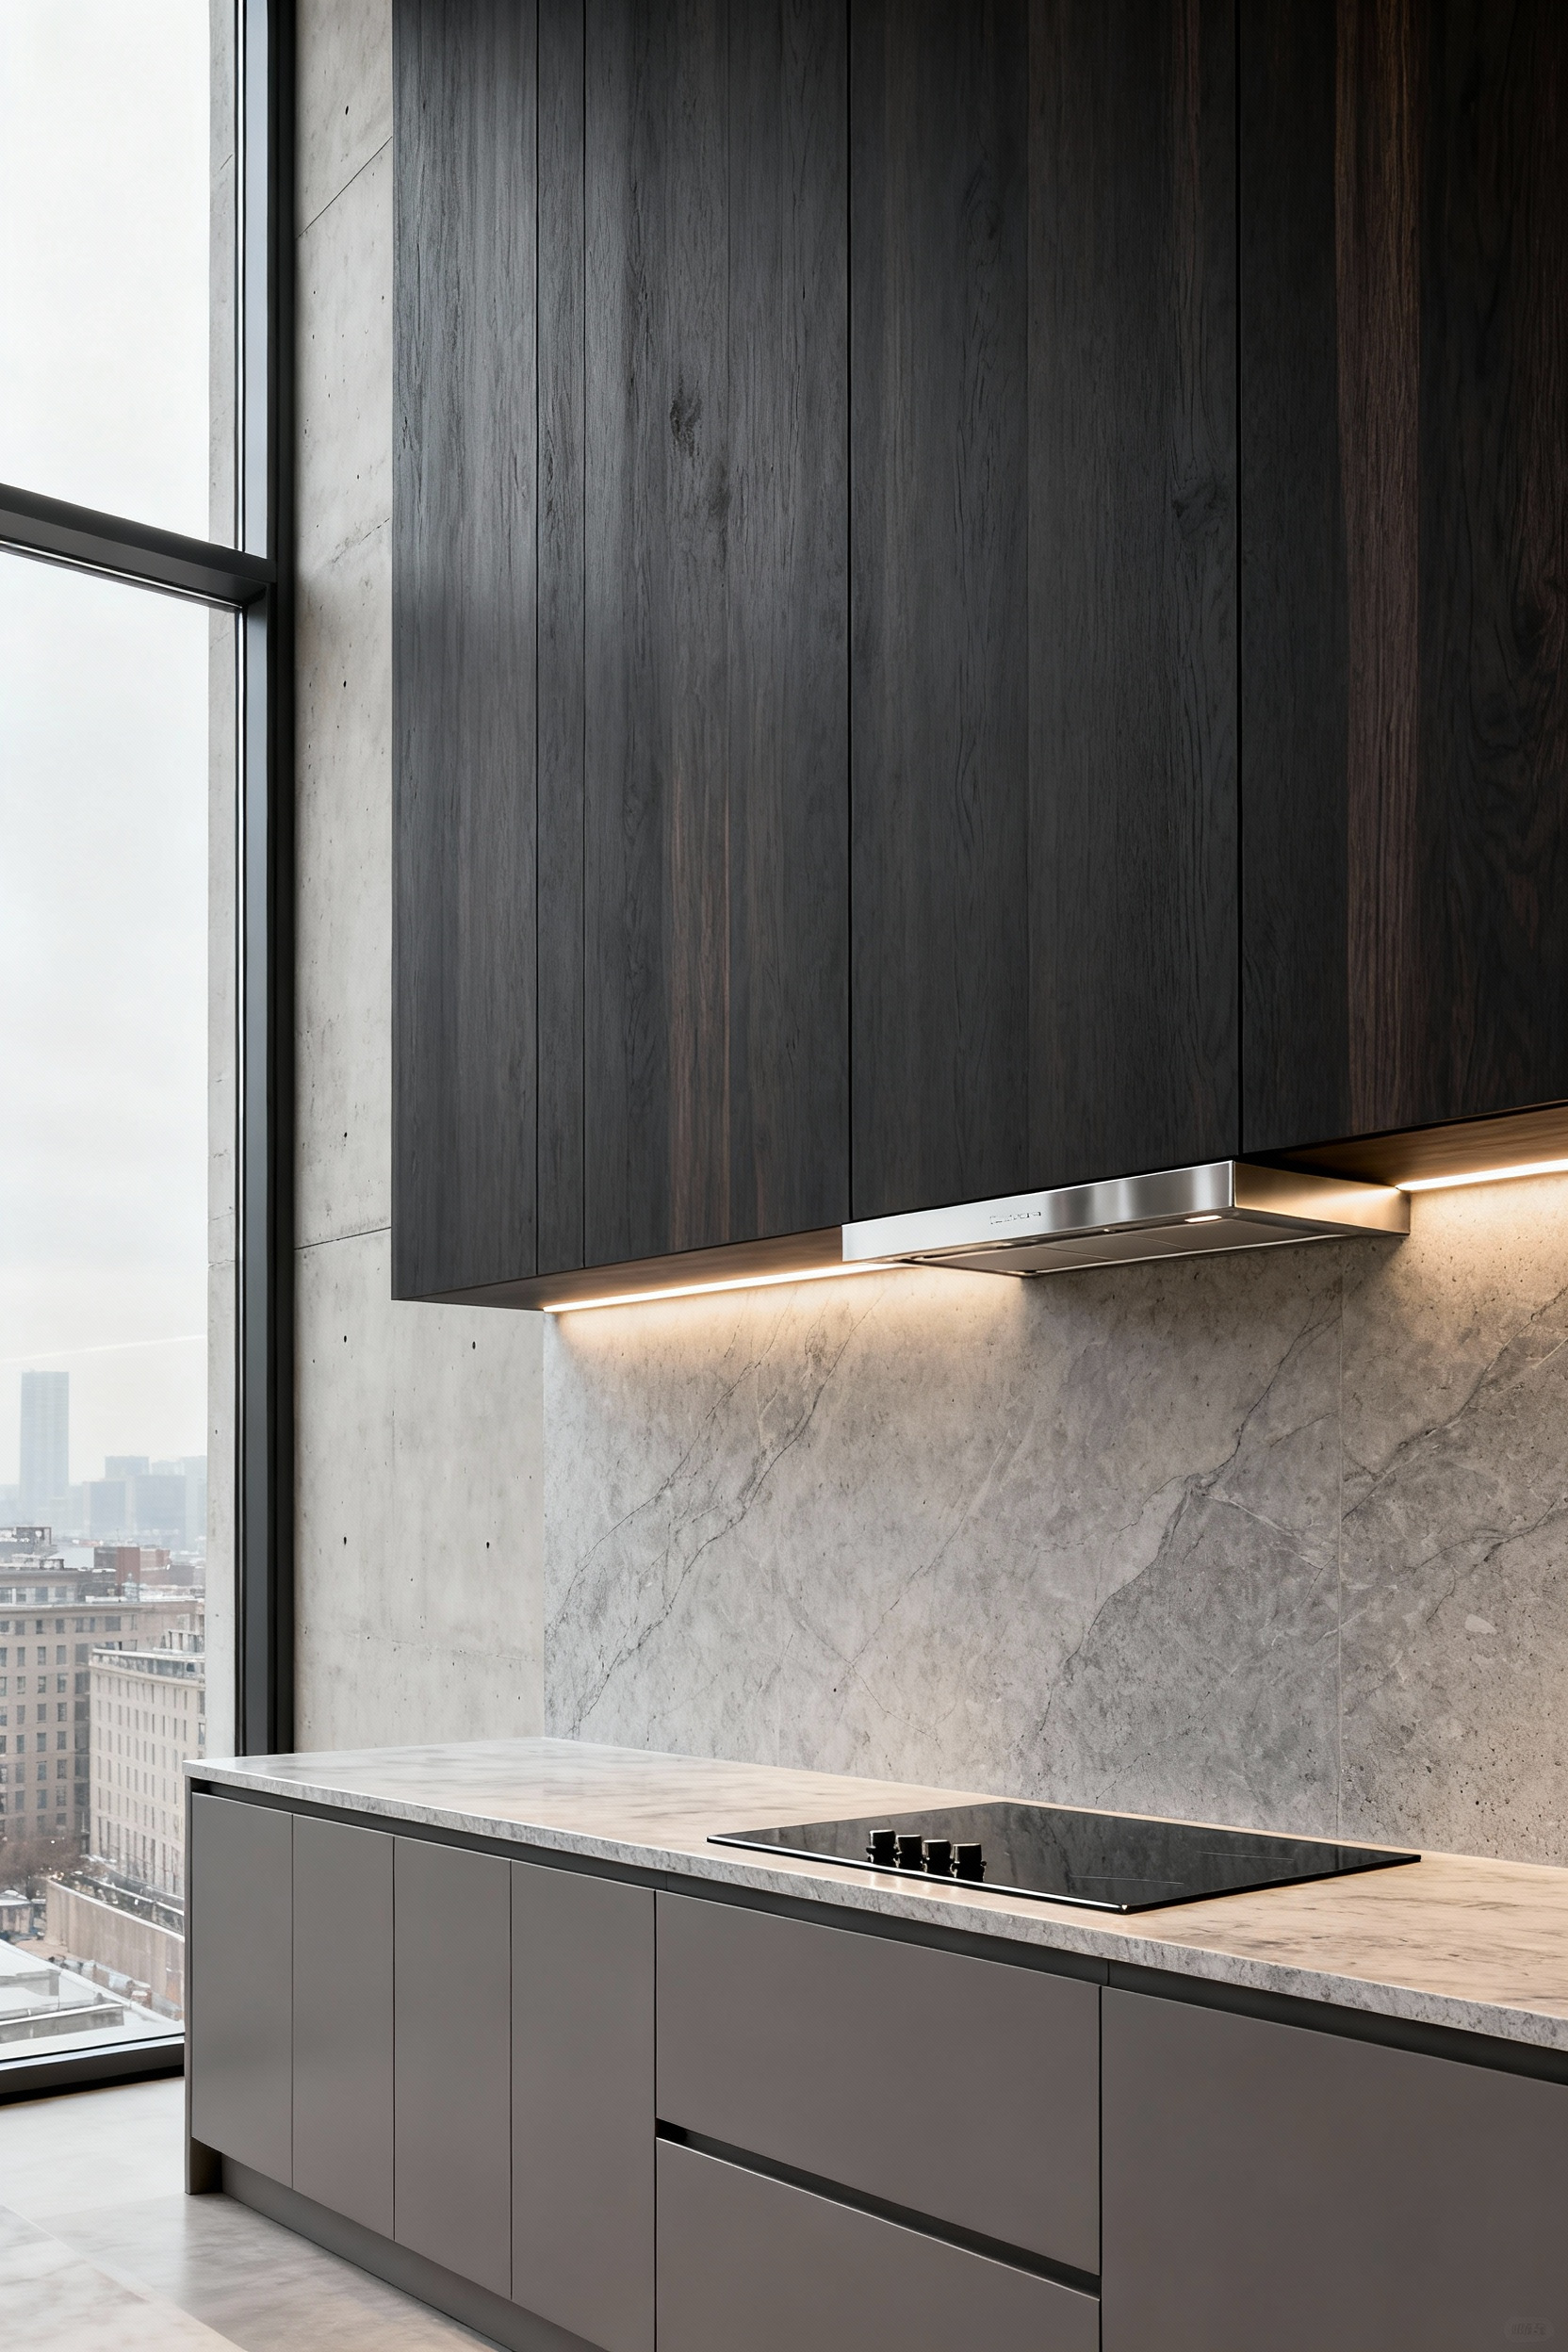
Visually, it creates a clean, powerful, and uninterrupted vertical plane that makes the entire kitchen feel more expansive and integrated. The backsplash is no longer a strip, but an entire feature wall. Functionally, it offers superior protection and eliminates the need to maintain a separate painted or finished surface in a high-splash zone. This is especially true behind the range, where a full-height, seamless surface is infinitely easier to clean than painted drywall. In my urban industrial design work, managing scale is everything. A full-height backsplash provides the necessary visual weight to anchor a kitchen in a large, open-plan loft. It is an assertive architectural move that communicates confidence and clarity of vision.
Mastering Backsplash Integration: Crafting Cohesive Kitchen Architectures
At this level, we stop thinking about individual components and start designing a cohesive whole. The backsplash is no longer an isolated surface; it is an integral part of the kitchen’s architectural fabric, capable of setting the tone for the entire space and exploring new frontiers in materiality.
17. Beyond Tile: Experimenting with Industrial Metallics and Engineered Polymers for Cutting-Edge Aesthetics
There is a world of materials beyond tile that can bring a unique character to an urban kitchen. Industrial metallics are a natural fit for loft and factory conversions. A sheet of brushed stainless steel provides a professional, hygienic surface. But consider other metals: zinc offers a soft, matte gray that develops a beautiful patina over time, while copper brings warmth and a living finish that evolves with use. These materials speak a language of function and industry that is authentic to the space.
On the other end of the spectrum are engineered polymers and solid surface materials. These can be custom-fabricated into any shape, offering a completely seamless surface with no grout lines. They can be back-lit, carved, or inlaid to create truly unique effects. Imagine a backsplash made from a single sheet of a resin composite, with a subtle texture cast into it. It can be a canvas for incredible creativity, providing a durable, hygienic, and visually stunning alternative to traditional materials. This is about choosing a material that aligns with a cutting-edge design ethos.
18. Biophilic Design Principles: Integrating Natural Elements and Green Walls into Backsplash Concepts
In the dense urban core, establishing a connection to nature is not a luxury; it’s a necessity for well-being. The backsplash can be a powerful vehicle for this. Beyond simply using natural stone or reclaimed wood, we can integrate living elements directly into the design. A “green wall,” or vertical garden, can serve as a stunning, living backsplash.
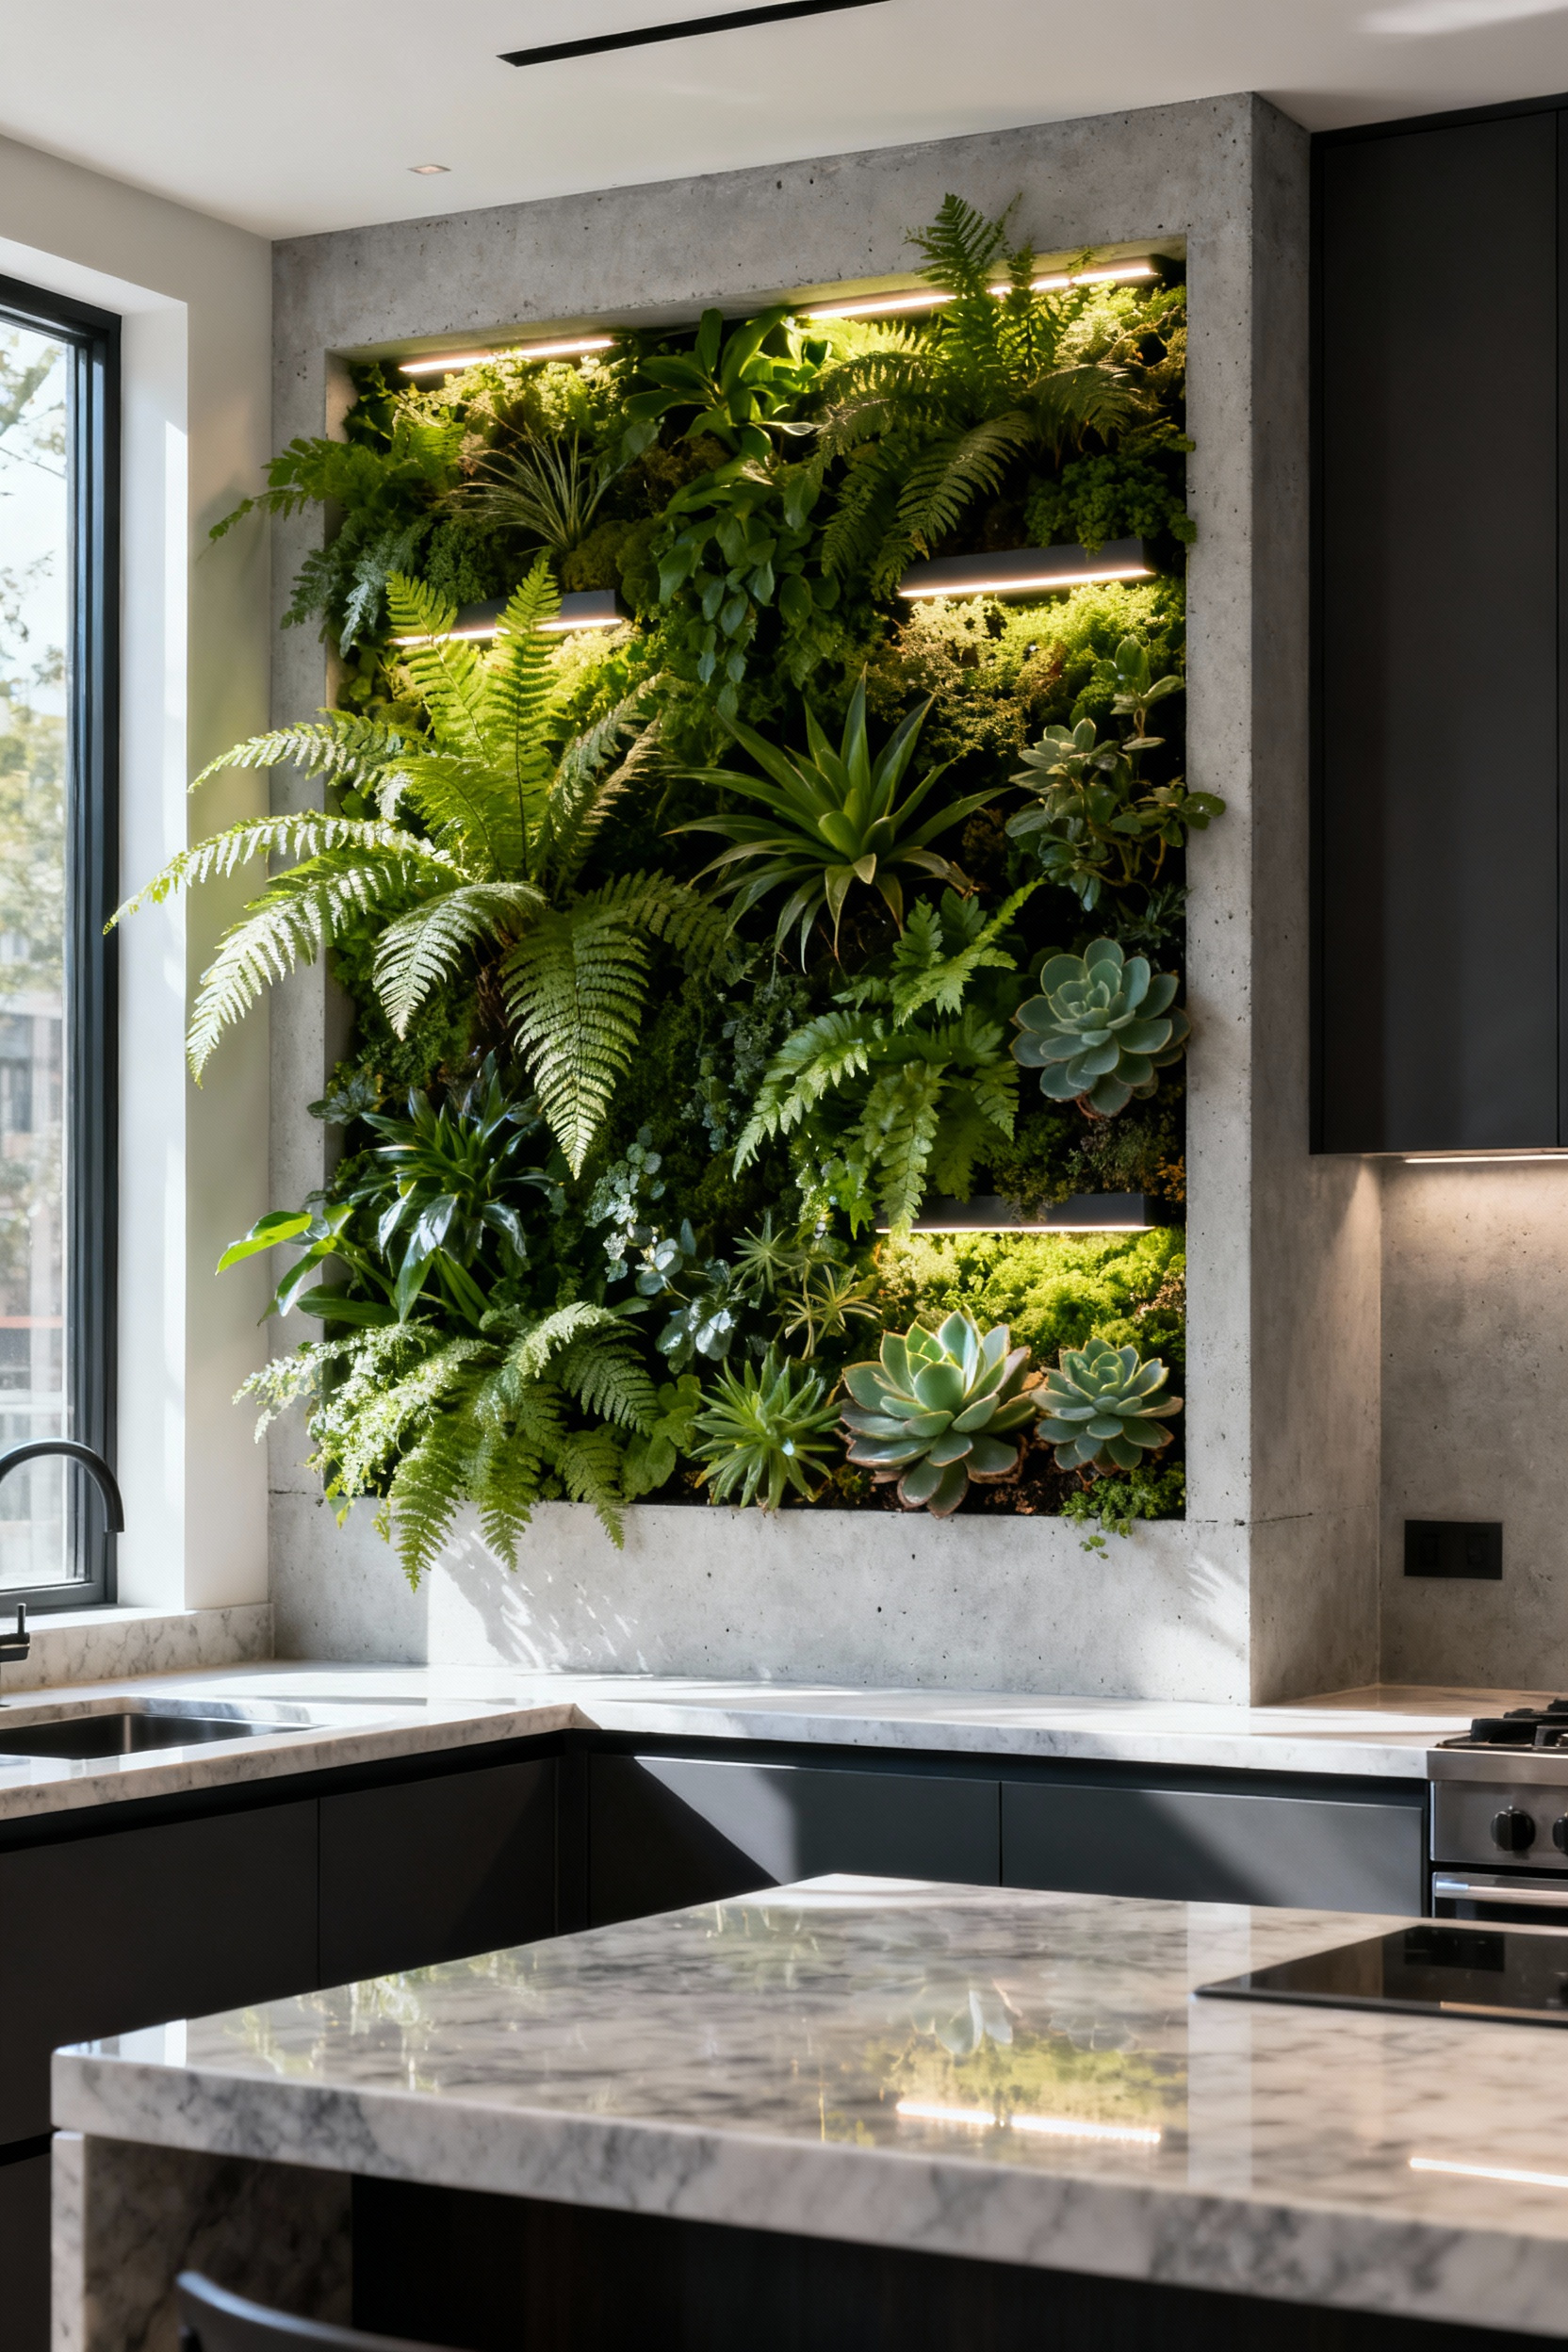
These systems can be designed with integrated irrigation and lighting, supporting a variety of plants from hardy succulents to culinary herbs. Imagine snipping fresh basil for your sauce directly from the wall behind your cooktop. For a lower-maintenance option, preserved moss panels offer the same lush, green aesthetic without the need for water or light. I learned this when working on a concrete-heavy brutalist-style apartment. The space needed a moment of organic relief. We designed a preserved moss backsplash behind a coffee bar area. The vibrant green against the raw concrete was electric; it completely changed the feel of the kitchen, adding a burst of life and softness that was desperately needed. It proved that a backsplash can do more than protect a wall—it can nourish the soul.
19. Long-Term Material Stewardship: Proactive Care and Maintenance Protocols for Enduring Beauty
A truly sophisticated design considers the entire lifecycle of the materials. When we specify a material, we are also specifying a maintenance protocol. This is what I call material stewardship. It’s our responsibility as designers to educate the homeowner on how to care for their investment. For porous stone, this means providing a schedule for resealing. For patinated metals, it means explaining how the finish will evolve and how to clean it without stripping its character.
This proactive approach is part of the design process. It means selecting materials not just for how they look on day one, but for how they will look in year ten. It means anticipating wear and tear and planning for it. Is the material repairable? Can scratches in a solid surface be buffed out? Can a chip in a metal panel be fixed? A design that doesn’t consider its own longevity is, frankly, an incomplete design. Durability isn’t just about strength; it’s about grace in aging.
20. Reimagining Backsplash as Art Installation: The Conceptual Imperative of Kitchen Aesthetics
At the highest level, we ask a new question: what if the backsplash isn’t a building material at all? What if it’s an art installation? This is a conceptual shift that elevates the kitchen from a functional space to an experiential one. This could be a commissioned mural from a ceramic artist, a large-scale piece of cast glass, or a dynamic installation of light and shadow.
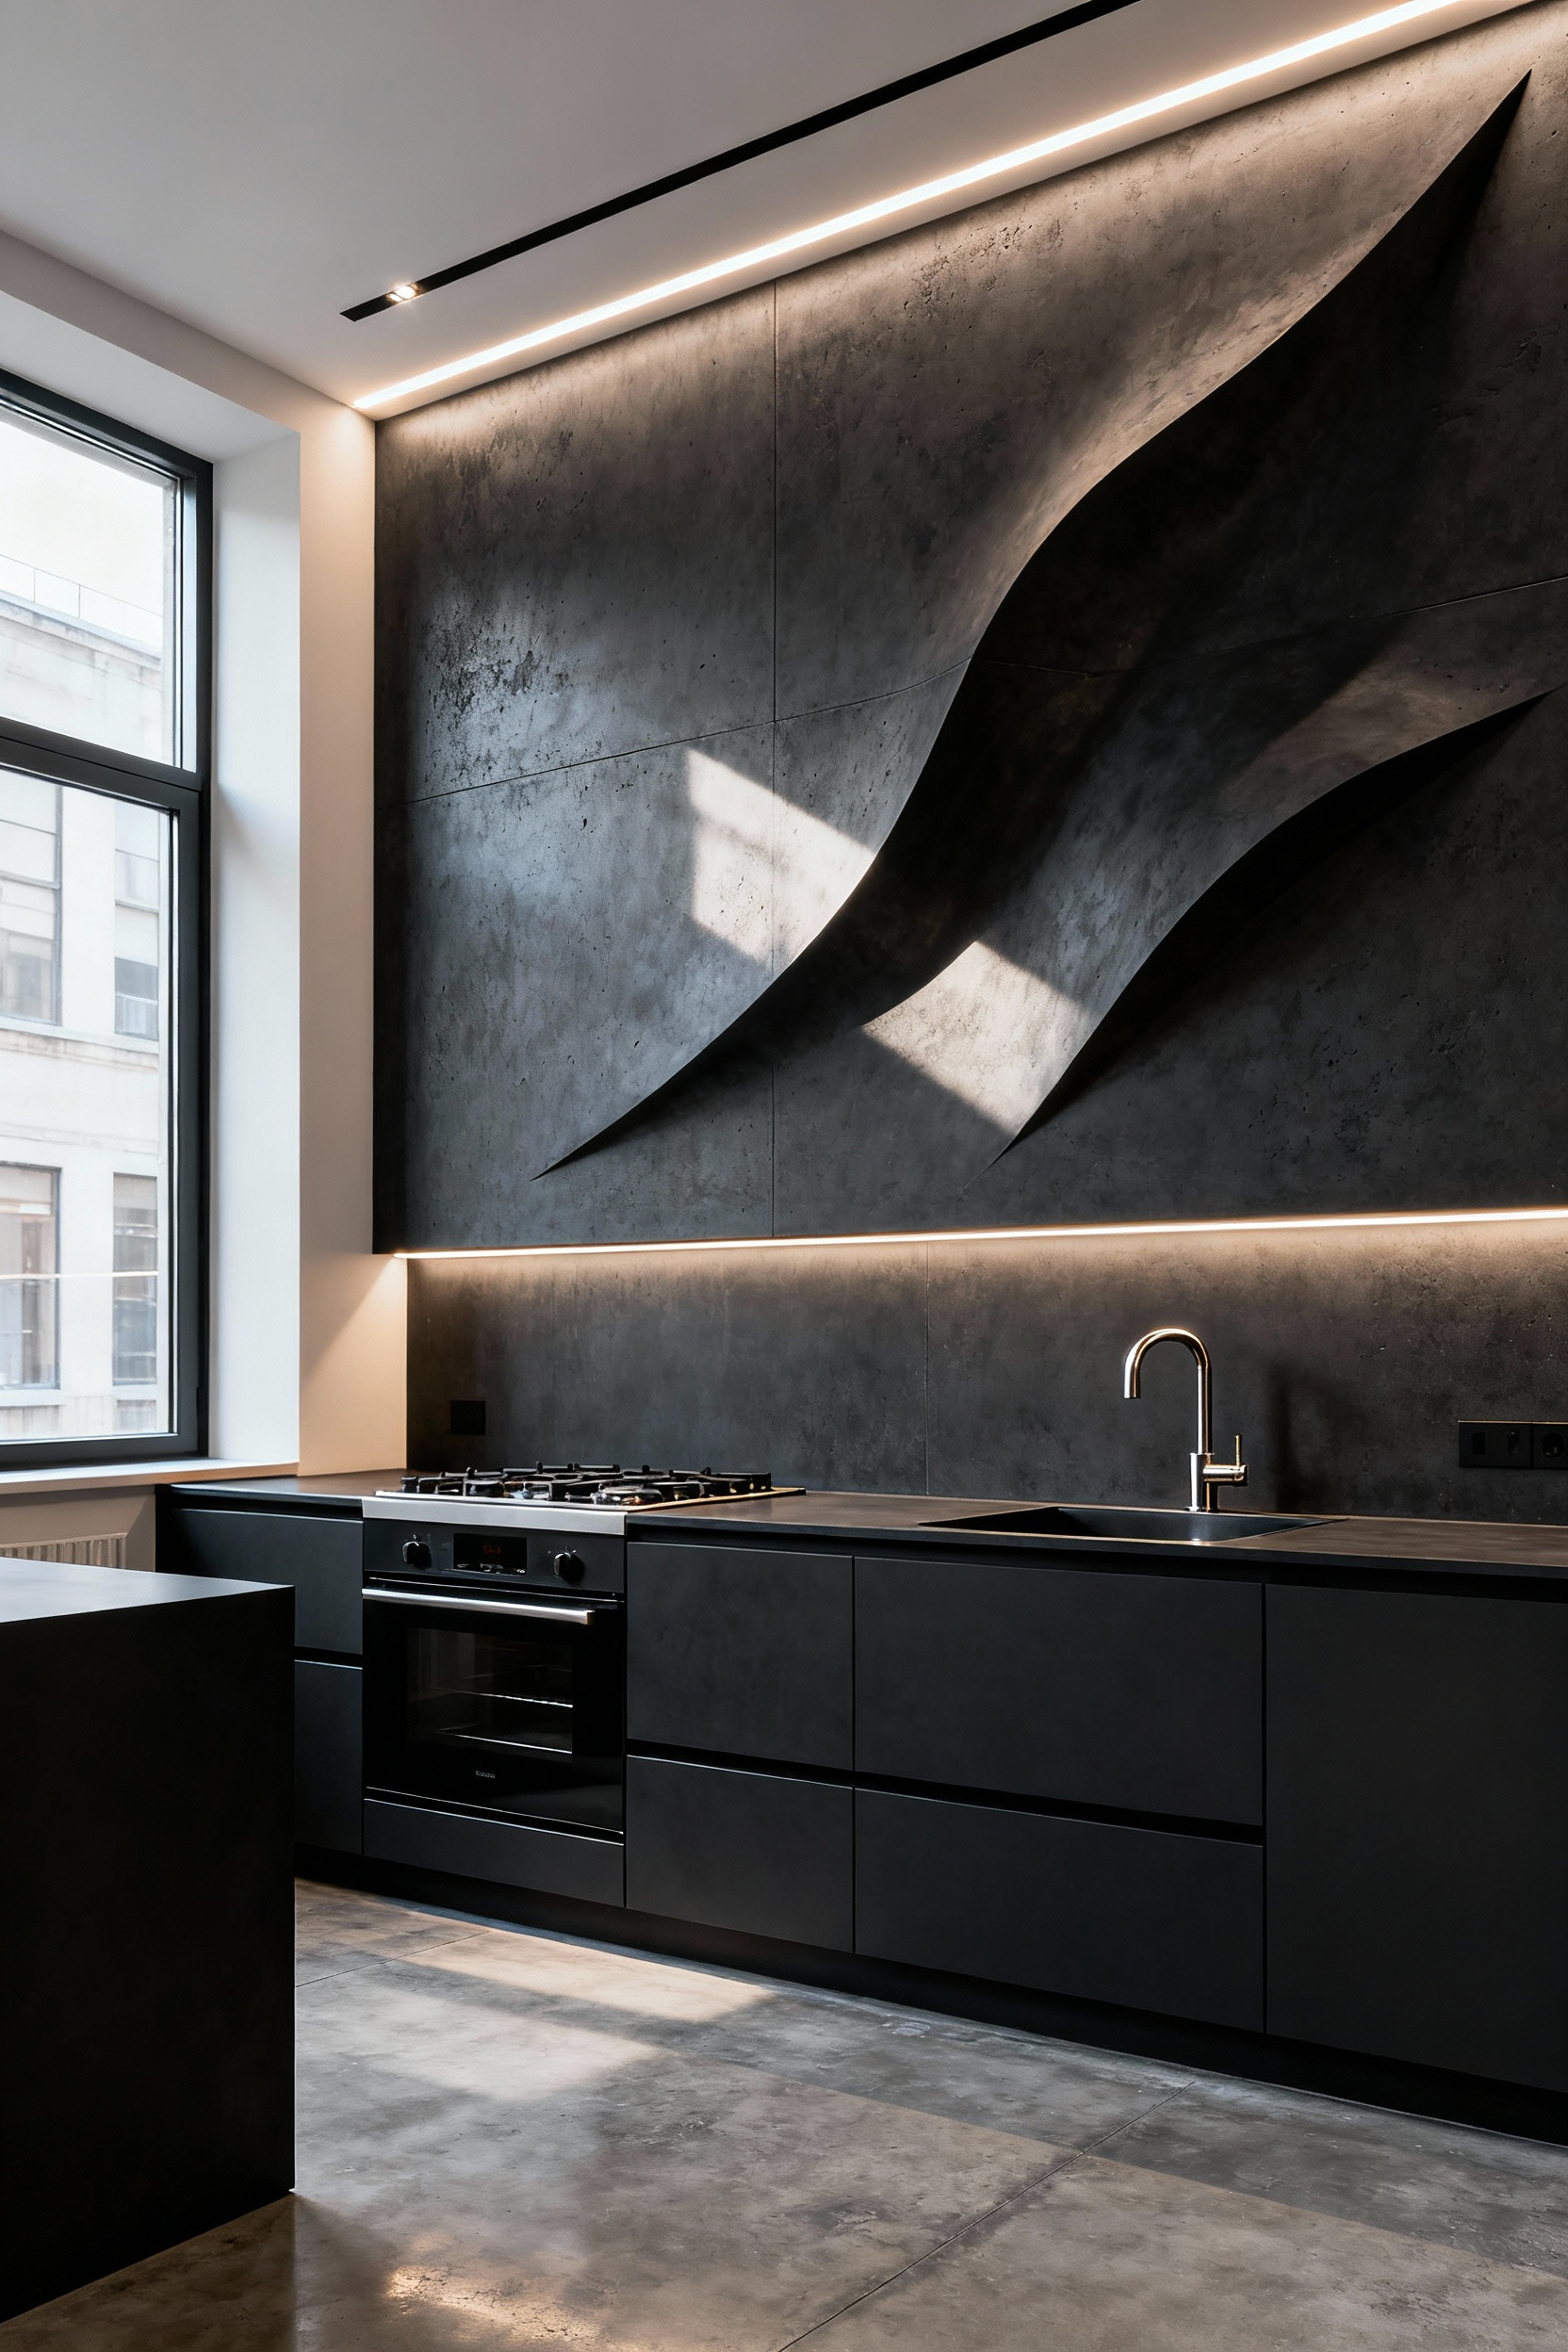
This approach requires viewing the wall as a canvas. A custom, three-dimensional mosaic of metal, wood, and stone becomes the anchor around which the entire kitchen is designed. The lighting is designed to accentuate it. The surrounding materials are chosen to complement it. The backsplash ceases to be a background element and becomes the conceptual core of the space. It’s a bold move, and it’s not for every project. But it challenges the conventional wisdom about what a kitchen needs to be, pushing it towards something more profound, personal, and unforgettable.
Conclusion
We started by challenging the idea that a backsplash is just a decorative flourish. After exploring these 20 ideas, moving from fundamental material science to bespoke art installations, I hope it’s clear that this surface is one of the most powerful and defining elements in your kitchen. A thoughtfully chosen backsplash does more than just protect your walls; it anchors the entire architectural narrative of the space. It is a workhorse, a focal point, and a statement of your design intent, all at once.
The journey through this guide was structured to build not just a list of options, but a way of thinking—a ‘Progressive Complexity Architecture’ that arms you with the knowledge to move beyond trends. It’s about understanding the properties of metal versus stone, the impact of a full-height slab versus a patterned tile, and the structural integrity that must underpin it all. You are no longer just choosing a material; you are specifying a performance-driven architectural component.
The next step is yours. Don’t settle for the path of least resistance. Look at your space with an architect’s eye. Use these insights not as a rigid set of rules, but as a catalyst for a more intelligent and intentional design process. Ask yourself what your kitchen needs to say about you and the home you are creating. That conversation, that critical moment of decision, starts with the wall in front of you.
Meta Description: Explore 20 definitive kitchen backsplash ideas from architect Marcus Thompson. Go beyond tile to discover durable materials, strategic design, and urban industrial solutions.